
Hand modeling pose ideas for product photos
This month, let's talk about the unsung heroes of the product photography - HANDS. That's right, those often-overlooked appendages that can add a touch of humanity to your product shots. In this month's blog, I'm exploring the art of hand modeling. I'll be sharing some tips on how to select the perfect hand model for your shoot, and of course, some killer hand poses to try out when capturing your products.
Appearance:
Just like everything else in your shot, you want to ensure that the model's hands are supporting the product rather than stealing attention away from the product. Because of this hand models tend to have classically shaped hands (narrow, slender fingers) and a smooth clear complexion with minimal freckles and blemishes.
Hands are commonly manicured prior to the shoot to ensure clean, nicely shaped nails. You’ll also need to consider if you’d like the nails natural or if nail polish should be worn. If your model will have nail colour, carefully choose the shade so that it matches your styling and works harmoniously with the other colours in the frame.
In the lead up to the shoot your hand model should also be moisturising regularly to avoid any cracking or dryness in the skin. Olive oil or coconut oil make great moisturisers for hand models.
Posing
Hand models are required to keep hands very still for long periods of time. Often this involves holding your body in somewhat uncomfortable or unnatural positions to get the shot. You may need to bend your body to avoid casting shadow or get out of the way of a camera.
When holding a product you must always try to hold the label of the product squarely toward the camera lens and where possible try to avoid placing your fingers over the wording or branding on the label. Again, it can feel quite awkward but will look good in the frame.
To find a good position try carrying out an action, such as picking something up, or opening something. Do this slowly and when you see a position that looks good ‘freeze the action’ make the necessary tweeks to ensure that the labels are facing the camera etc. then hold that pose while you get the shot.
Once you hold a pose you might notice that the hand begins to look stressed and rigid or too posed. This is when you need to relax the hand. This might mean releasing tension or shaking out the hands and reposing in the same position.
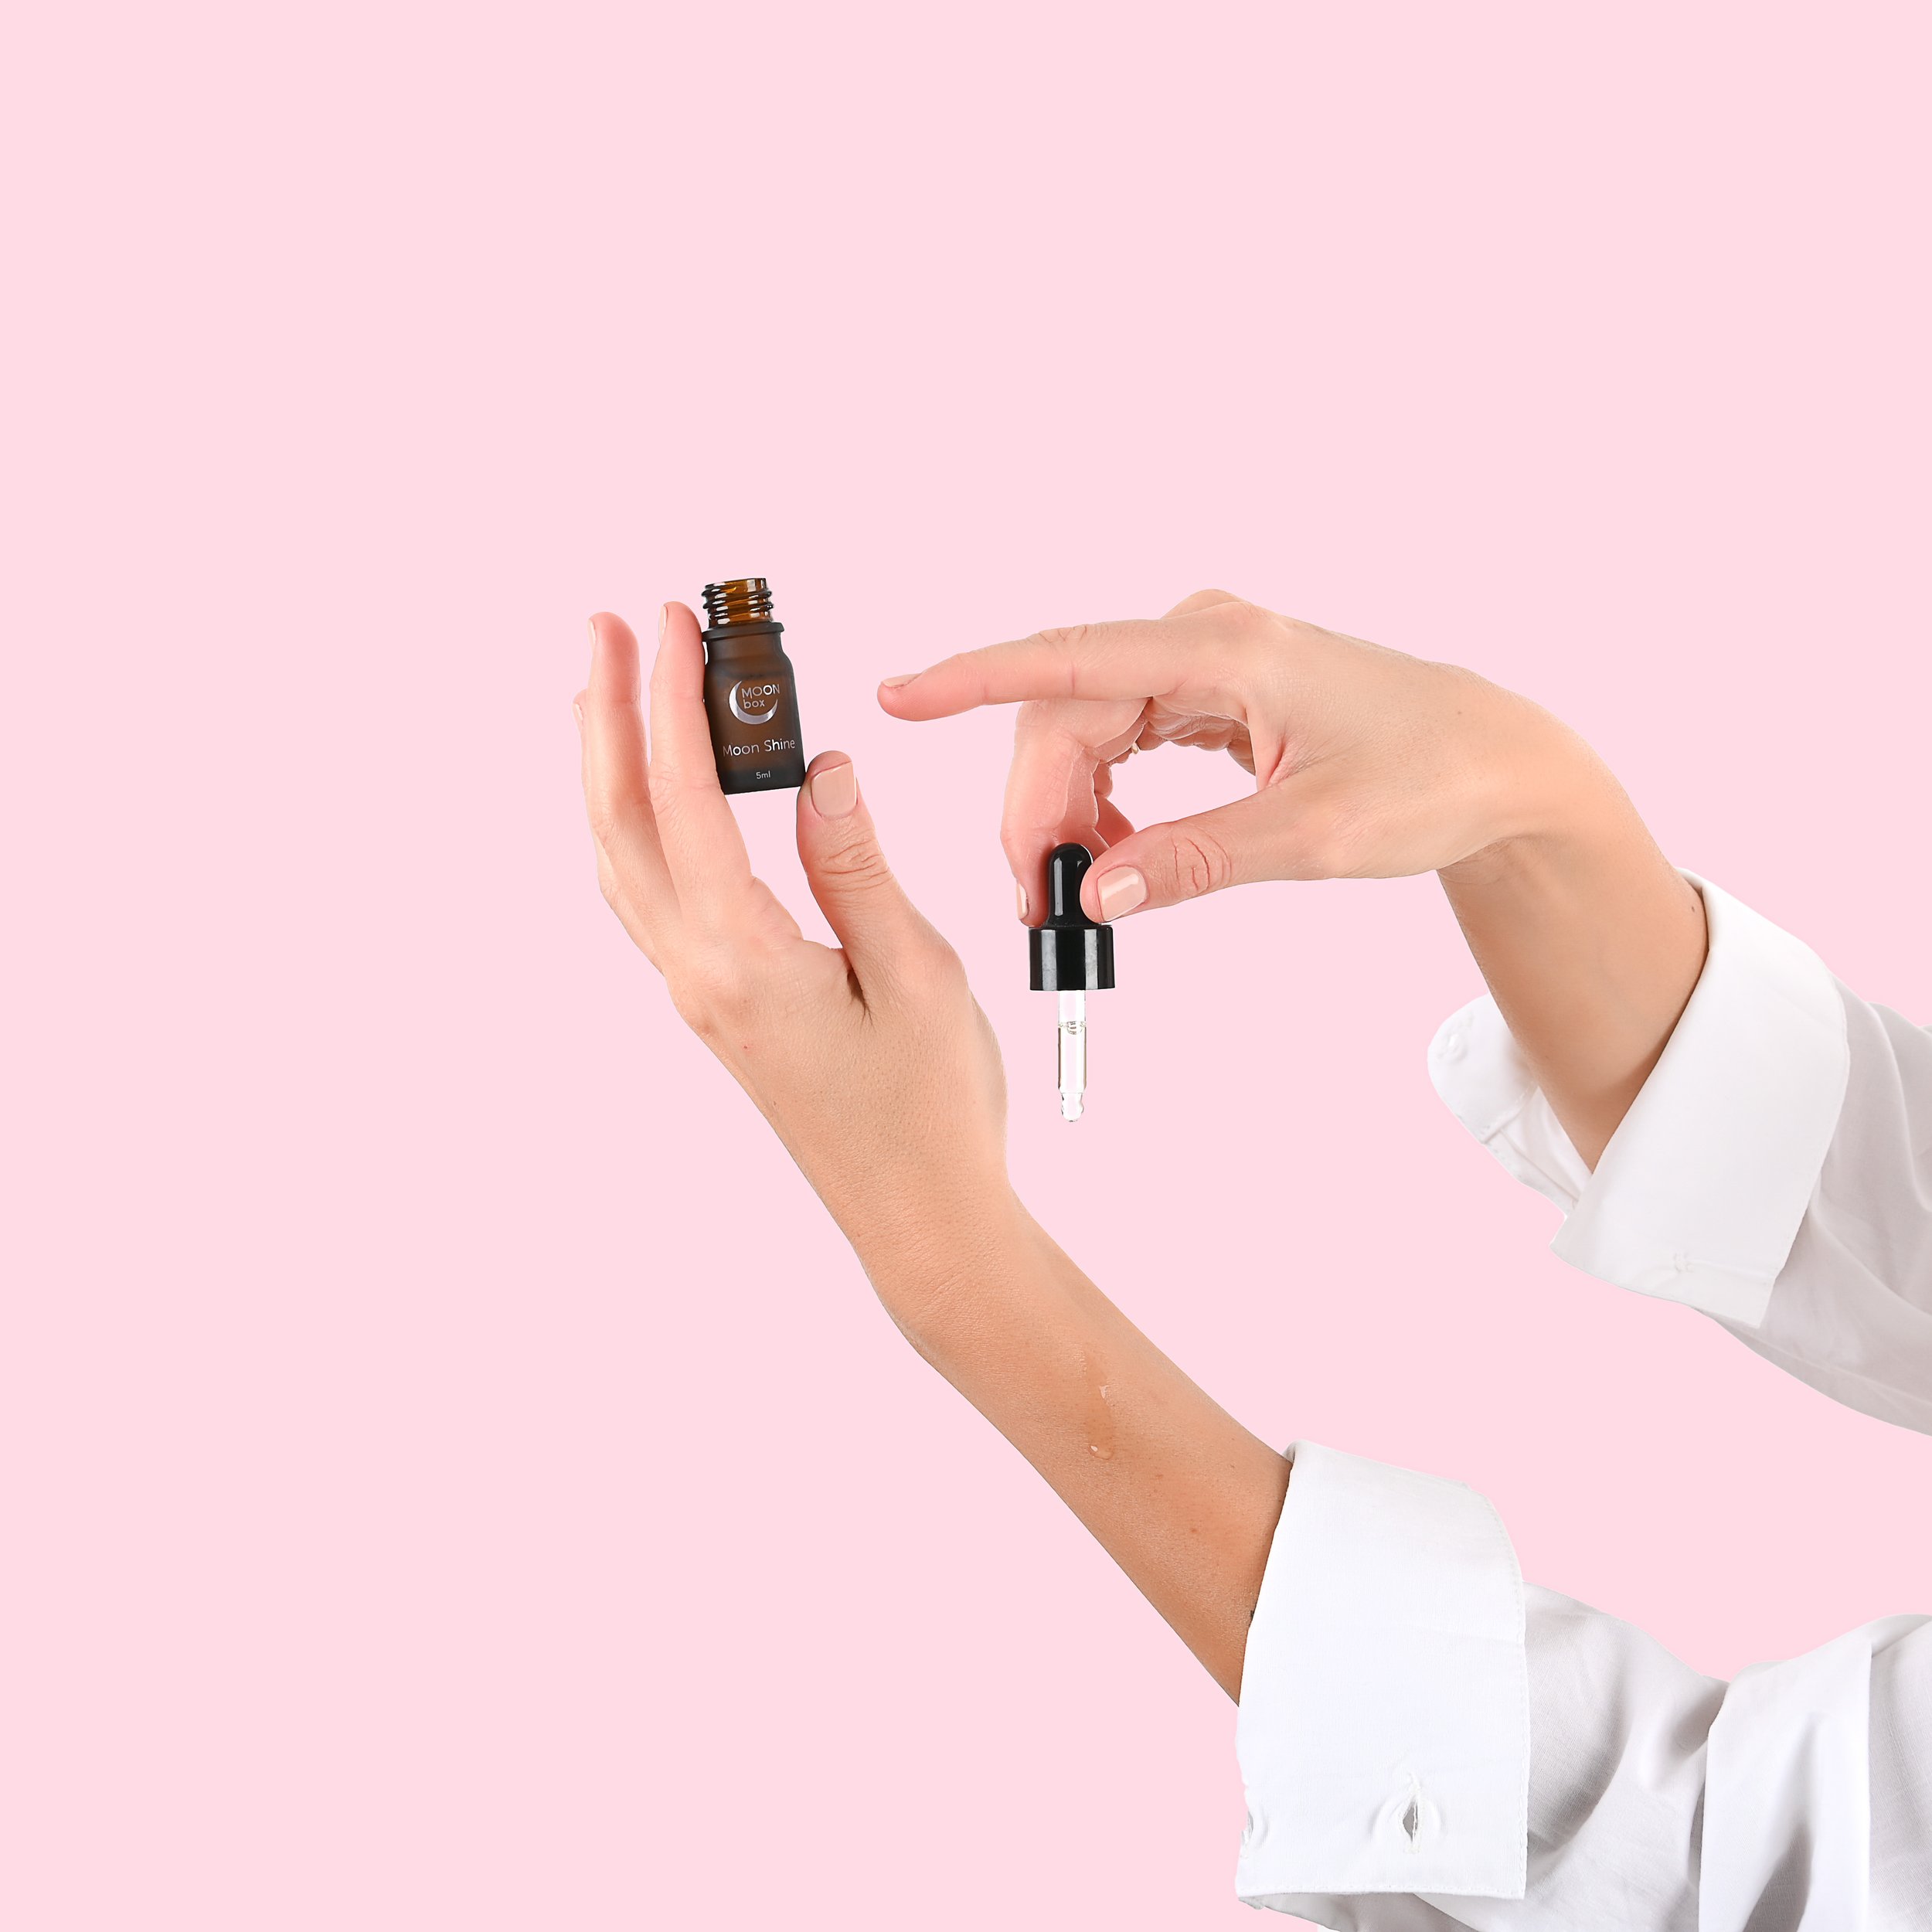
You can also try more creative posing - this means more abstract hand positions. This might be just creating an interesting shape with your hands or using both hands to frame your product in a visually pleasing way. Whatever the pose, always try to create softness, long lines and extension of the fingers to create a sense of elegance and grace.
I’ve included below some example poses for your to try - enjoy!
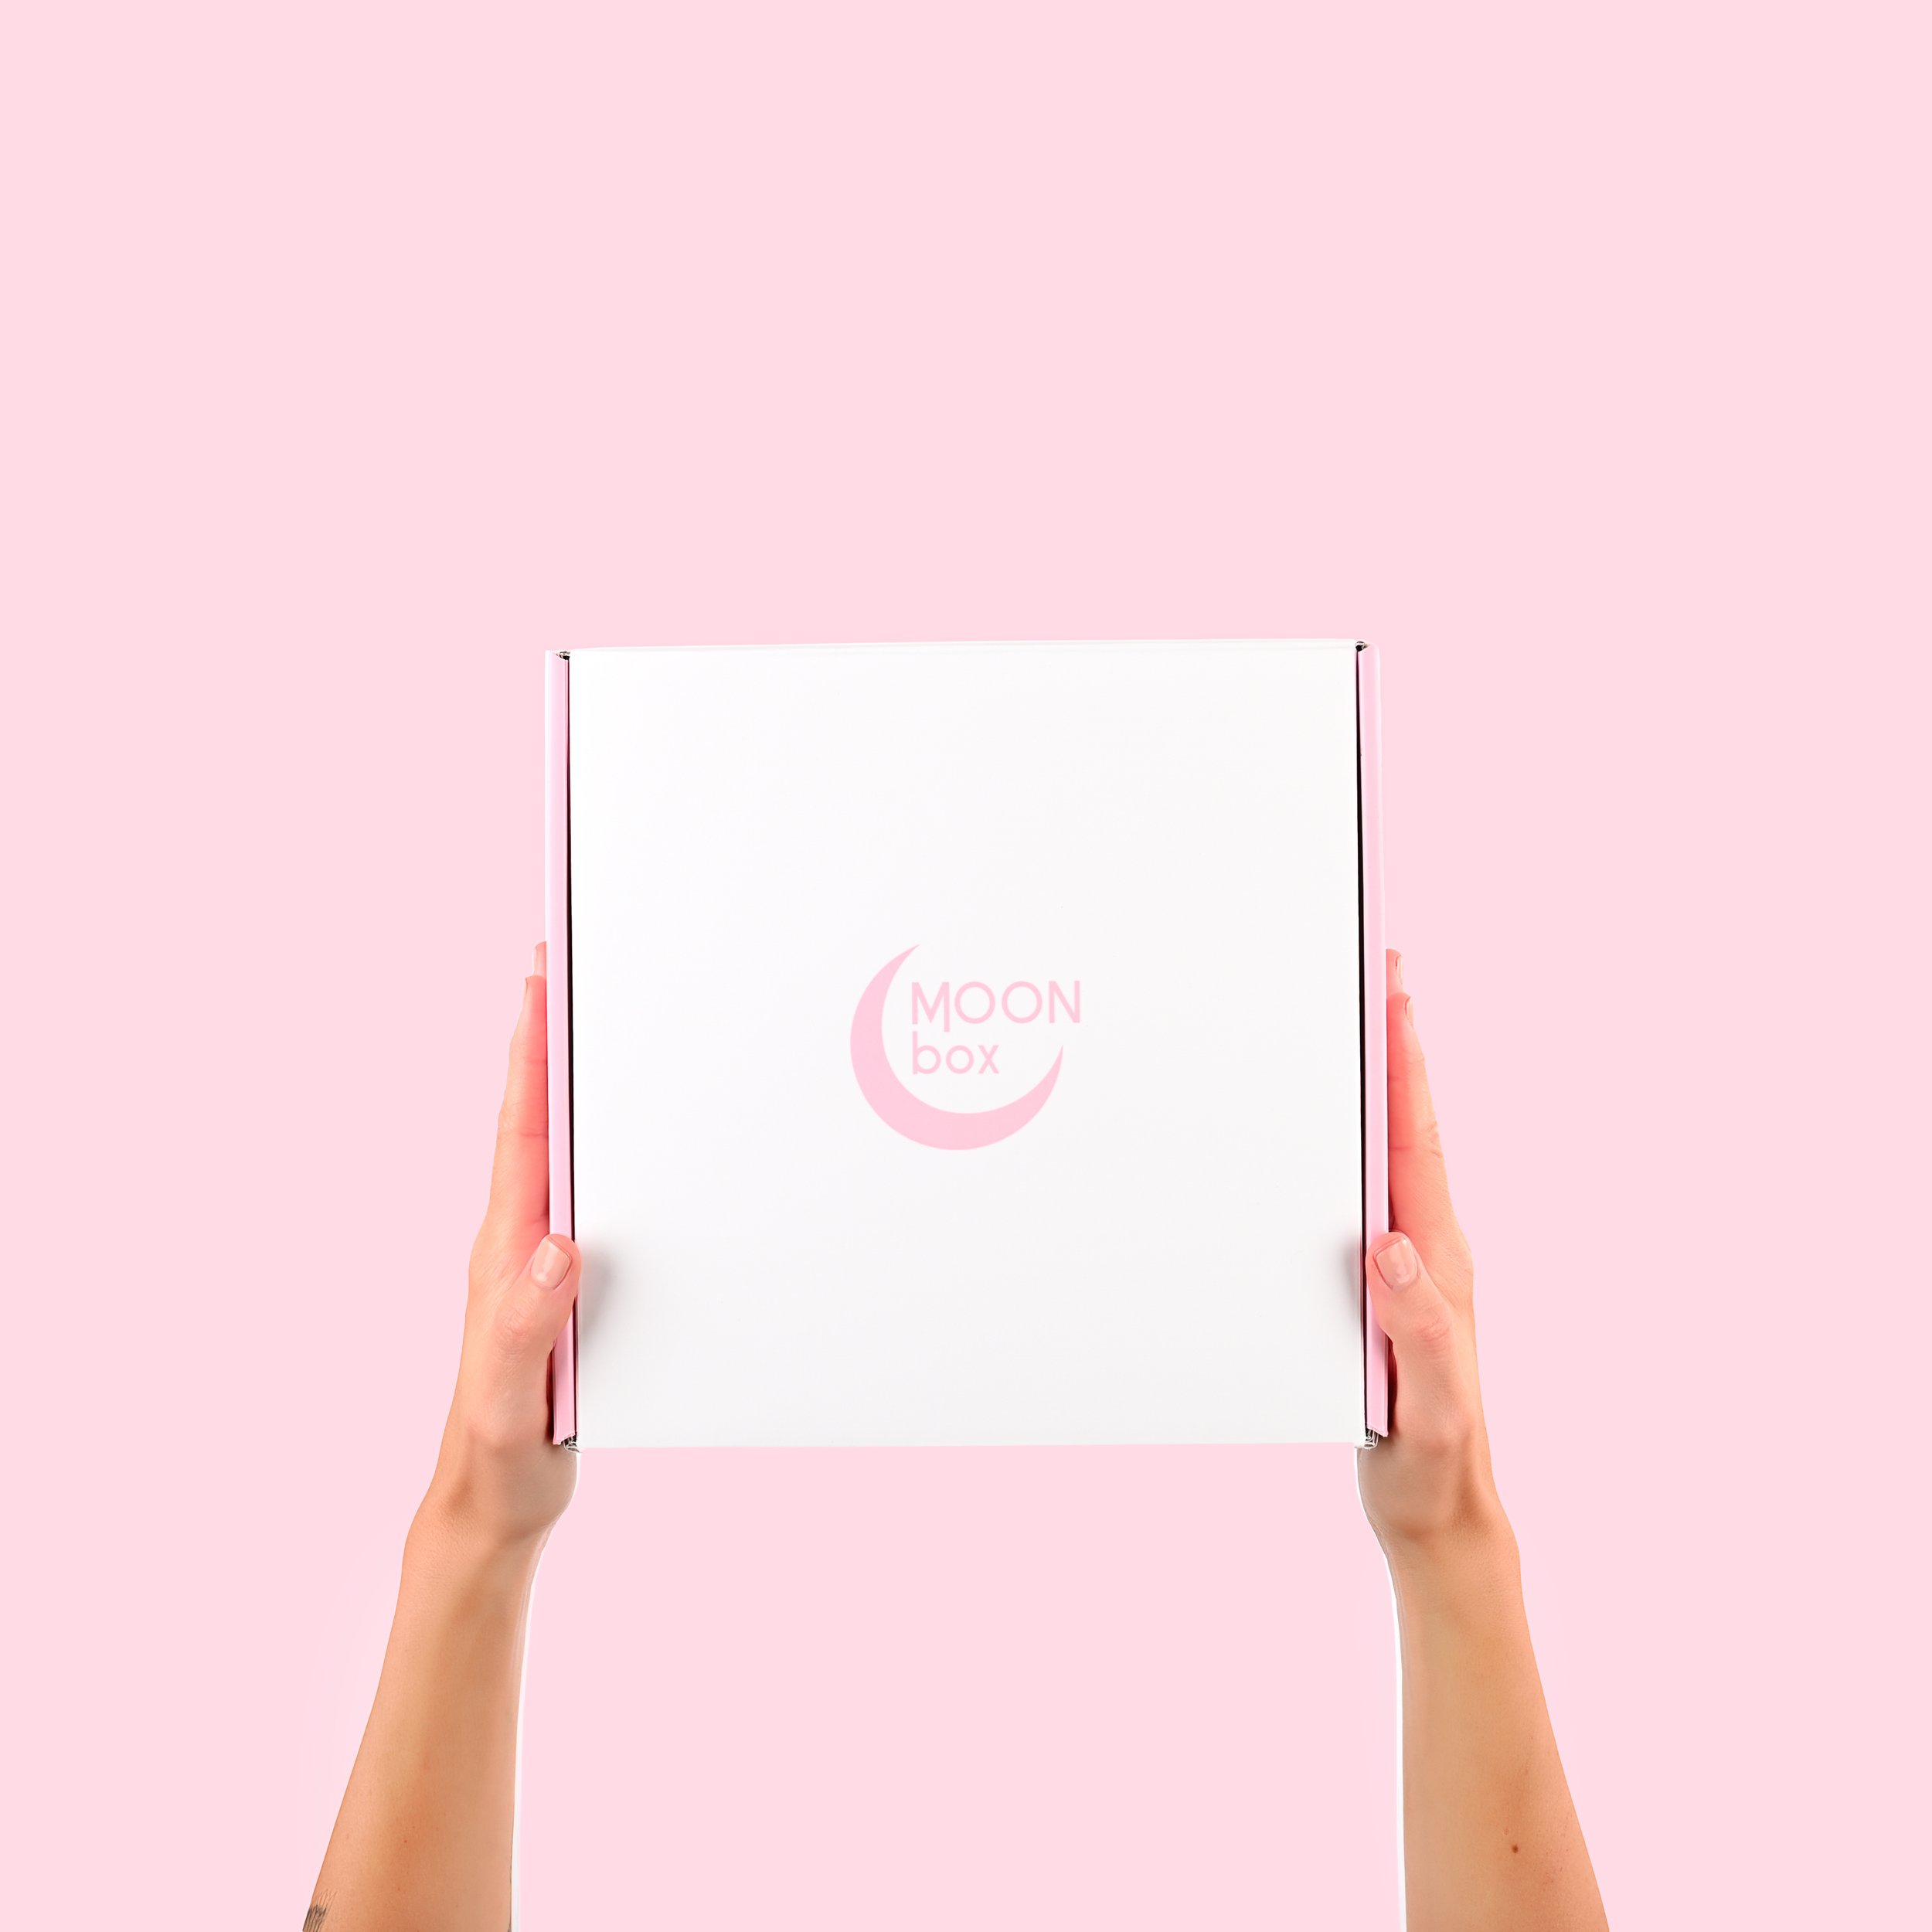
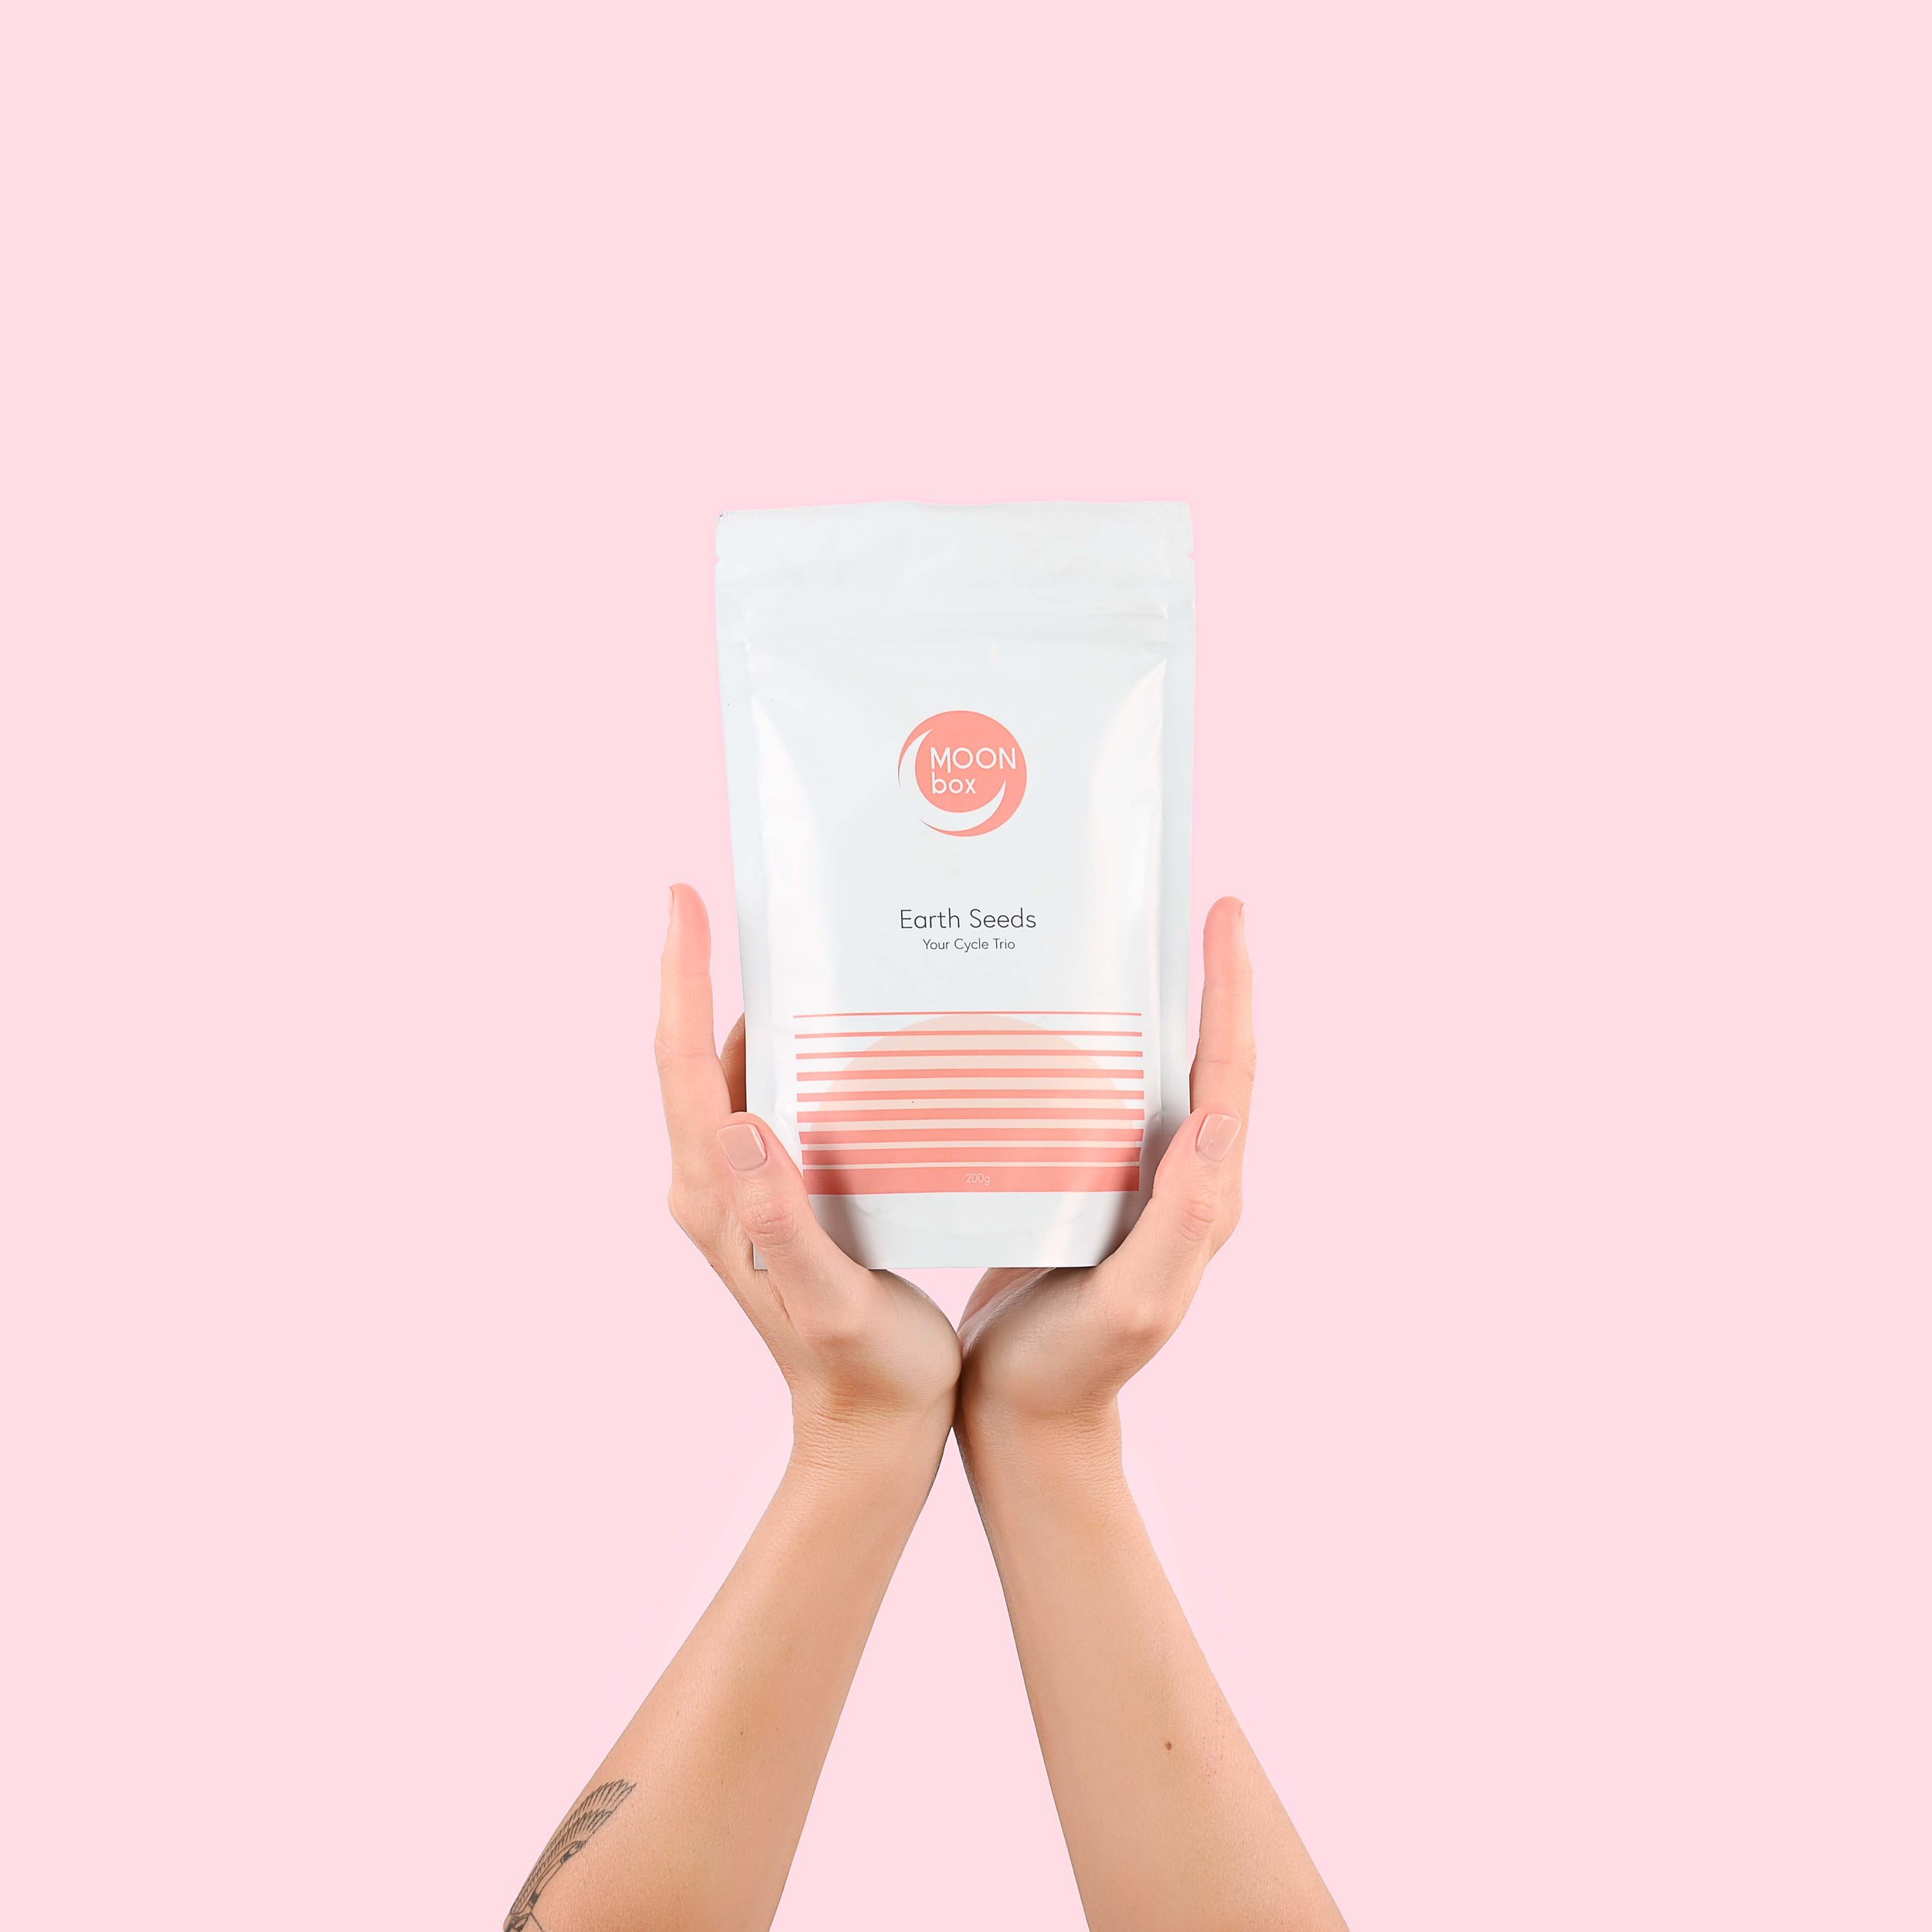
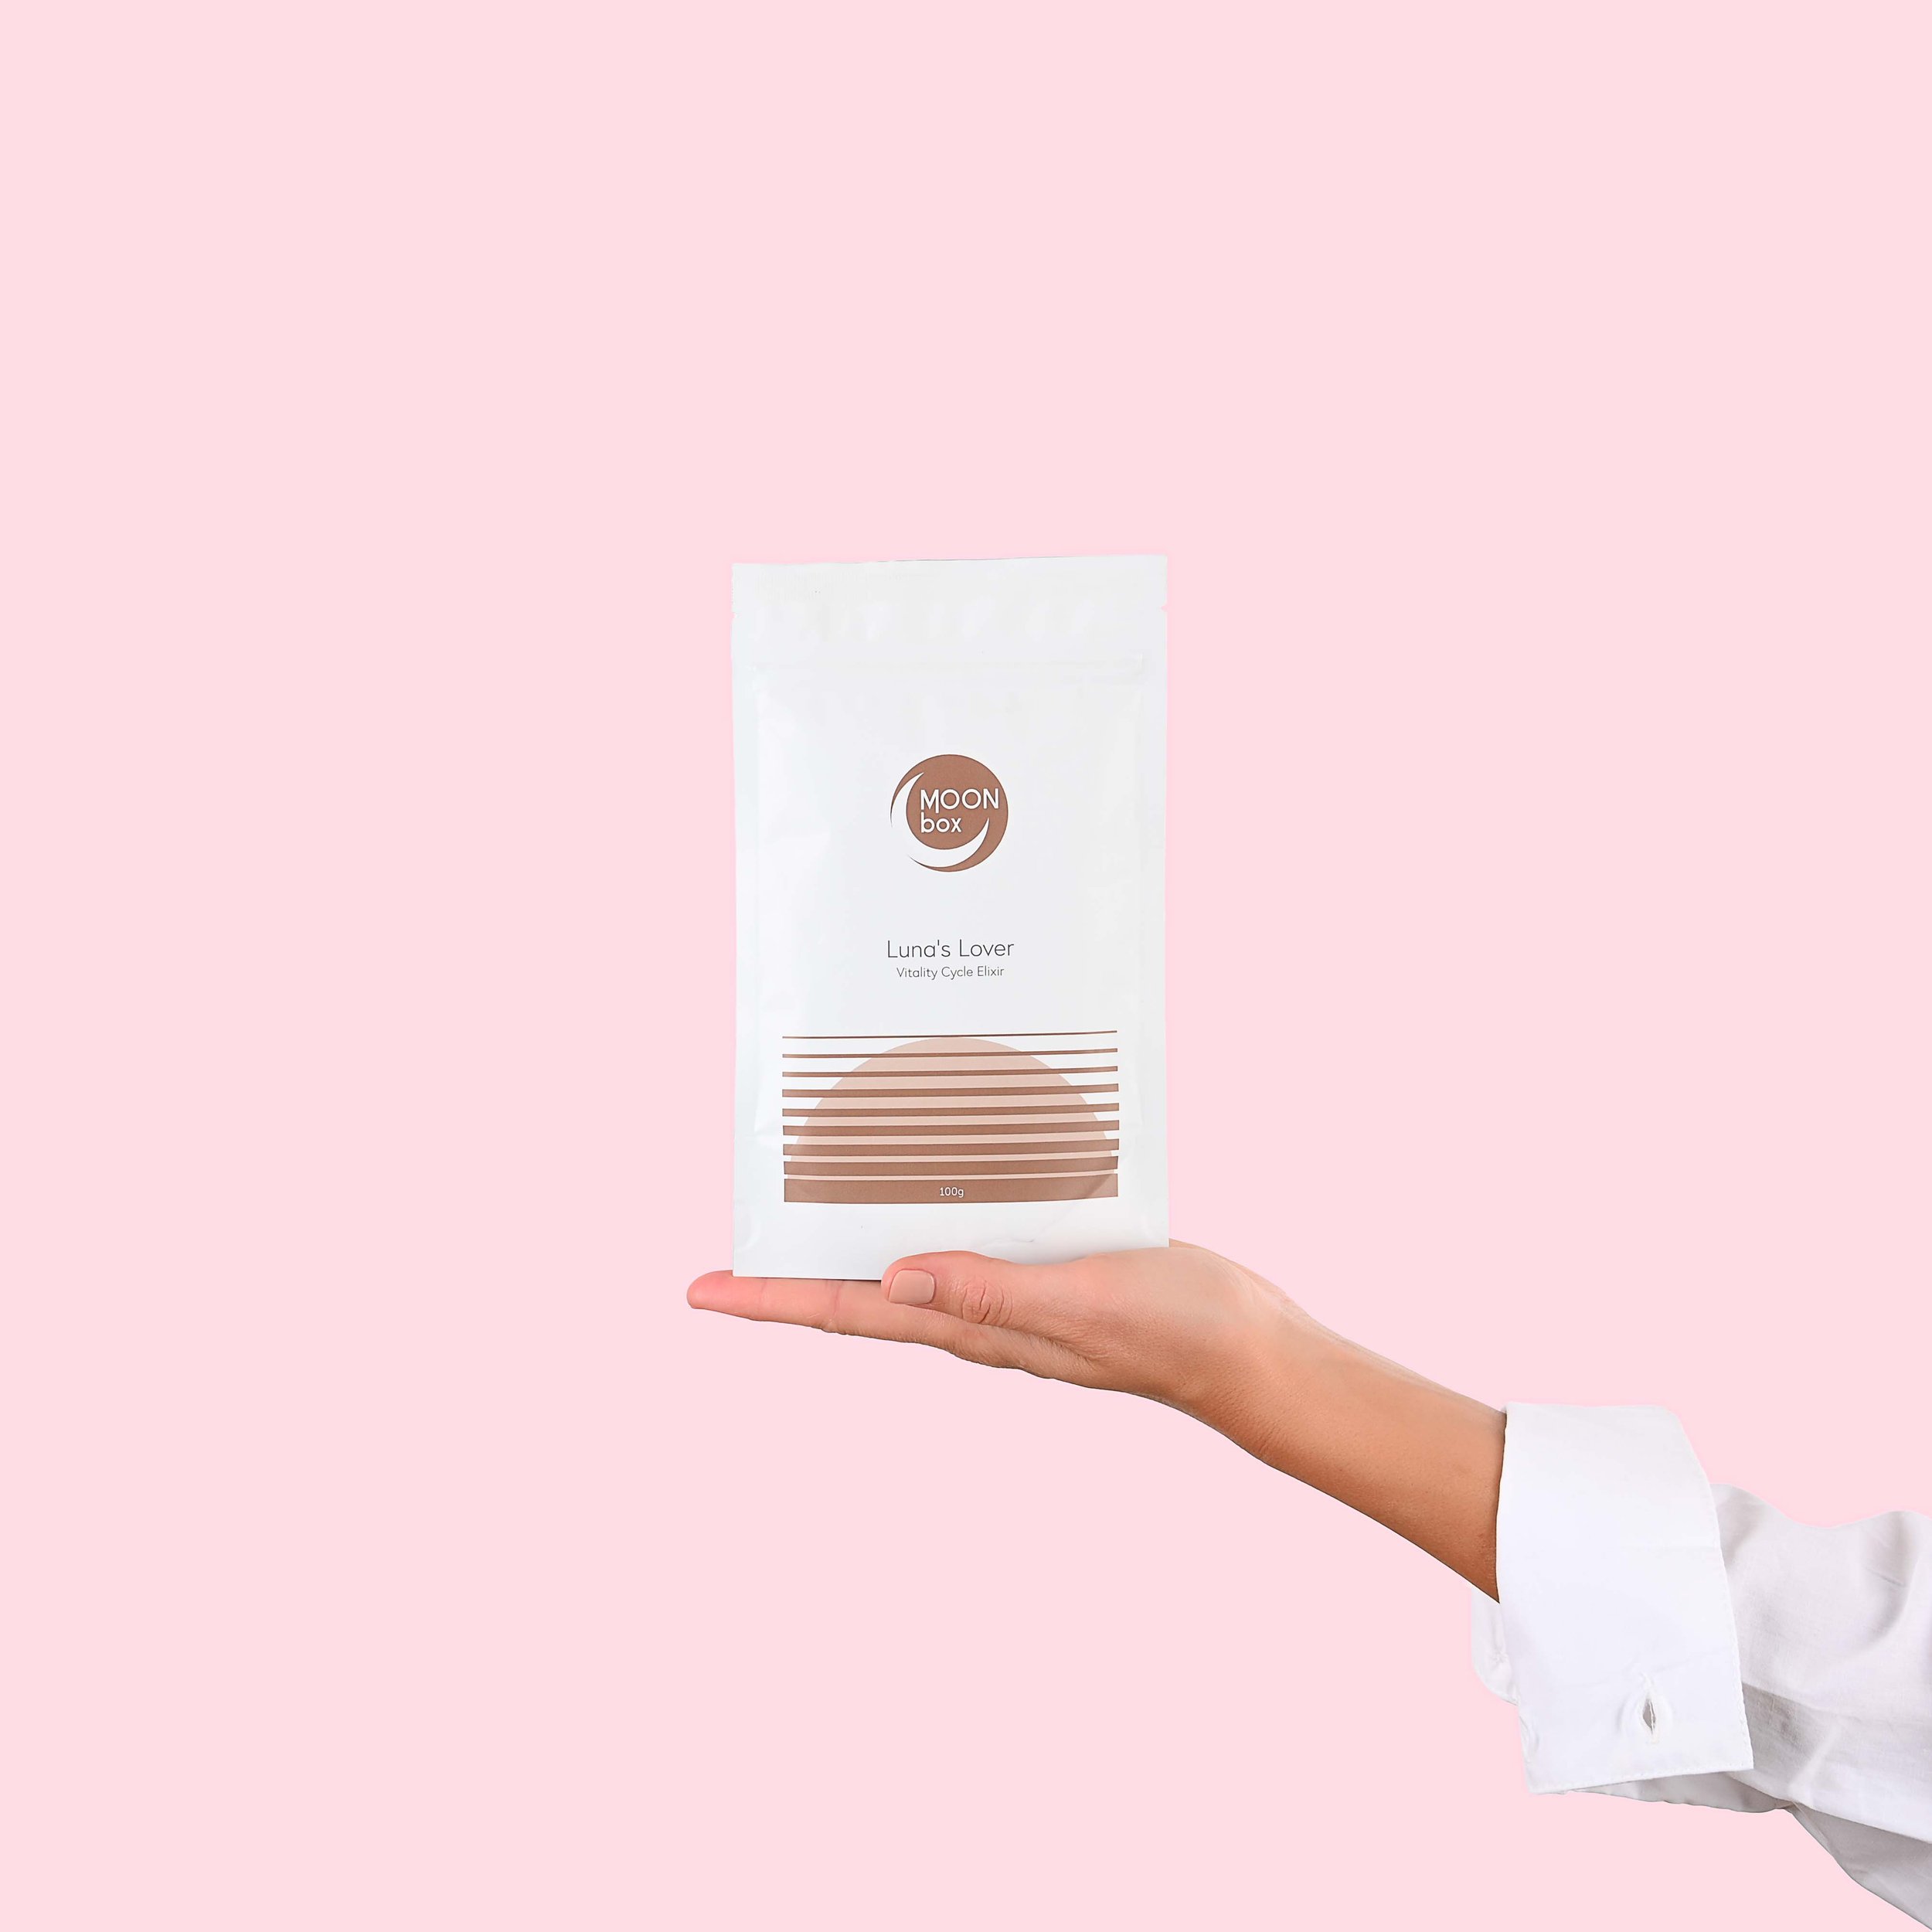
From the bottom of frame with 2 hands:

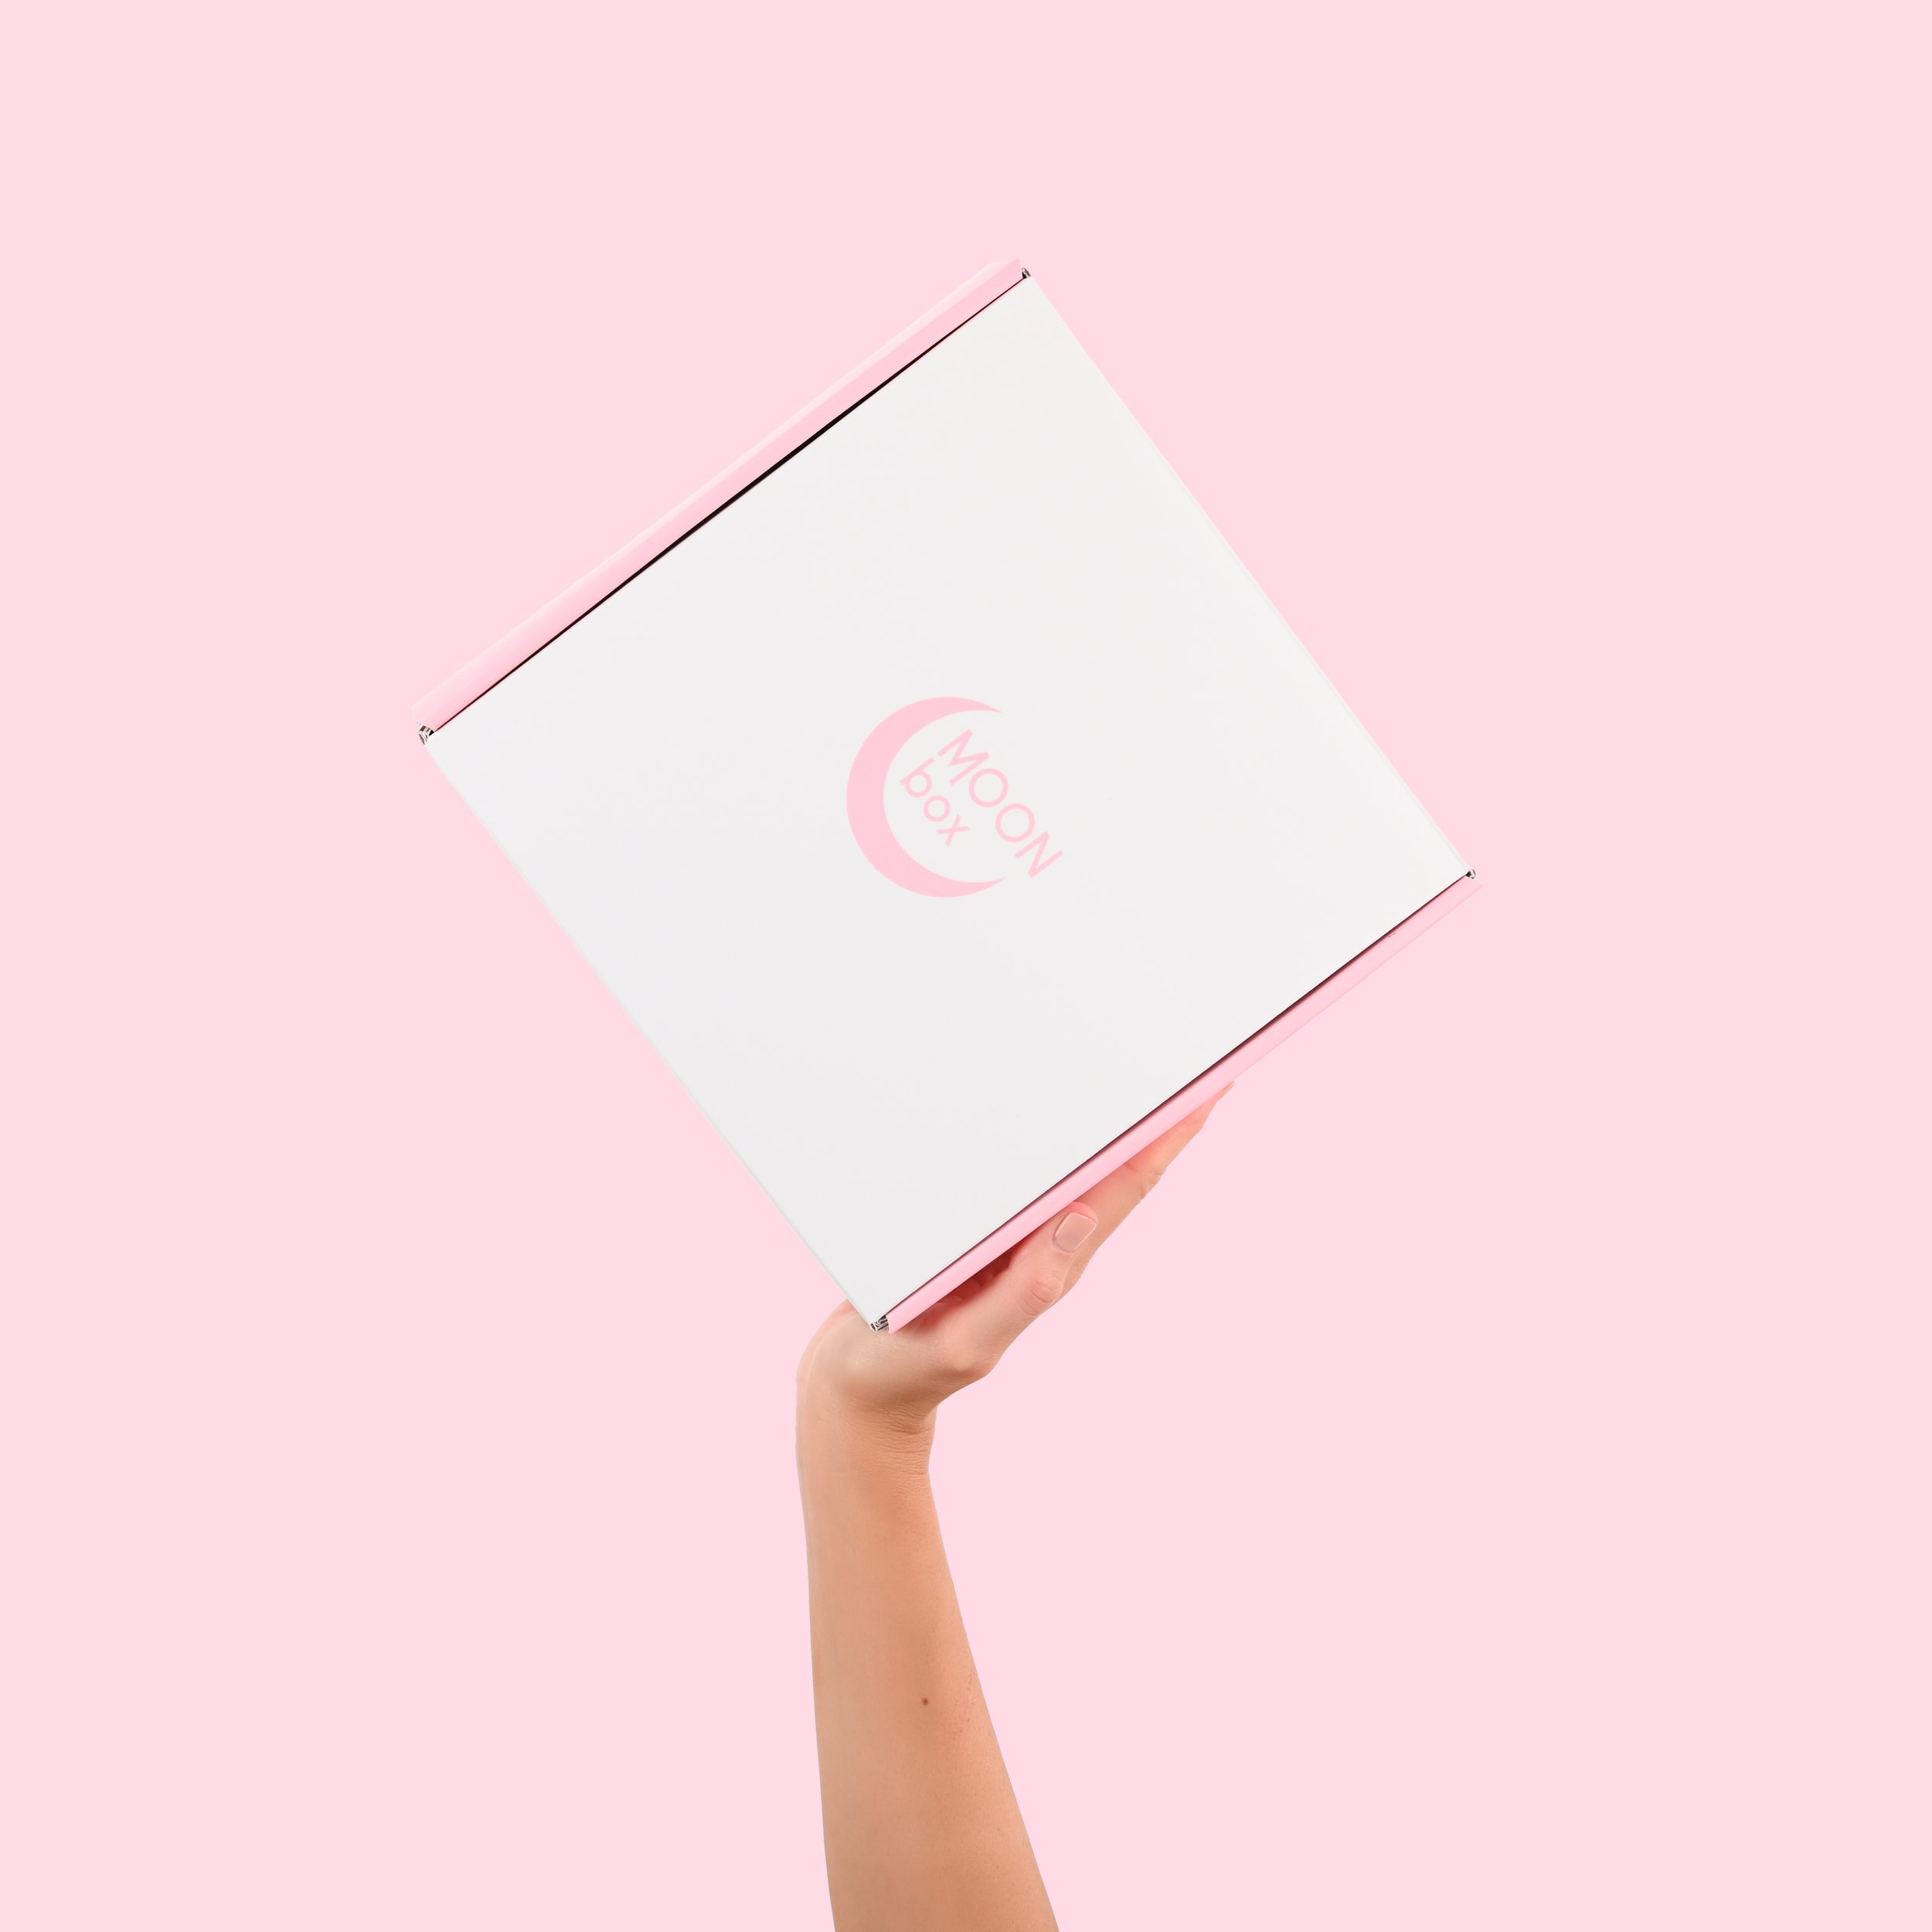
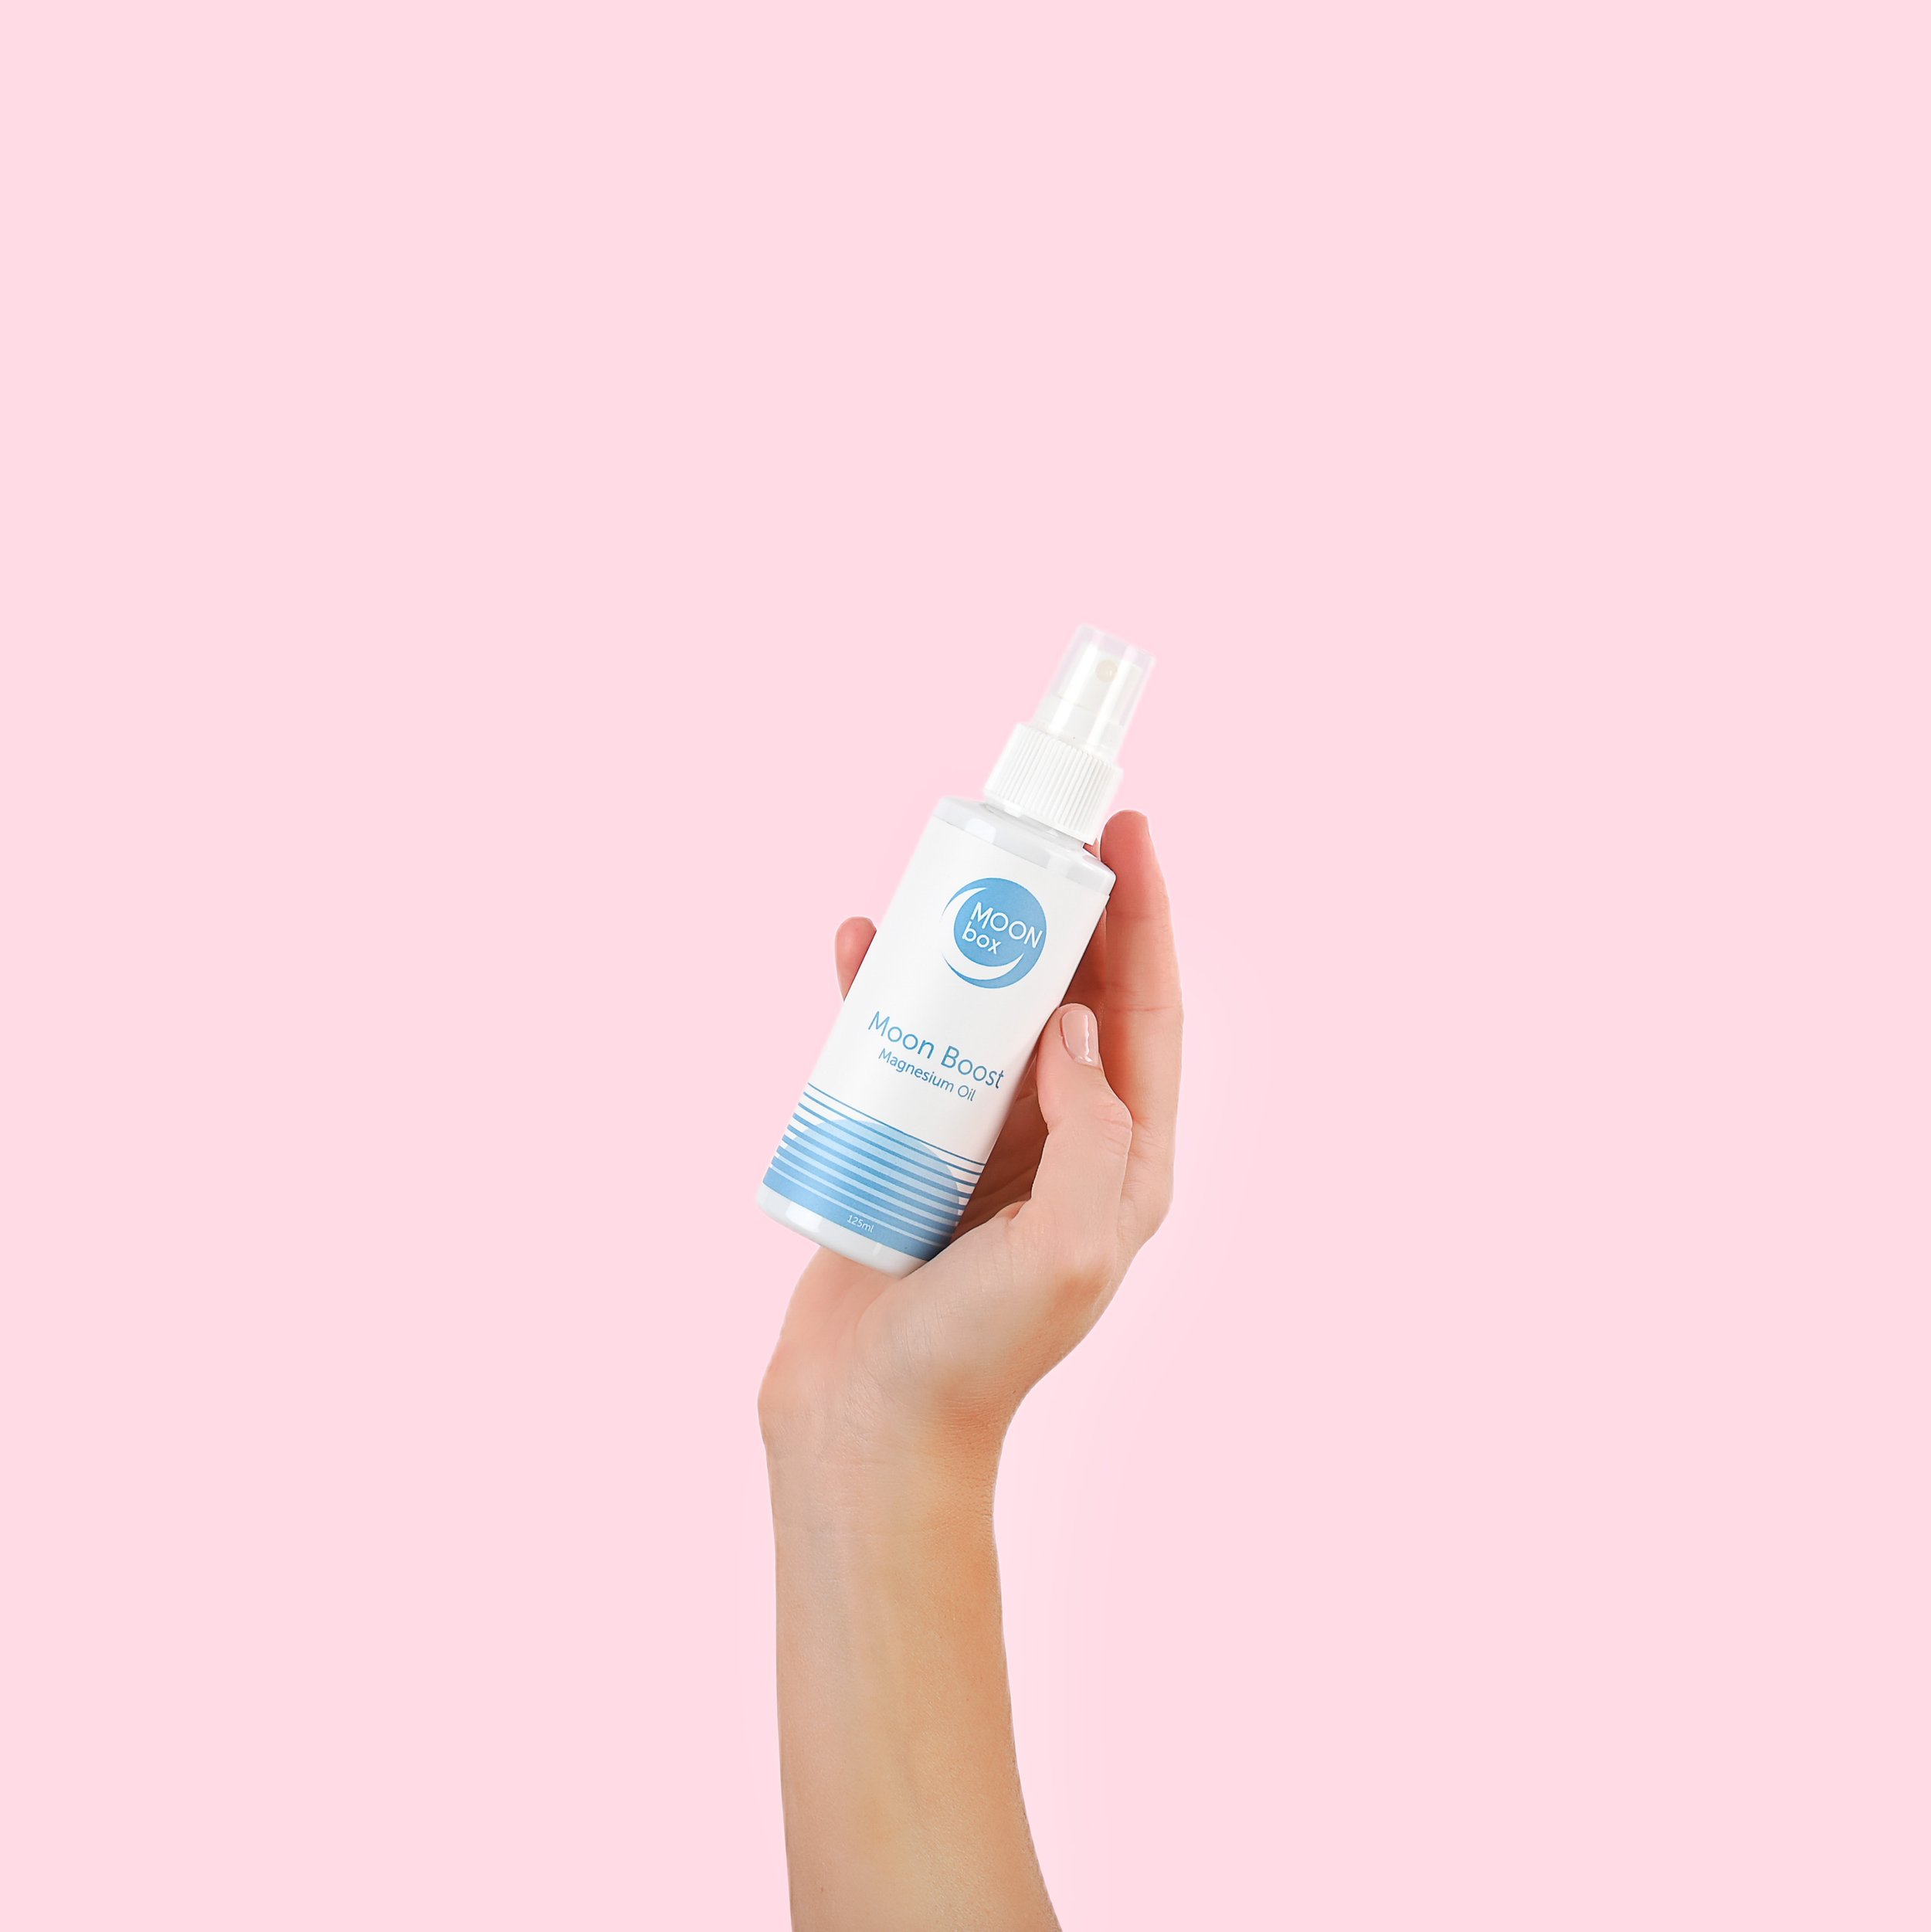
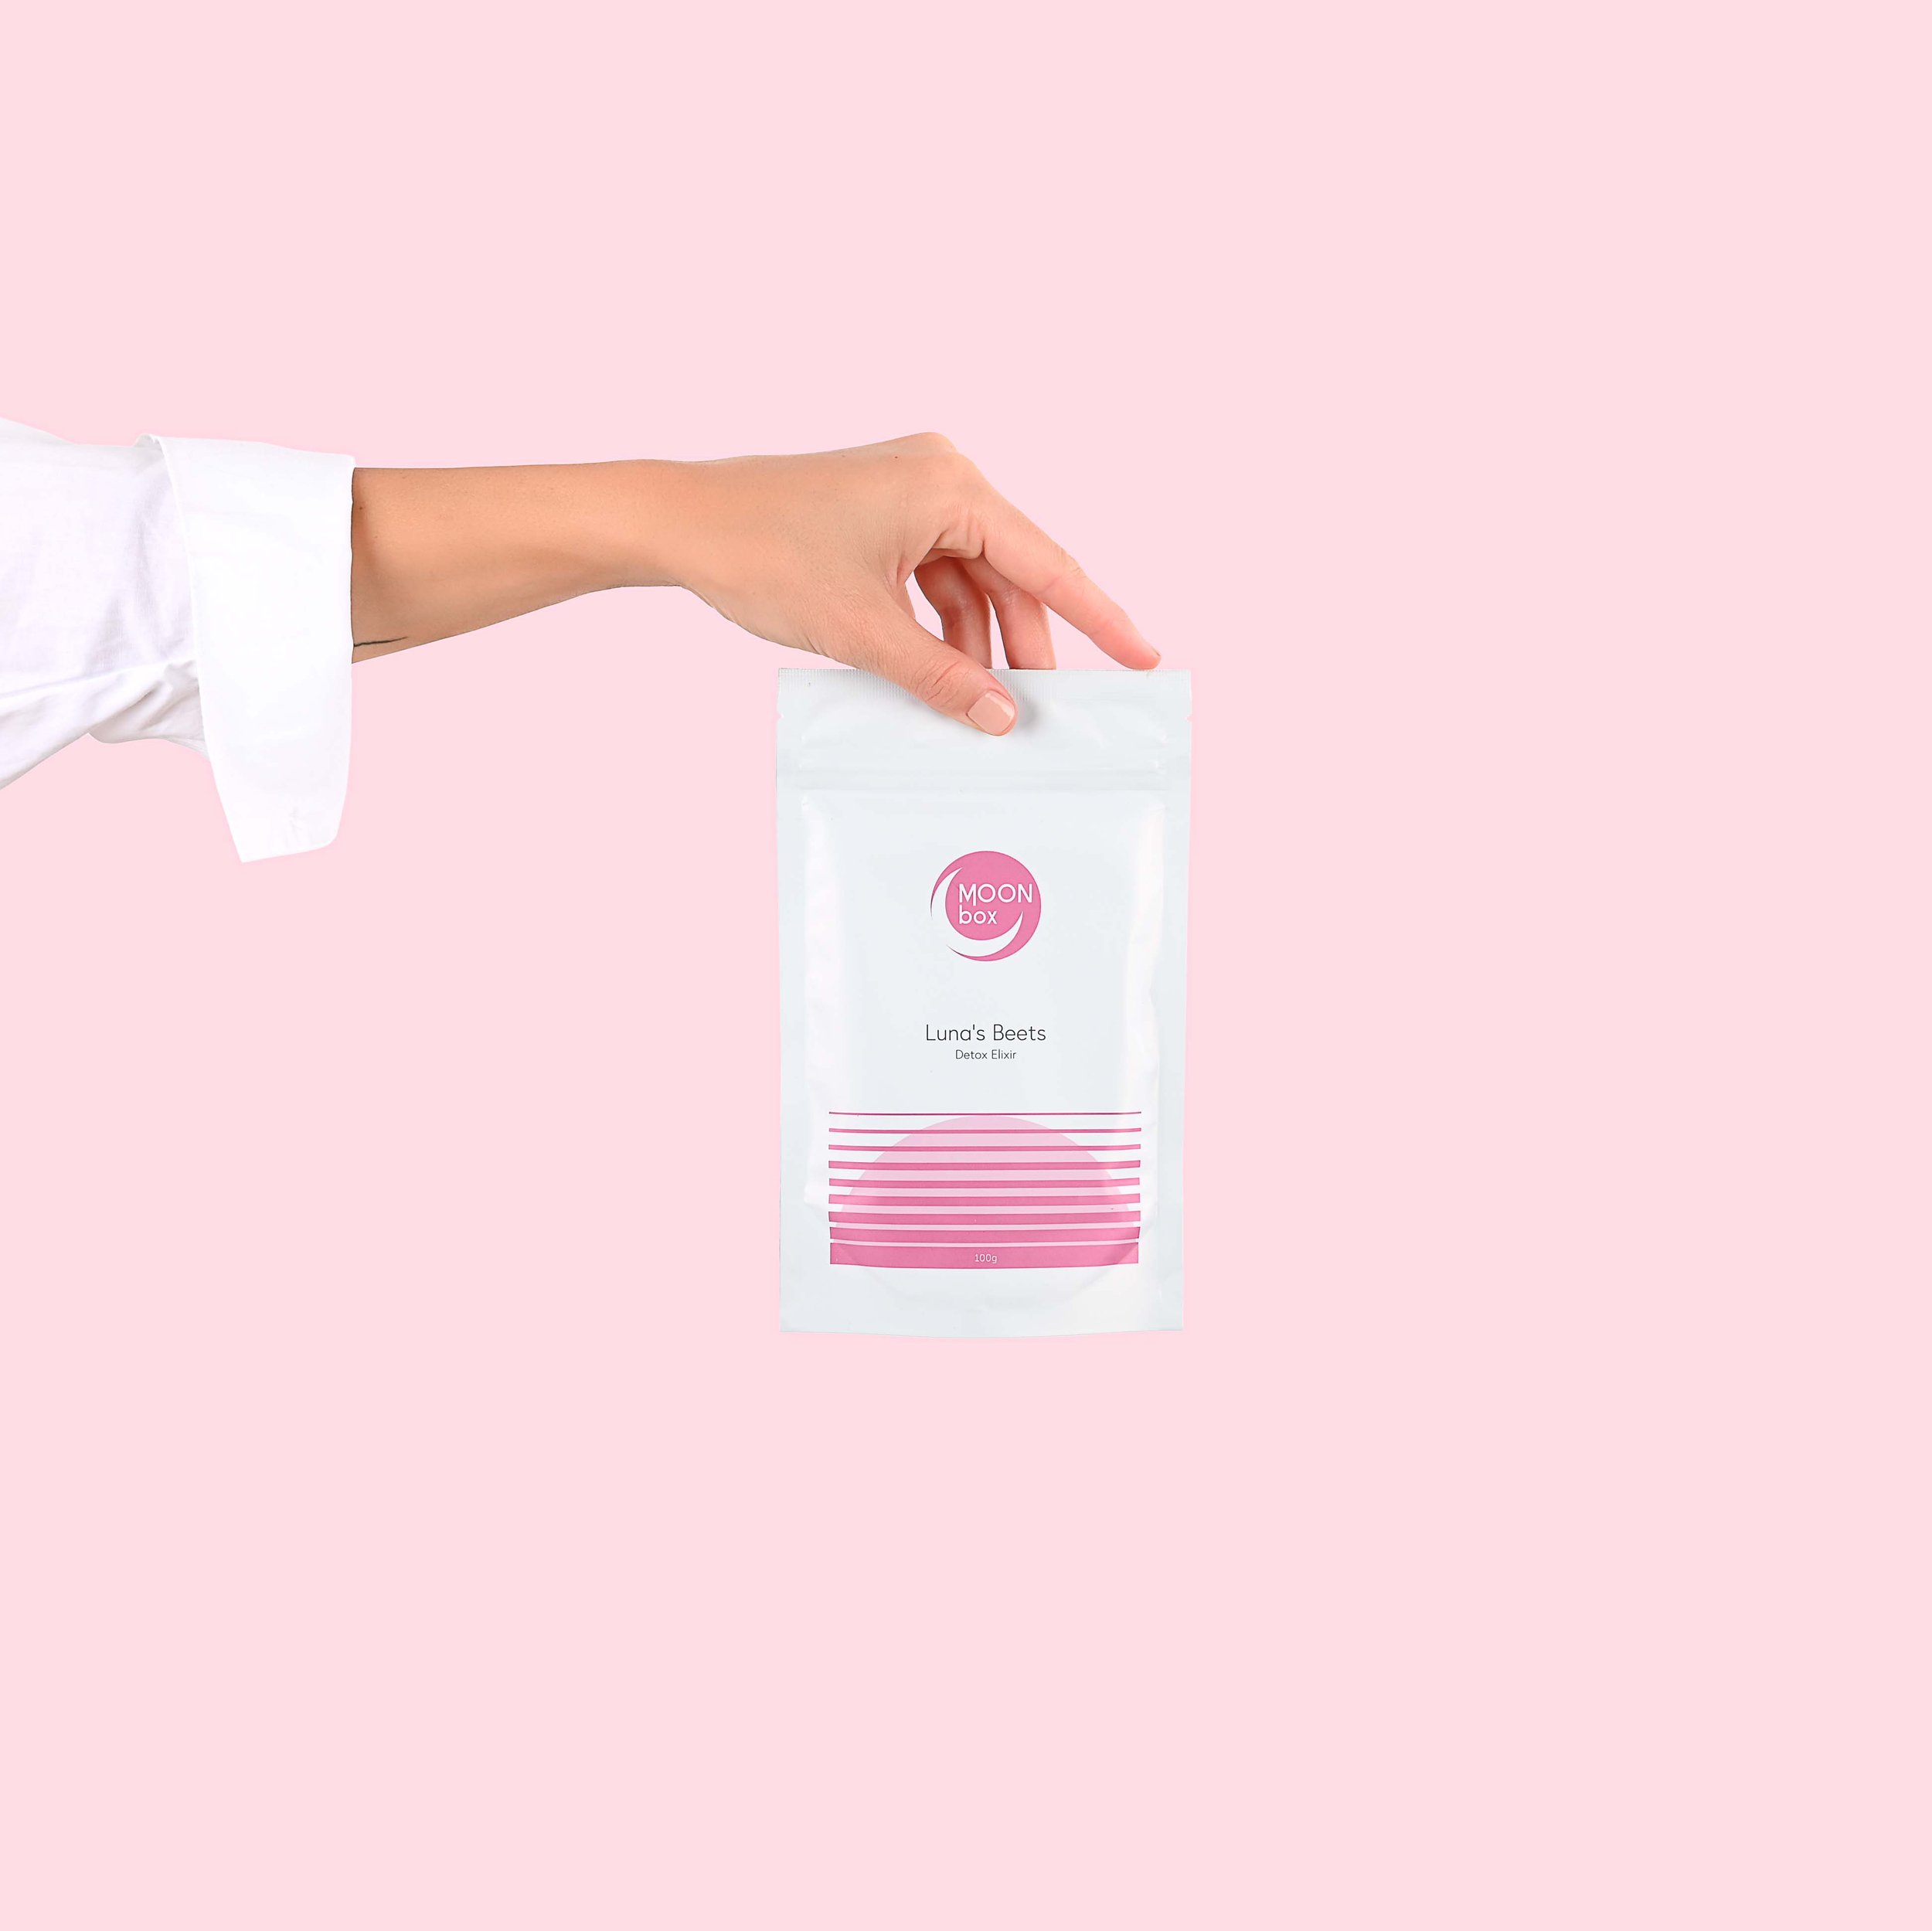
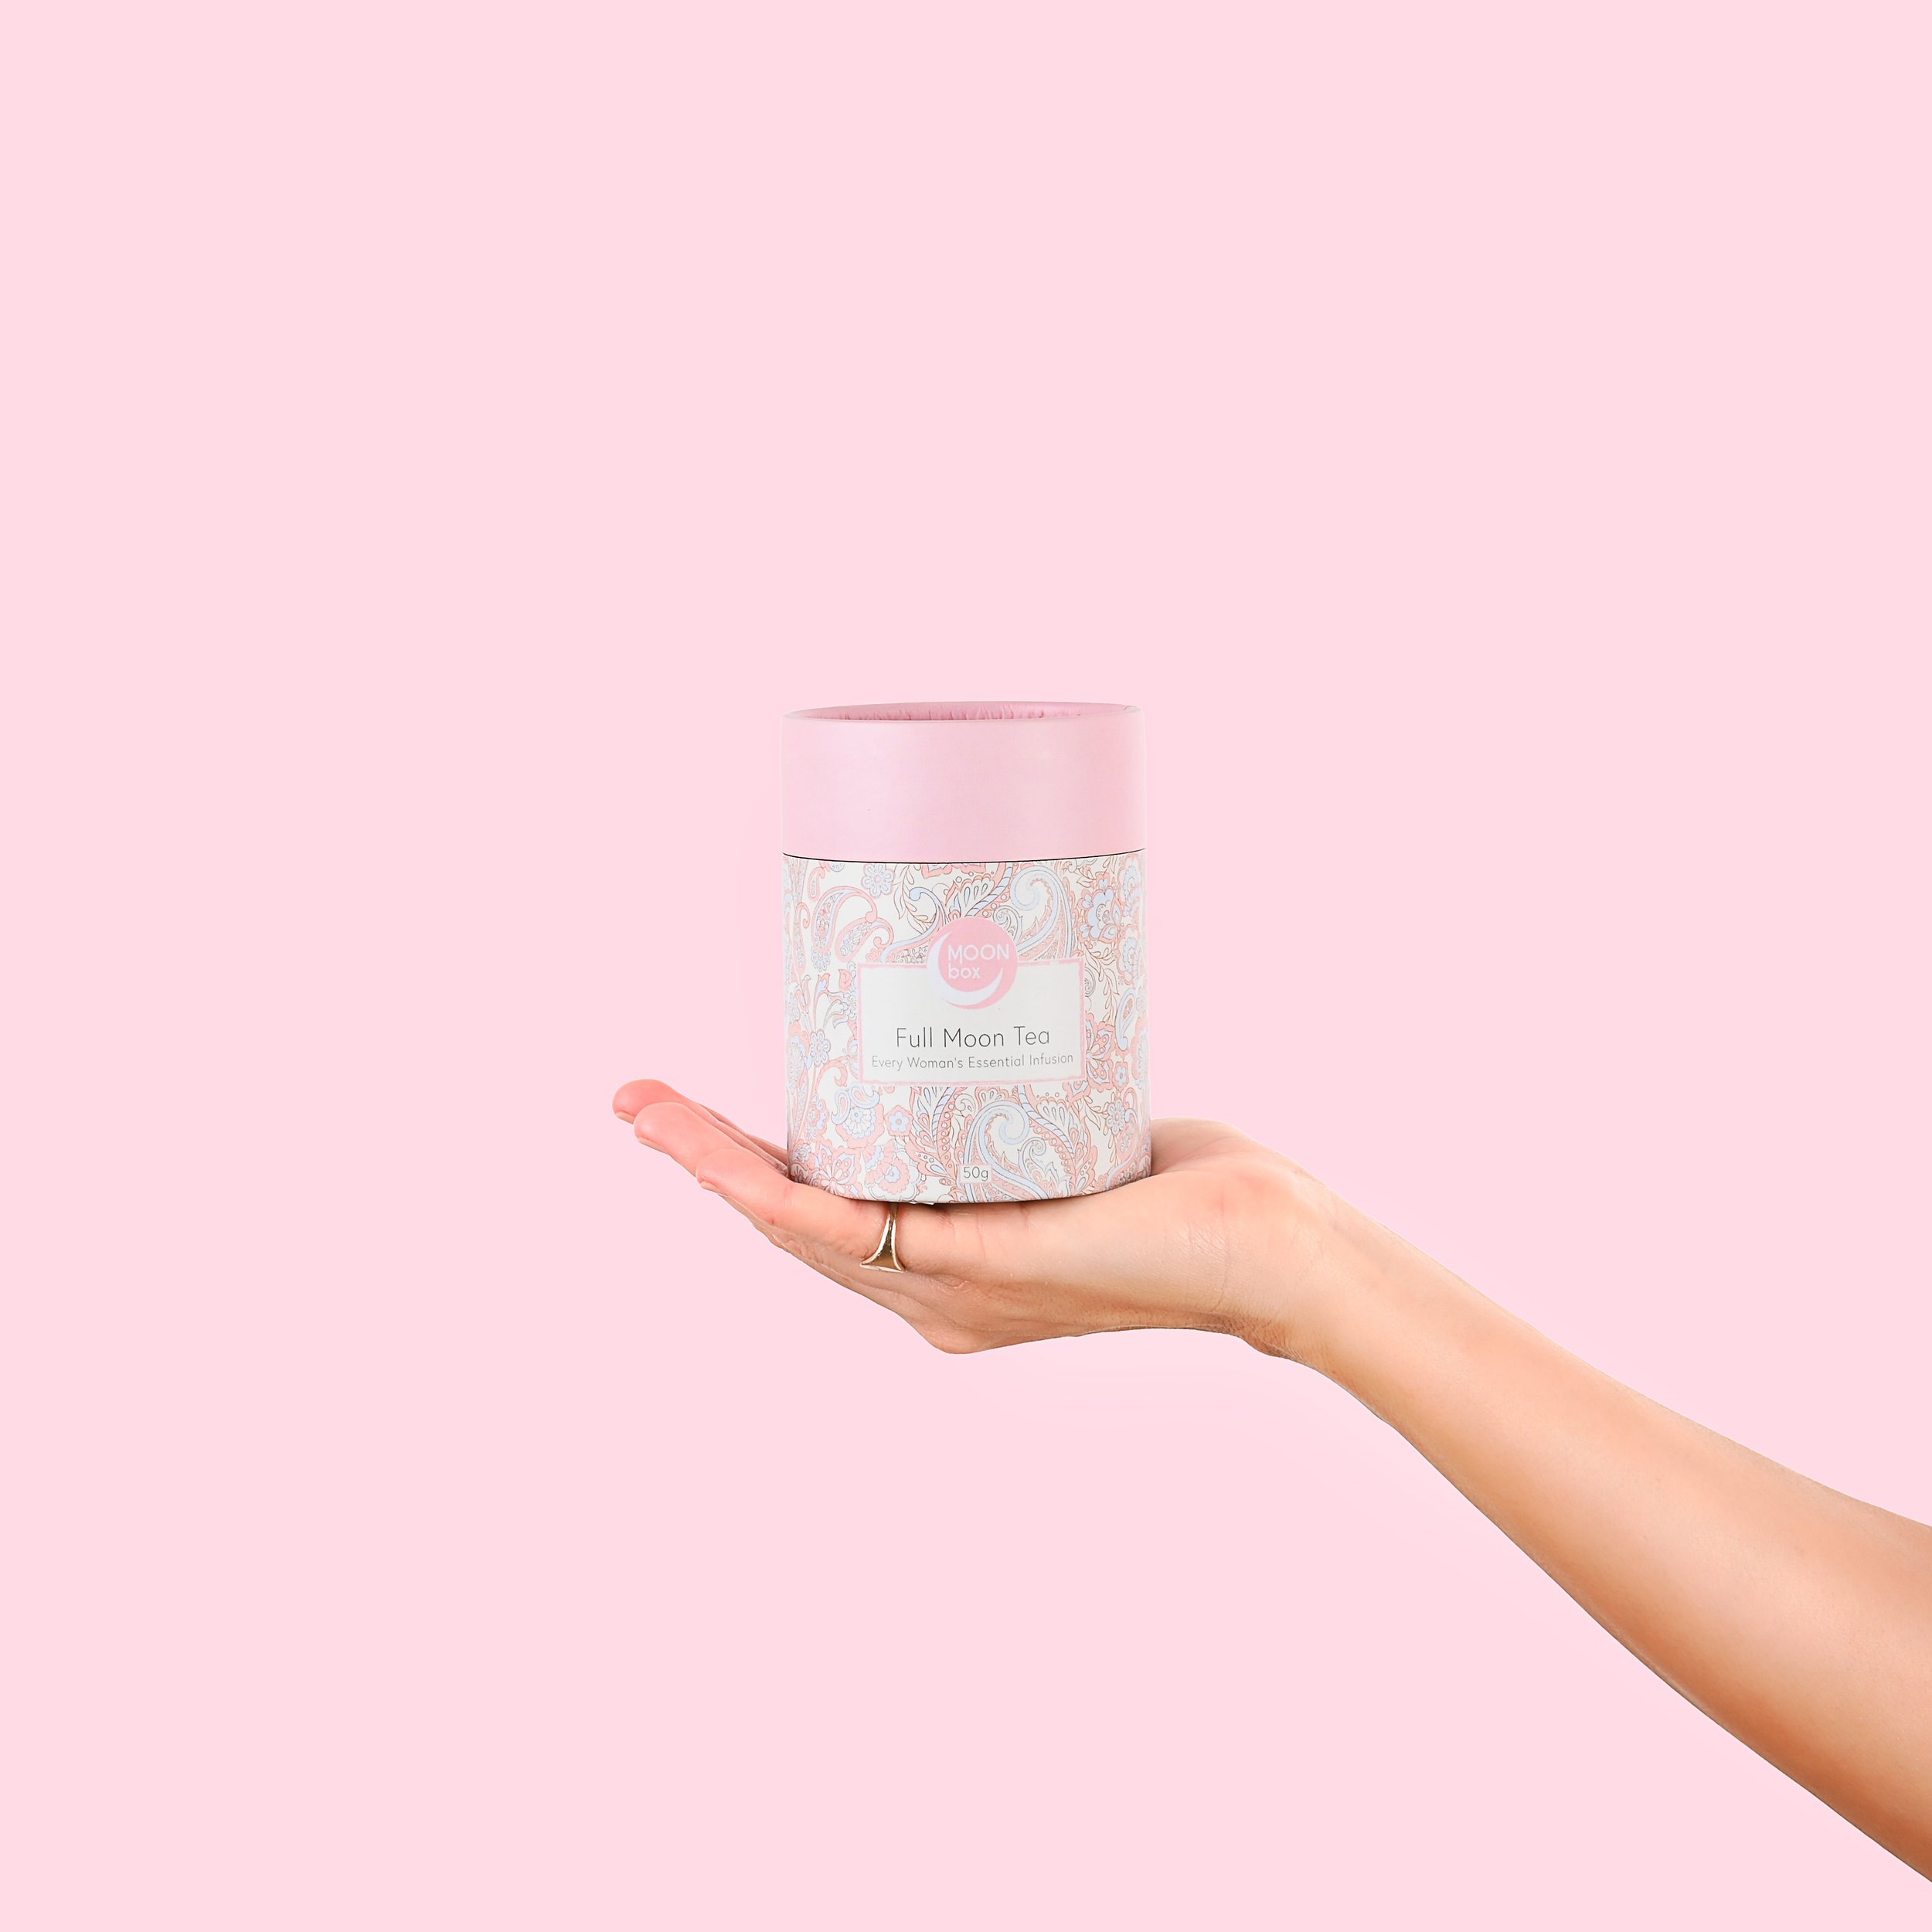
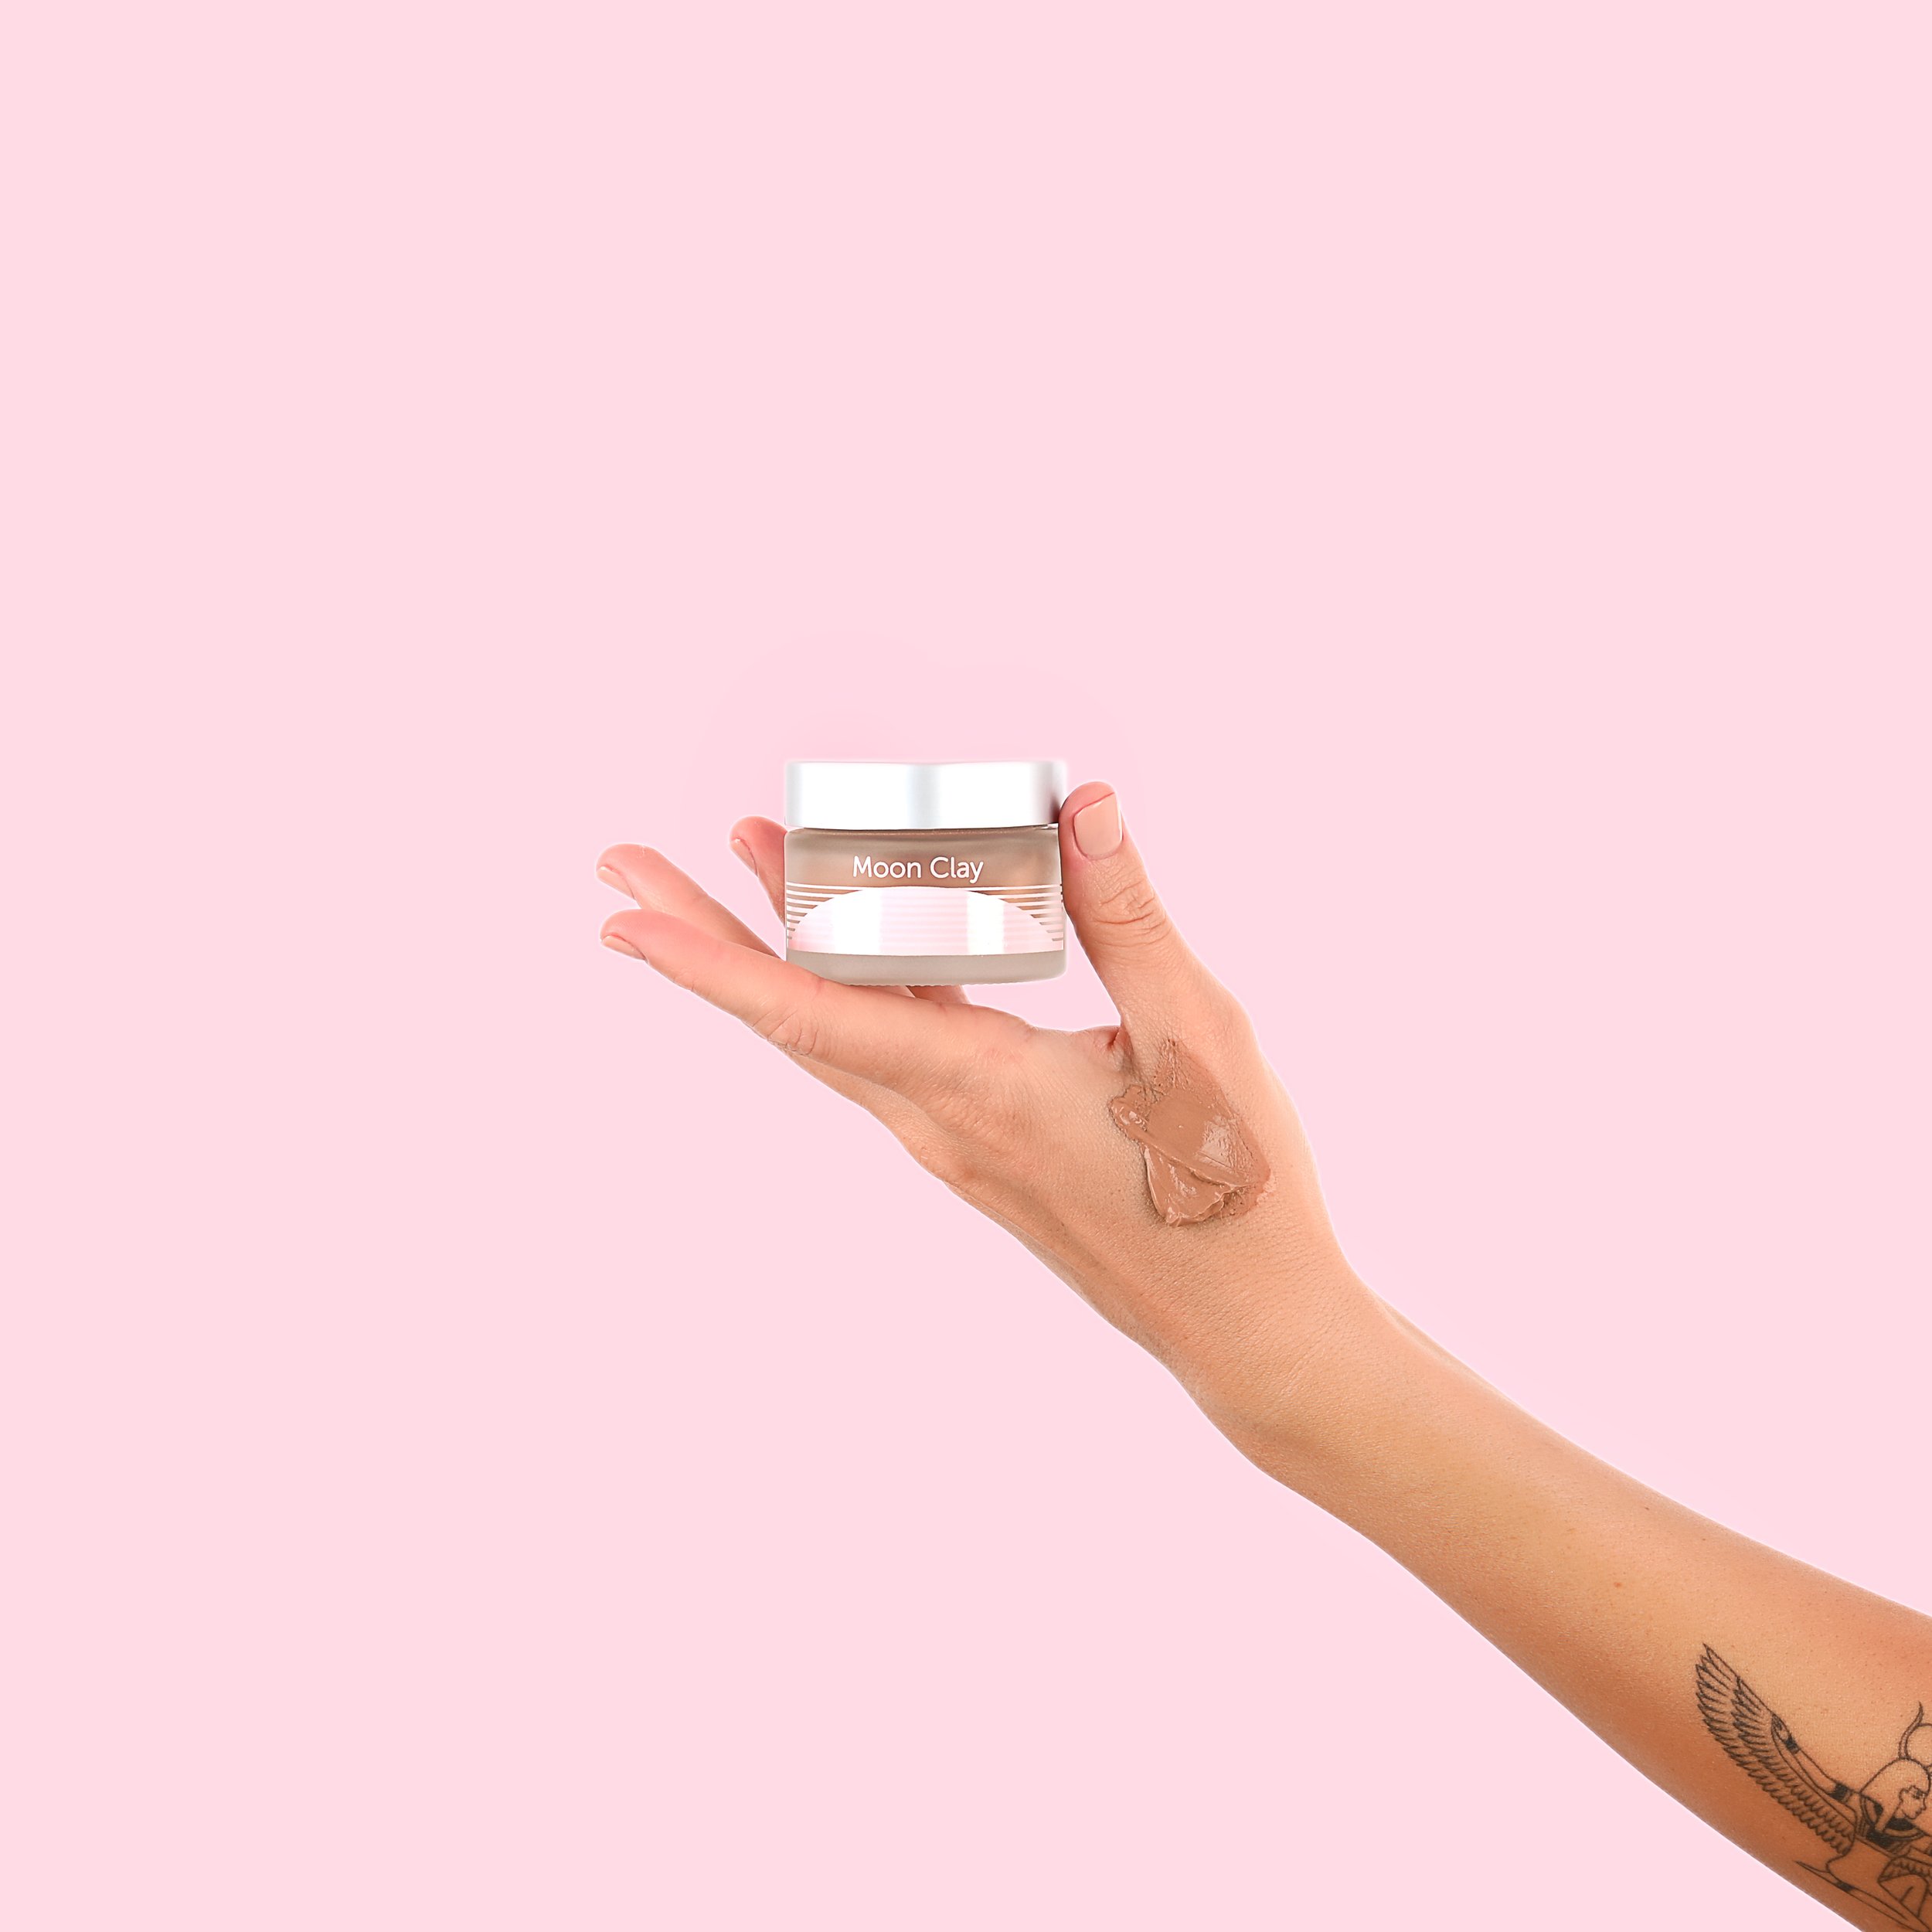
From the bottom of frame with one hand:
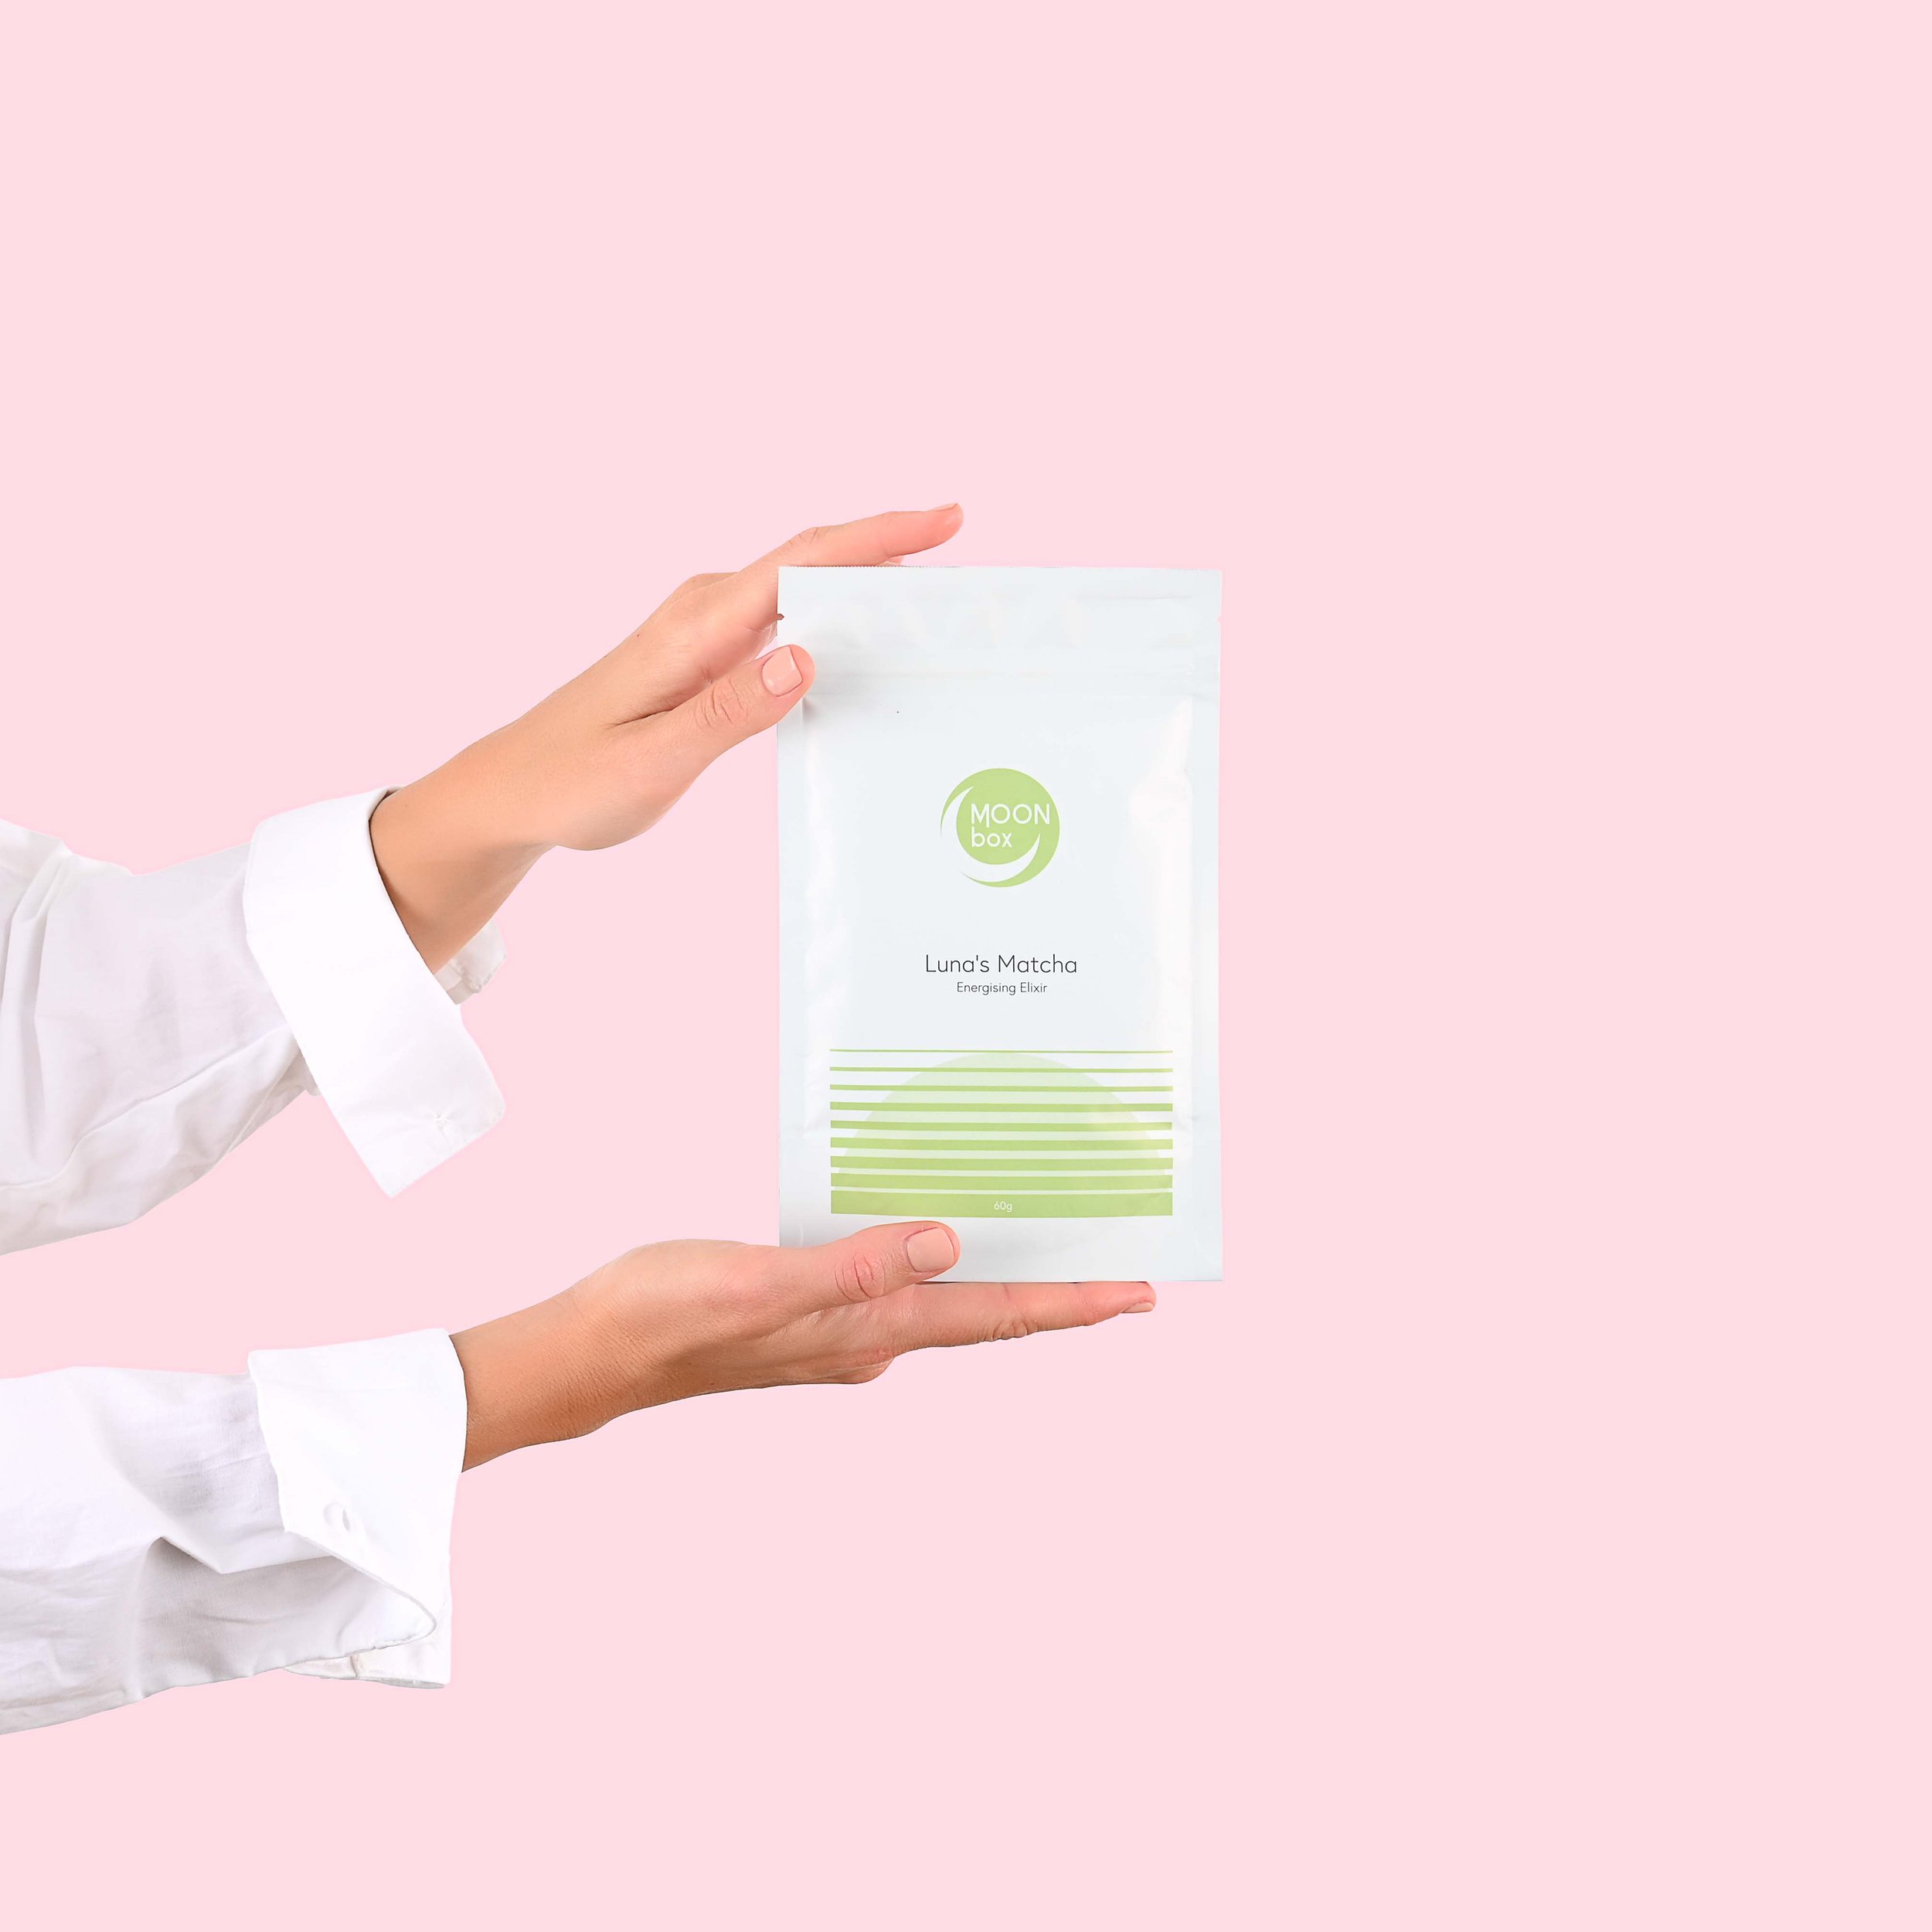
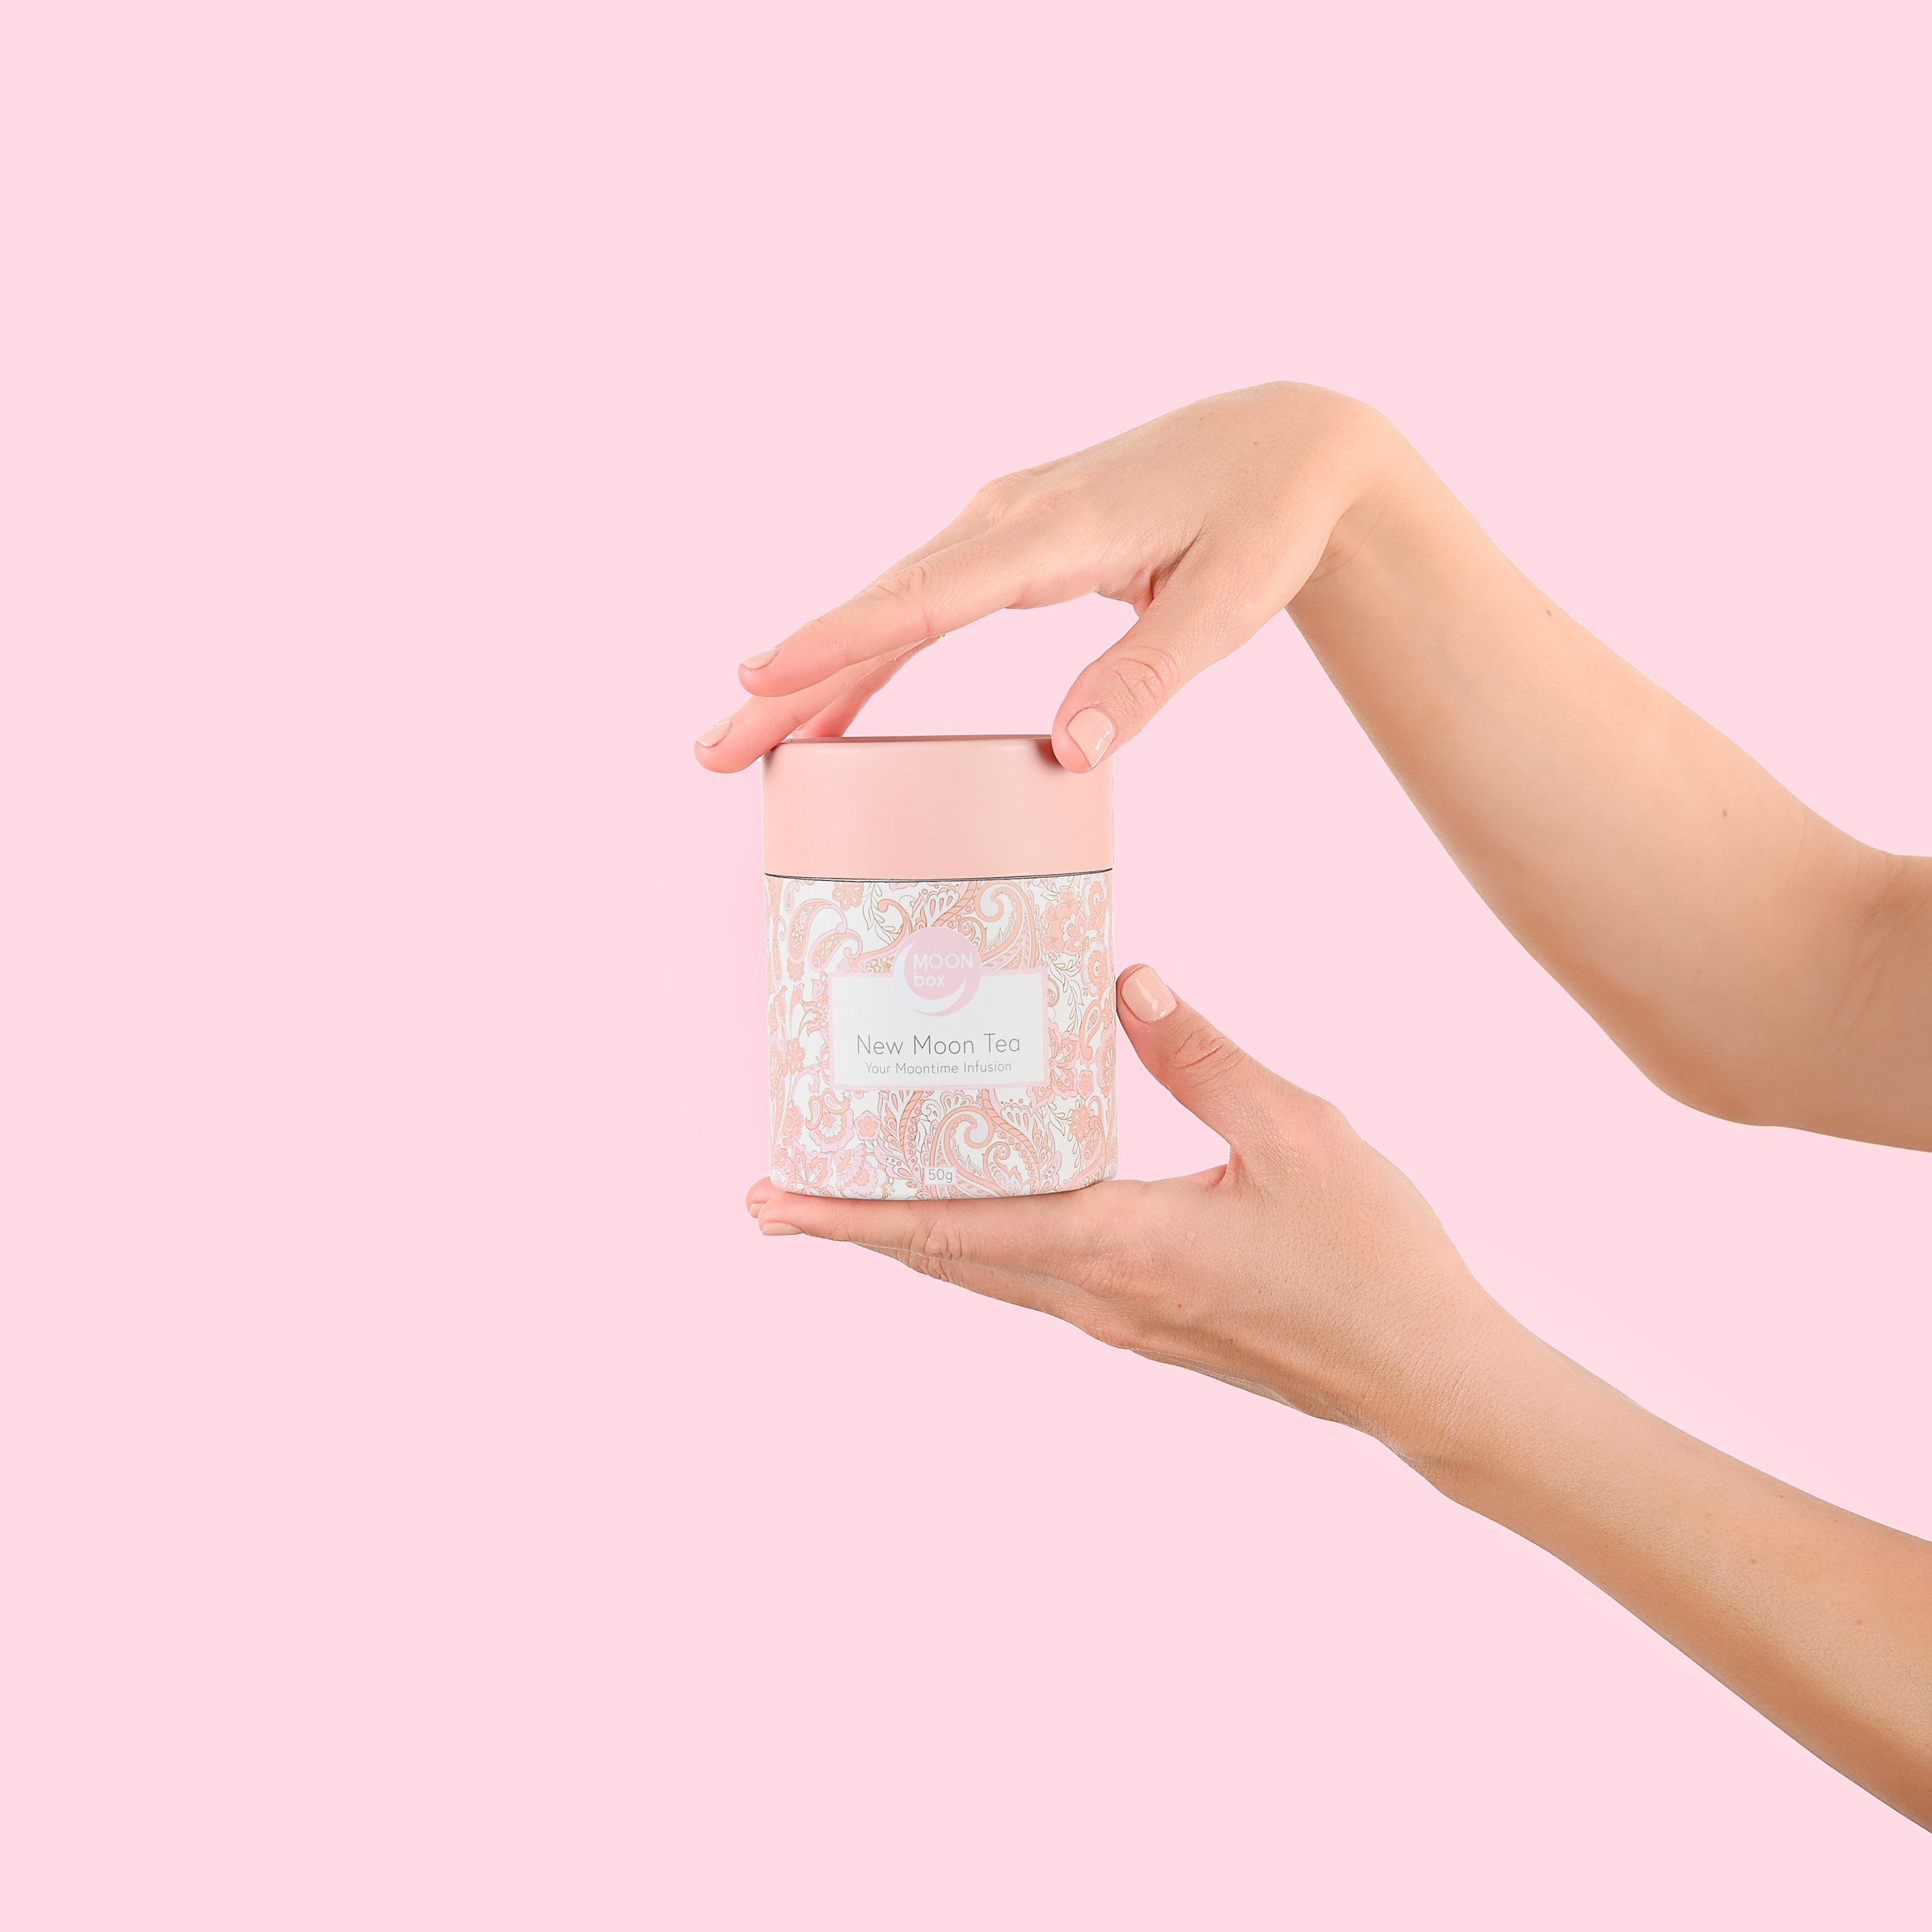
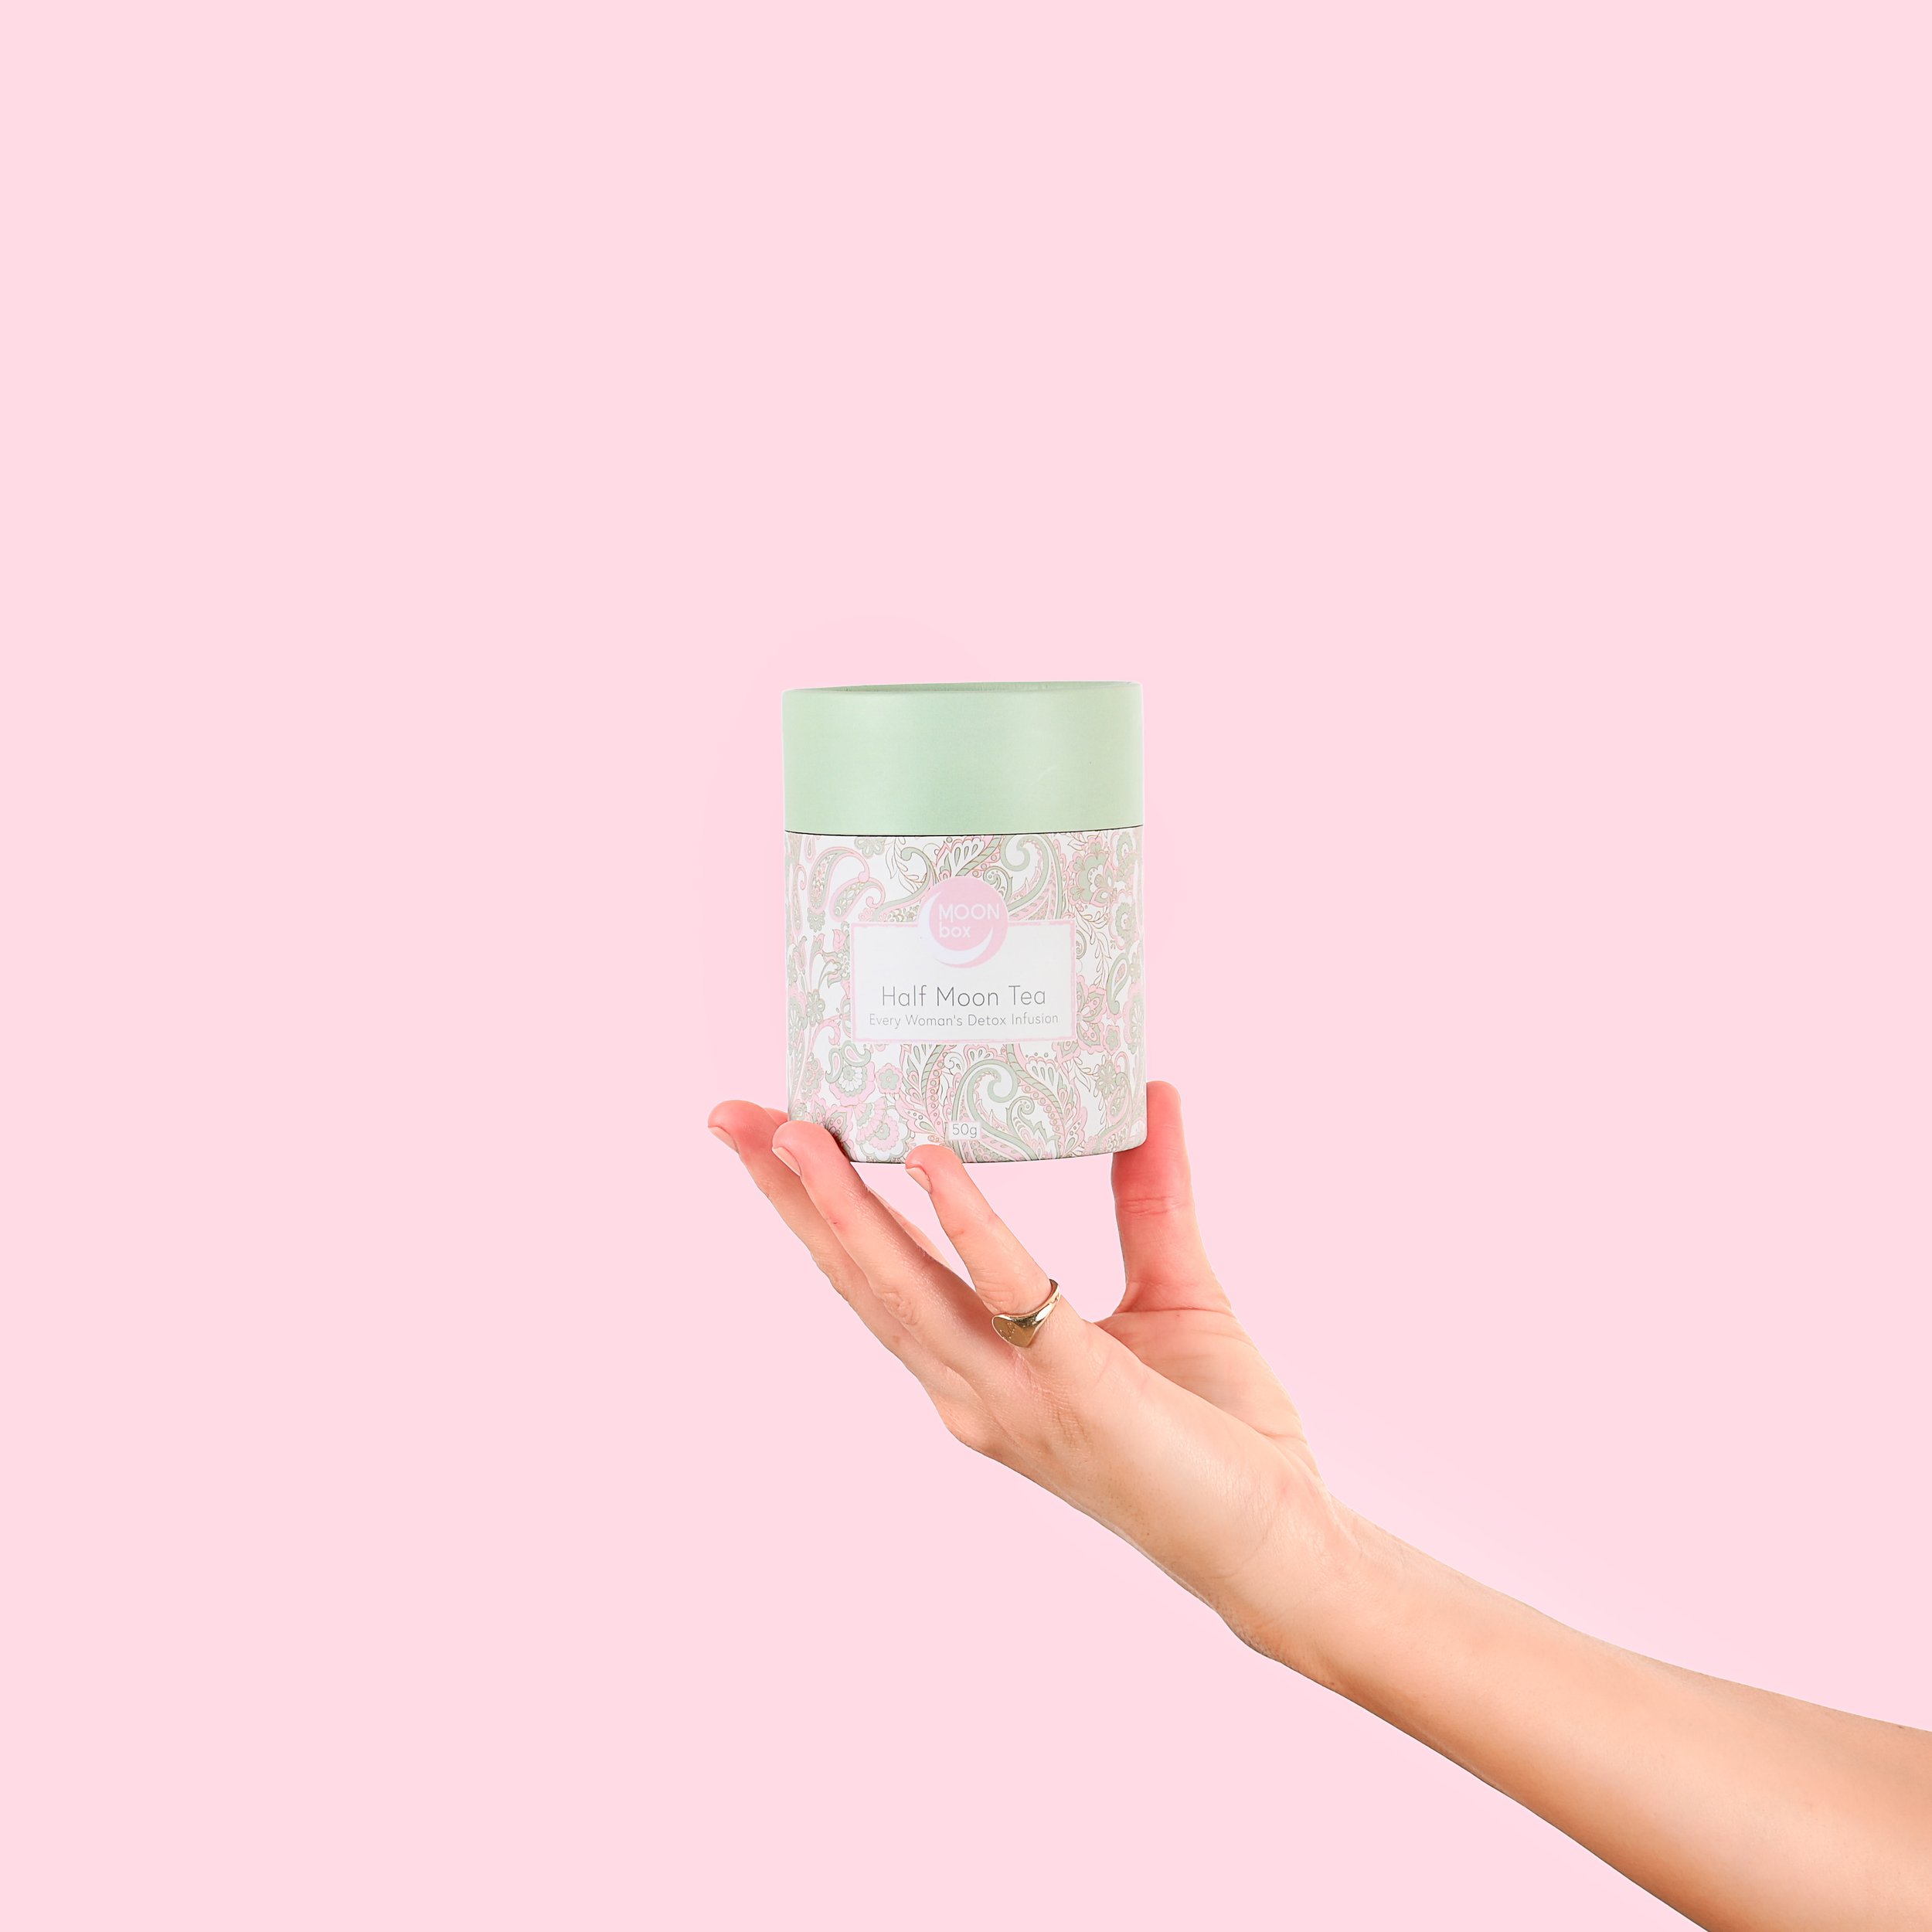
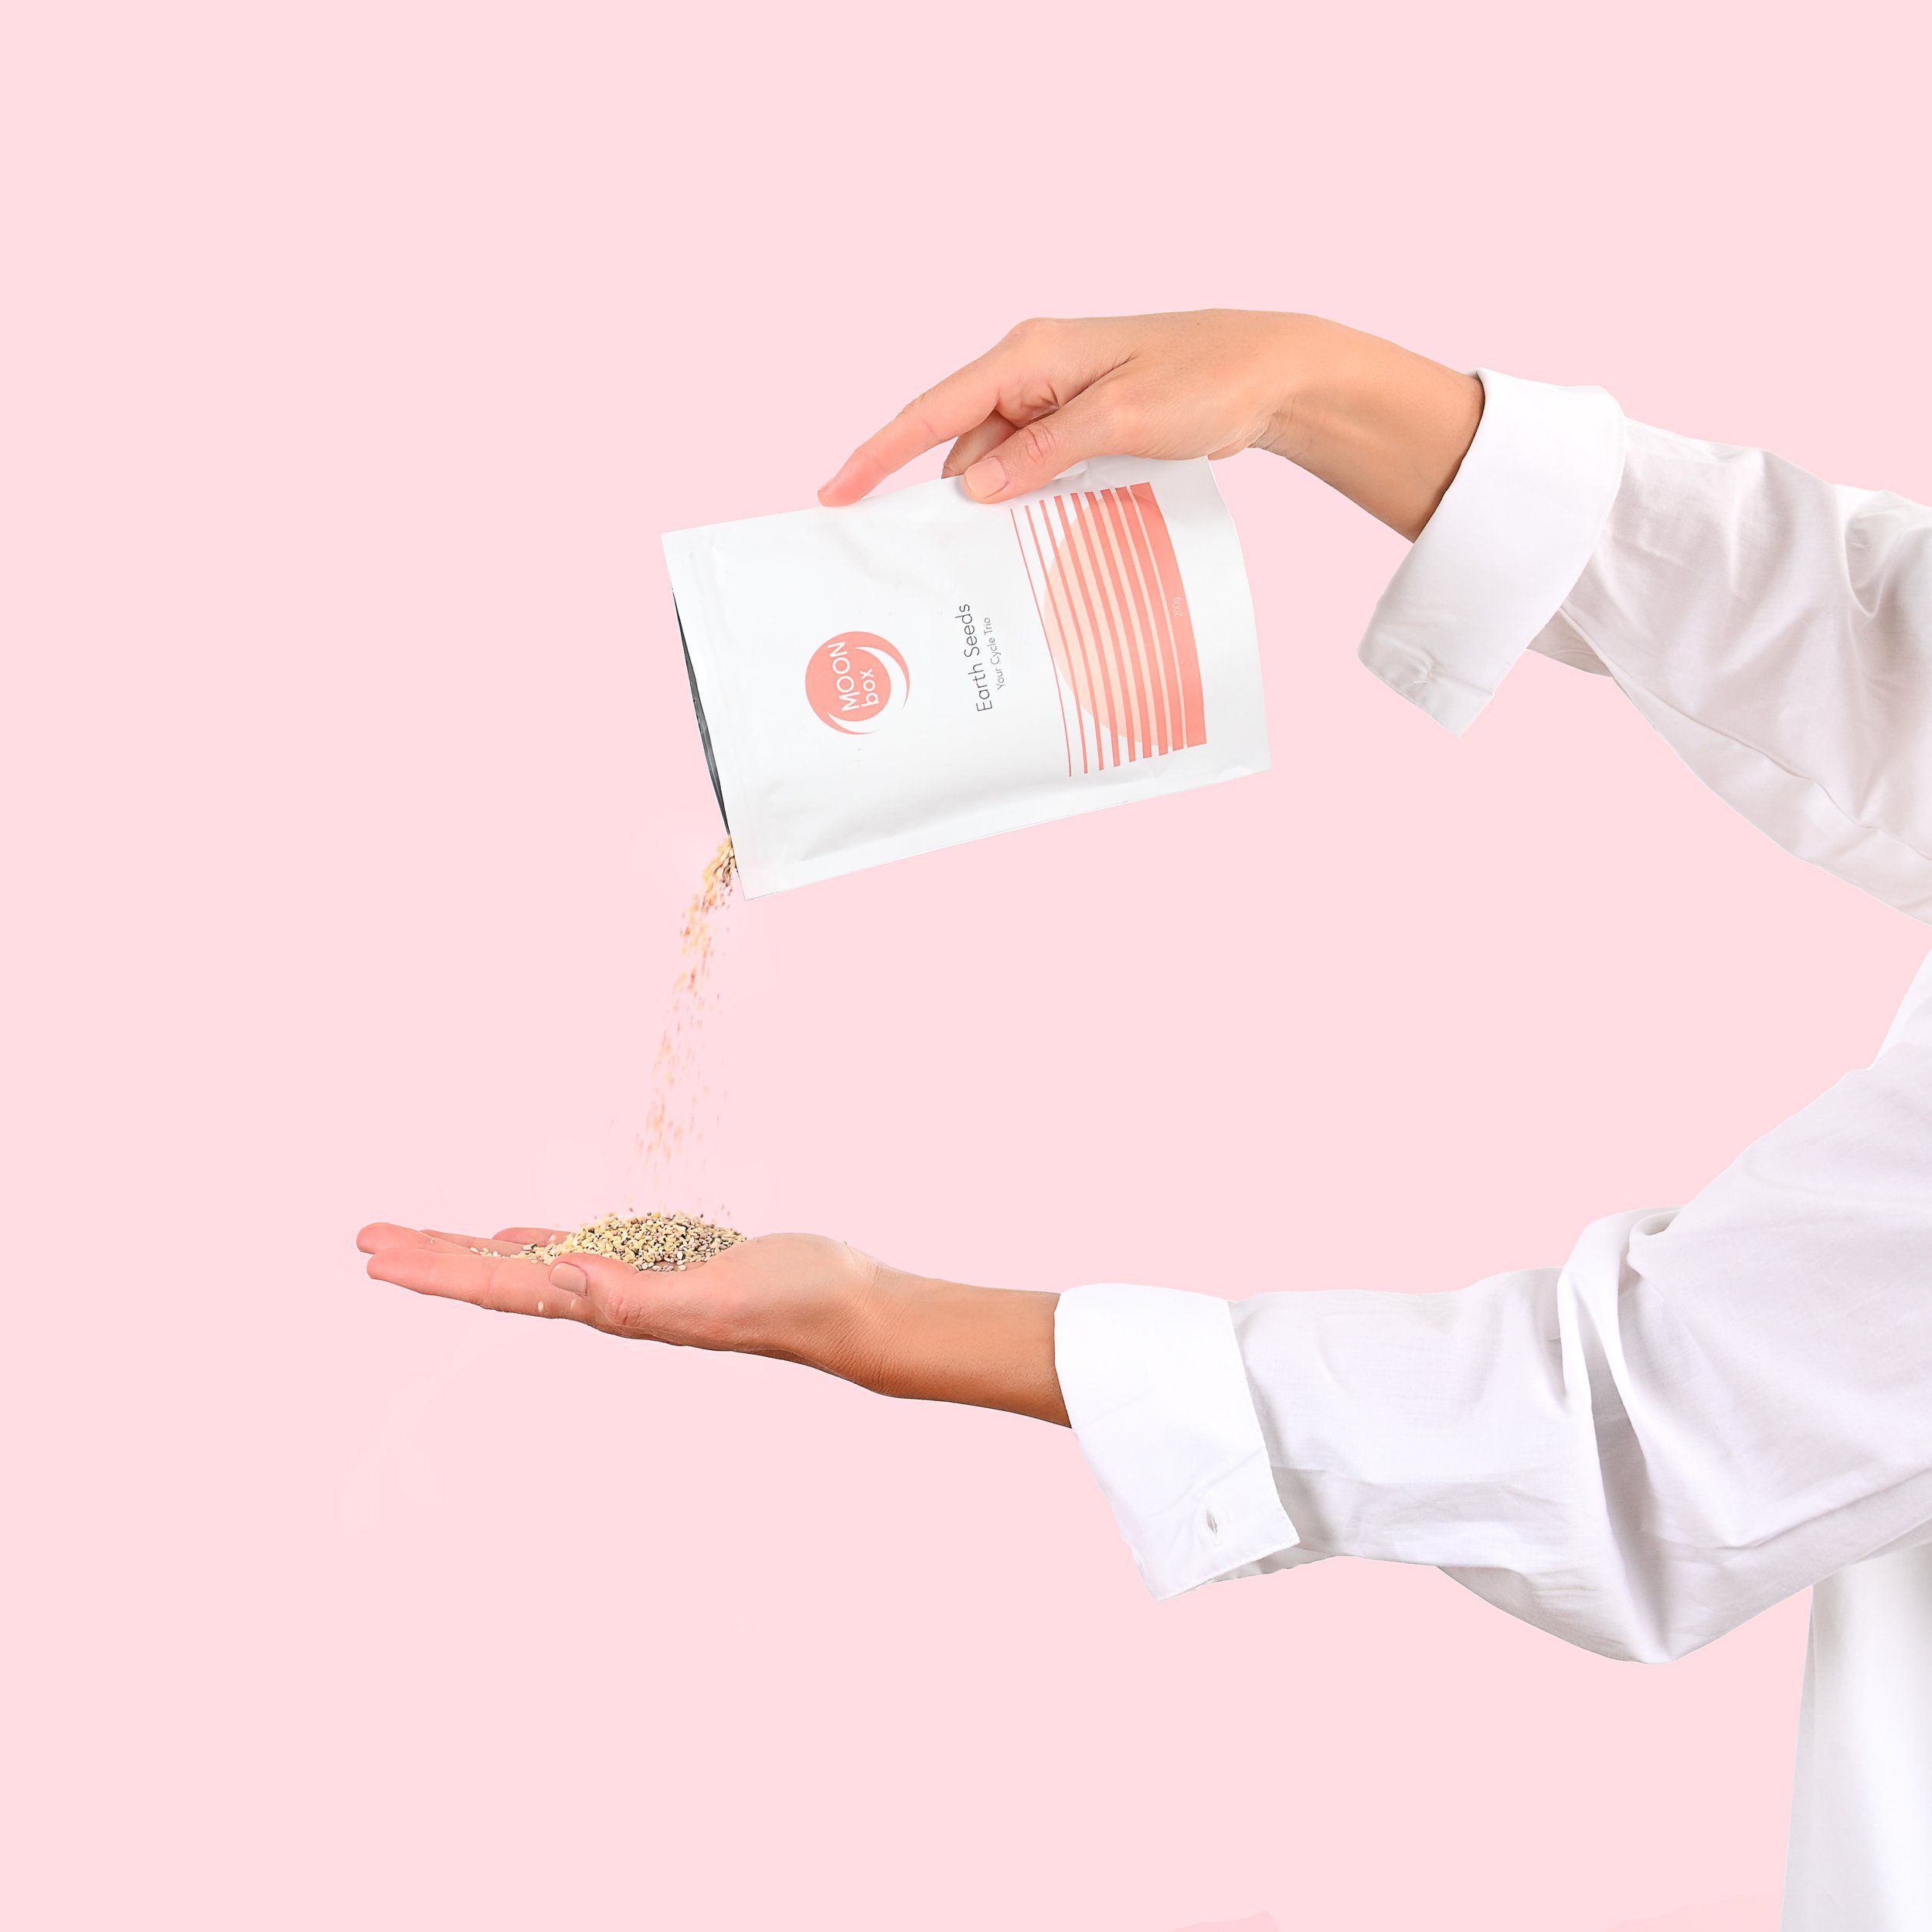
From the side of frame with 2 hands:
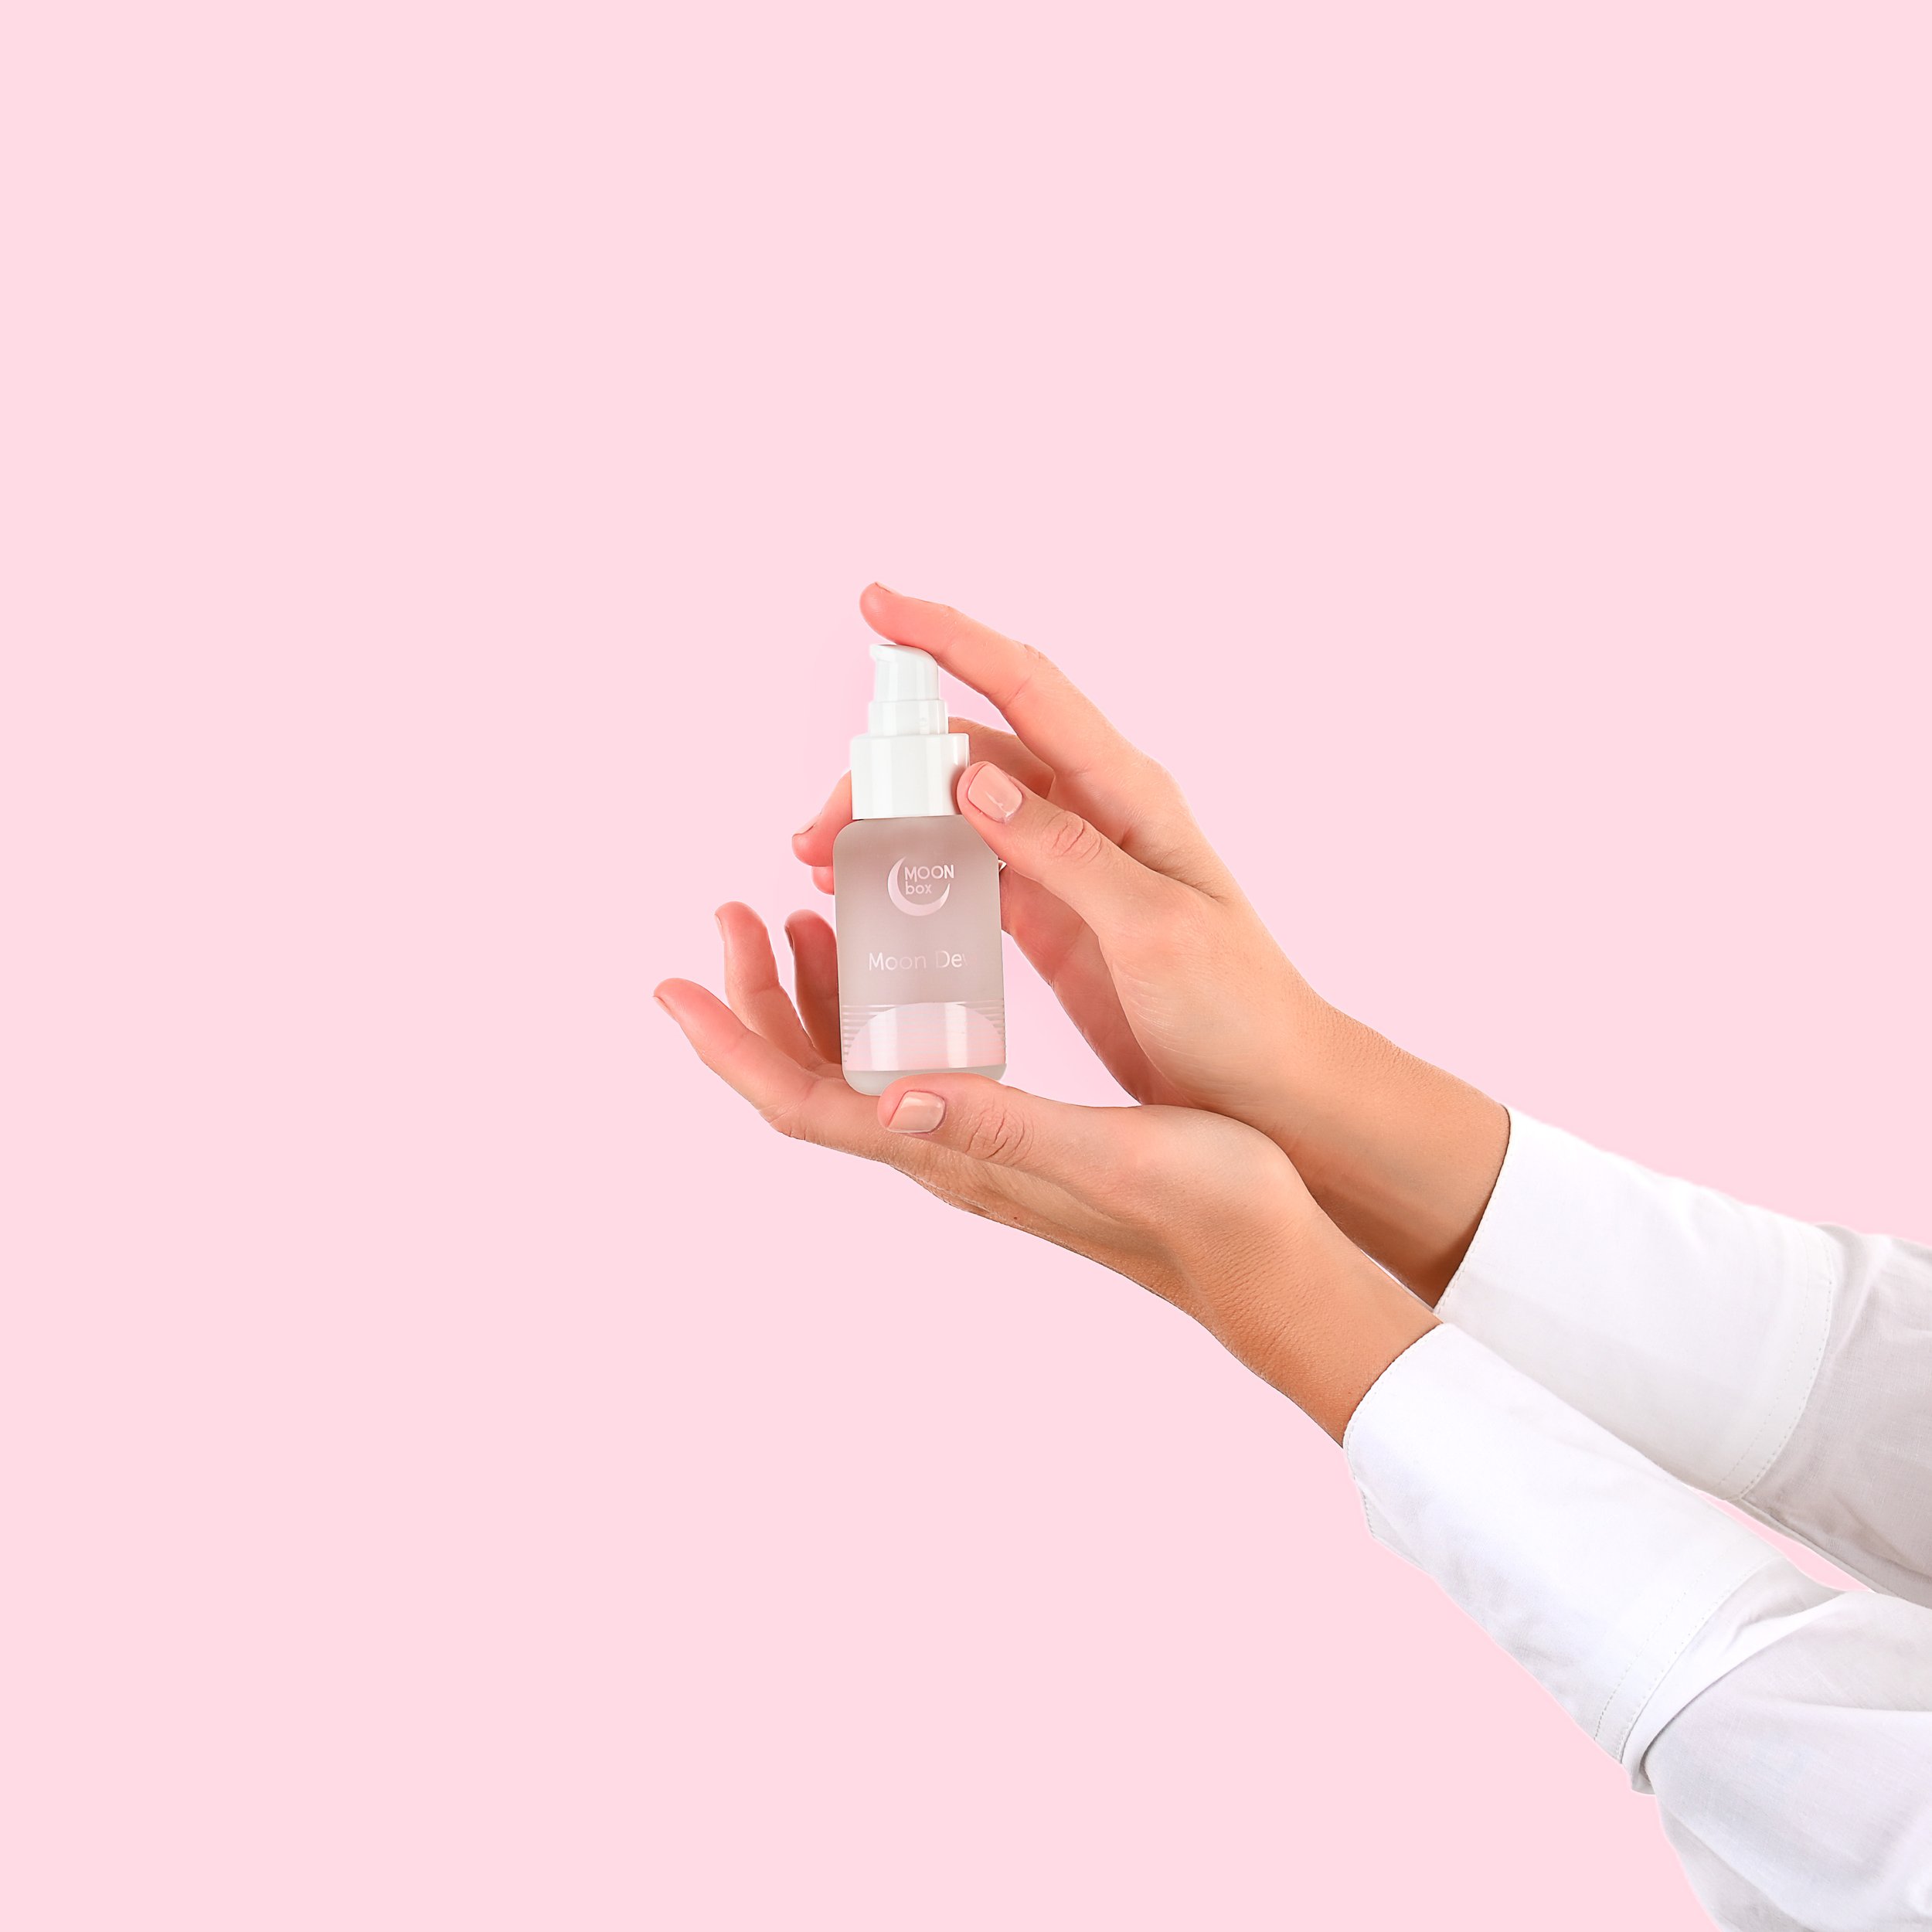
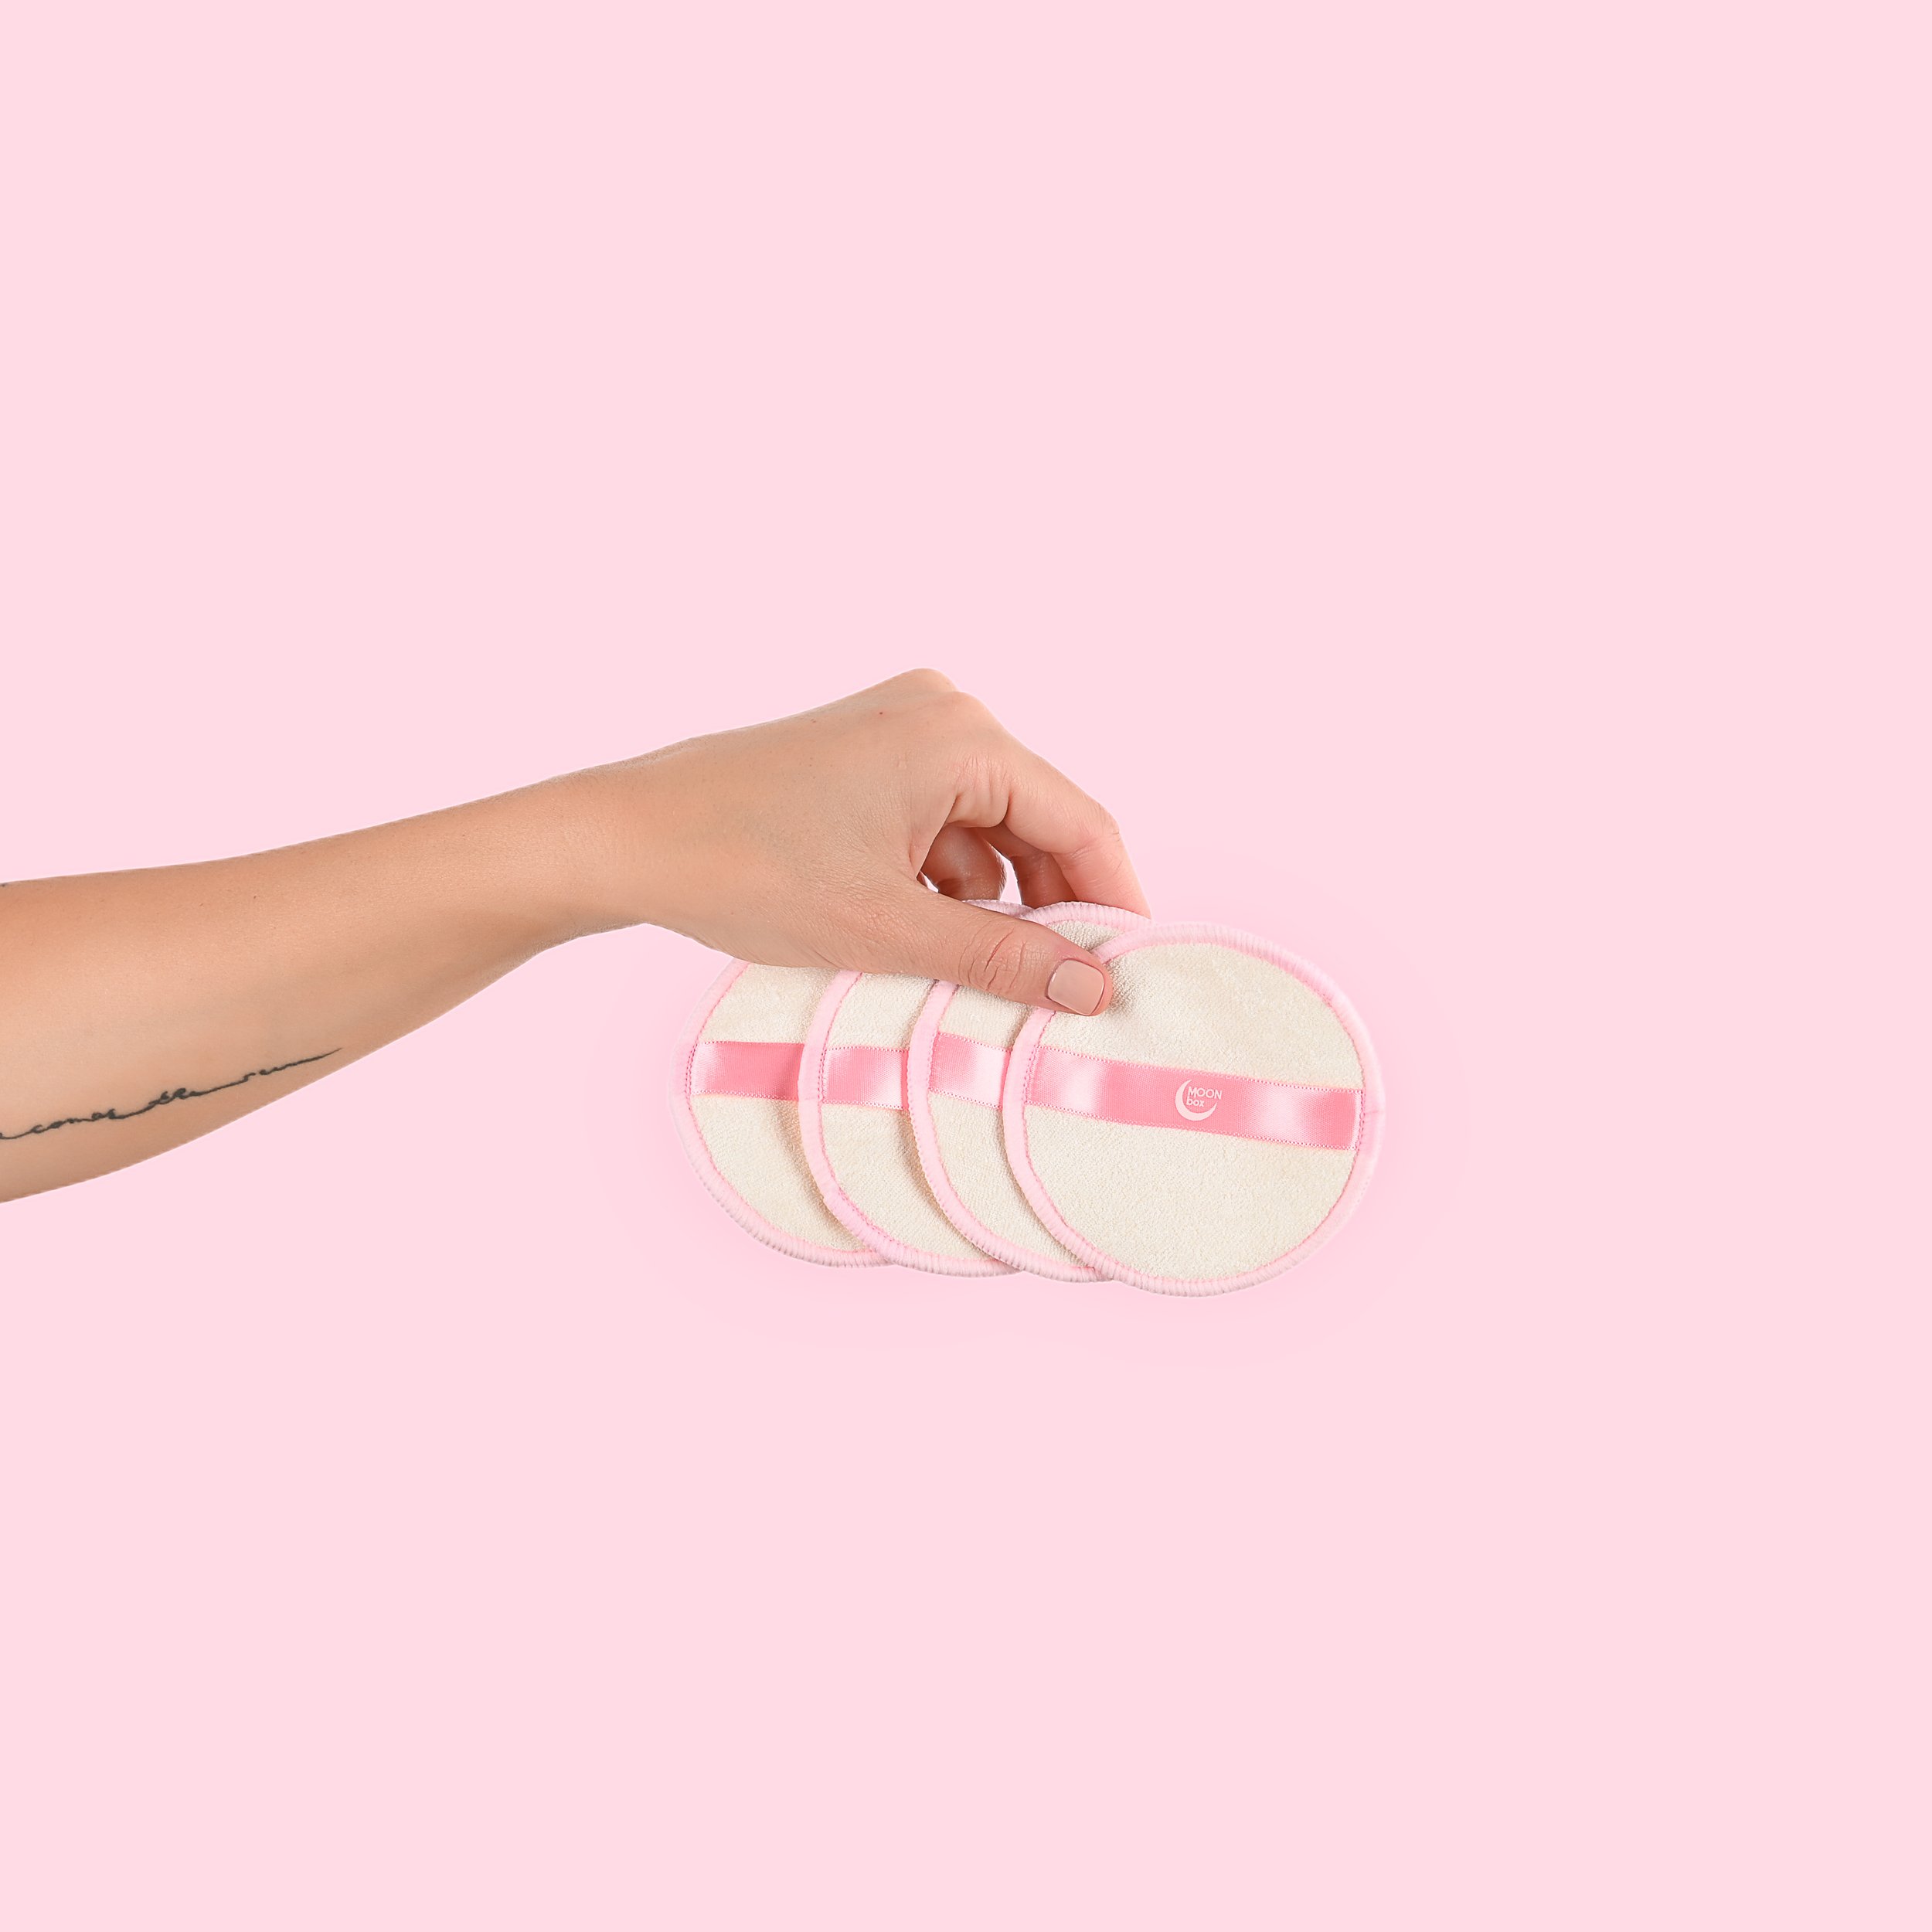
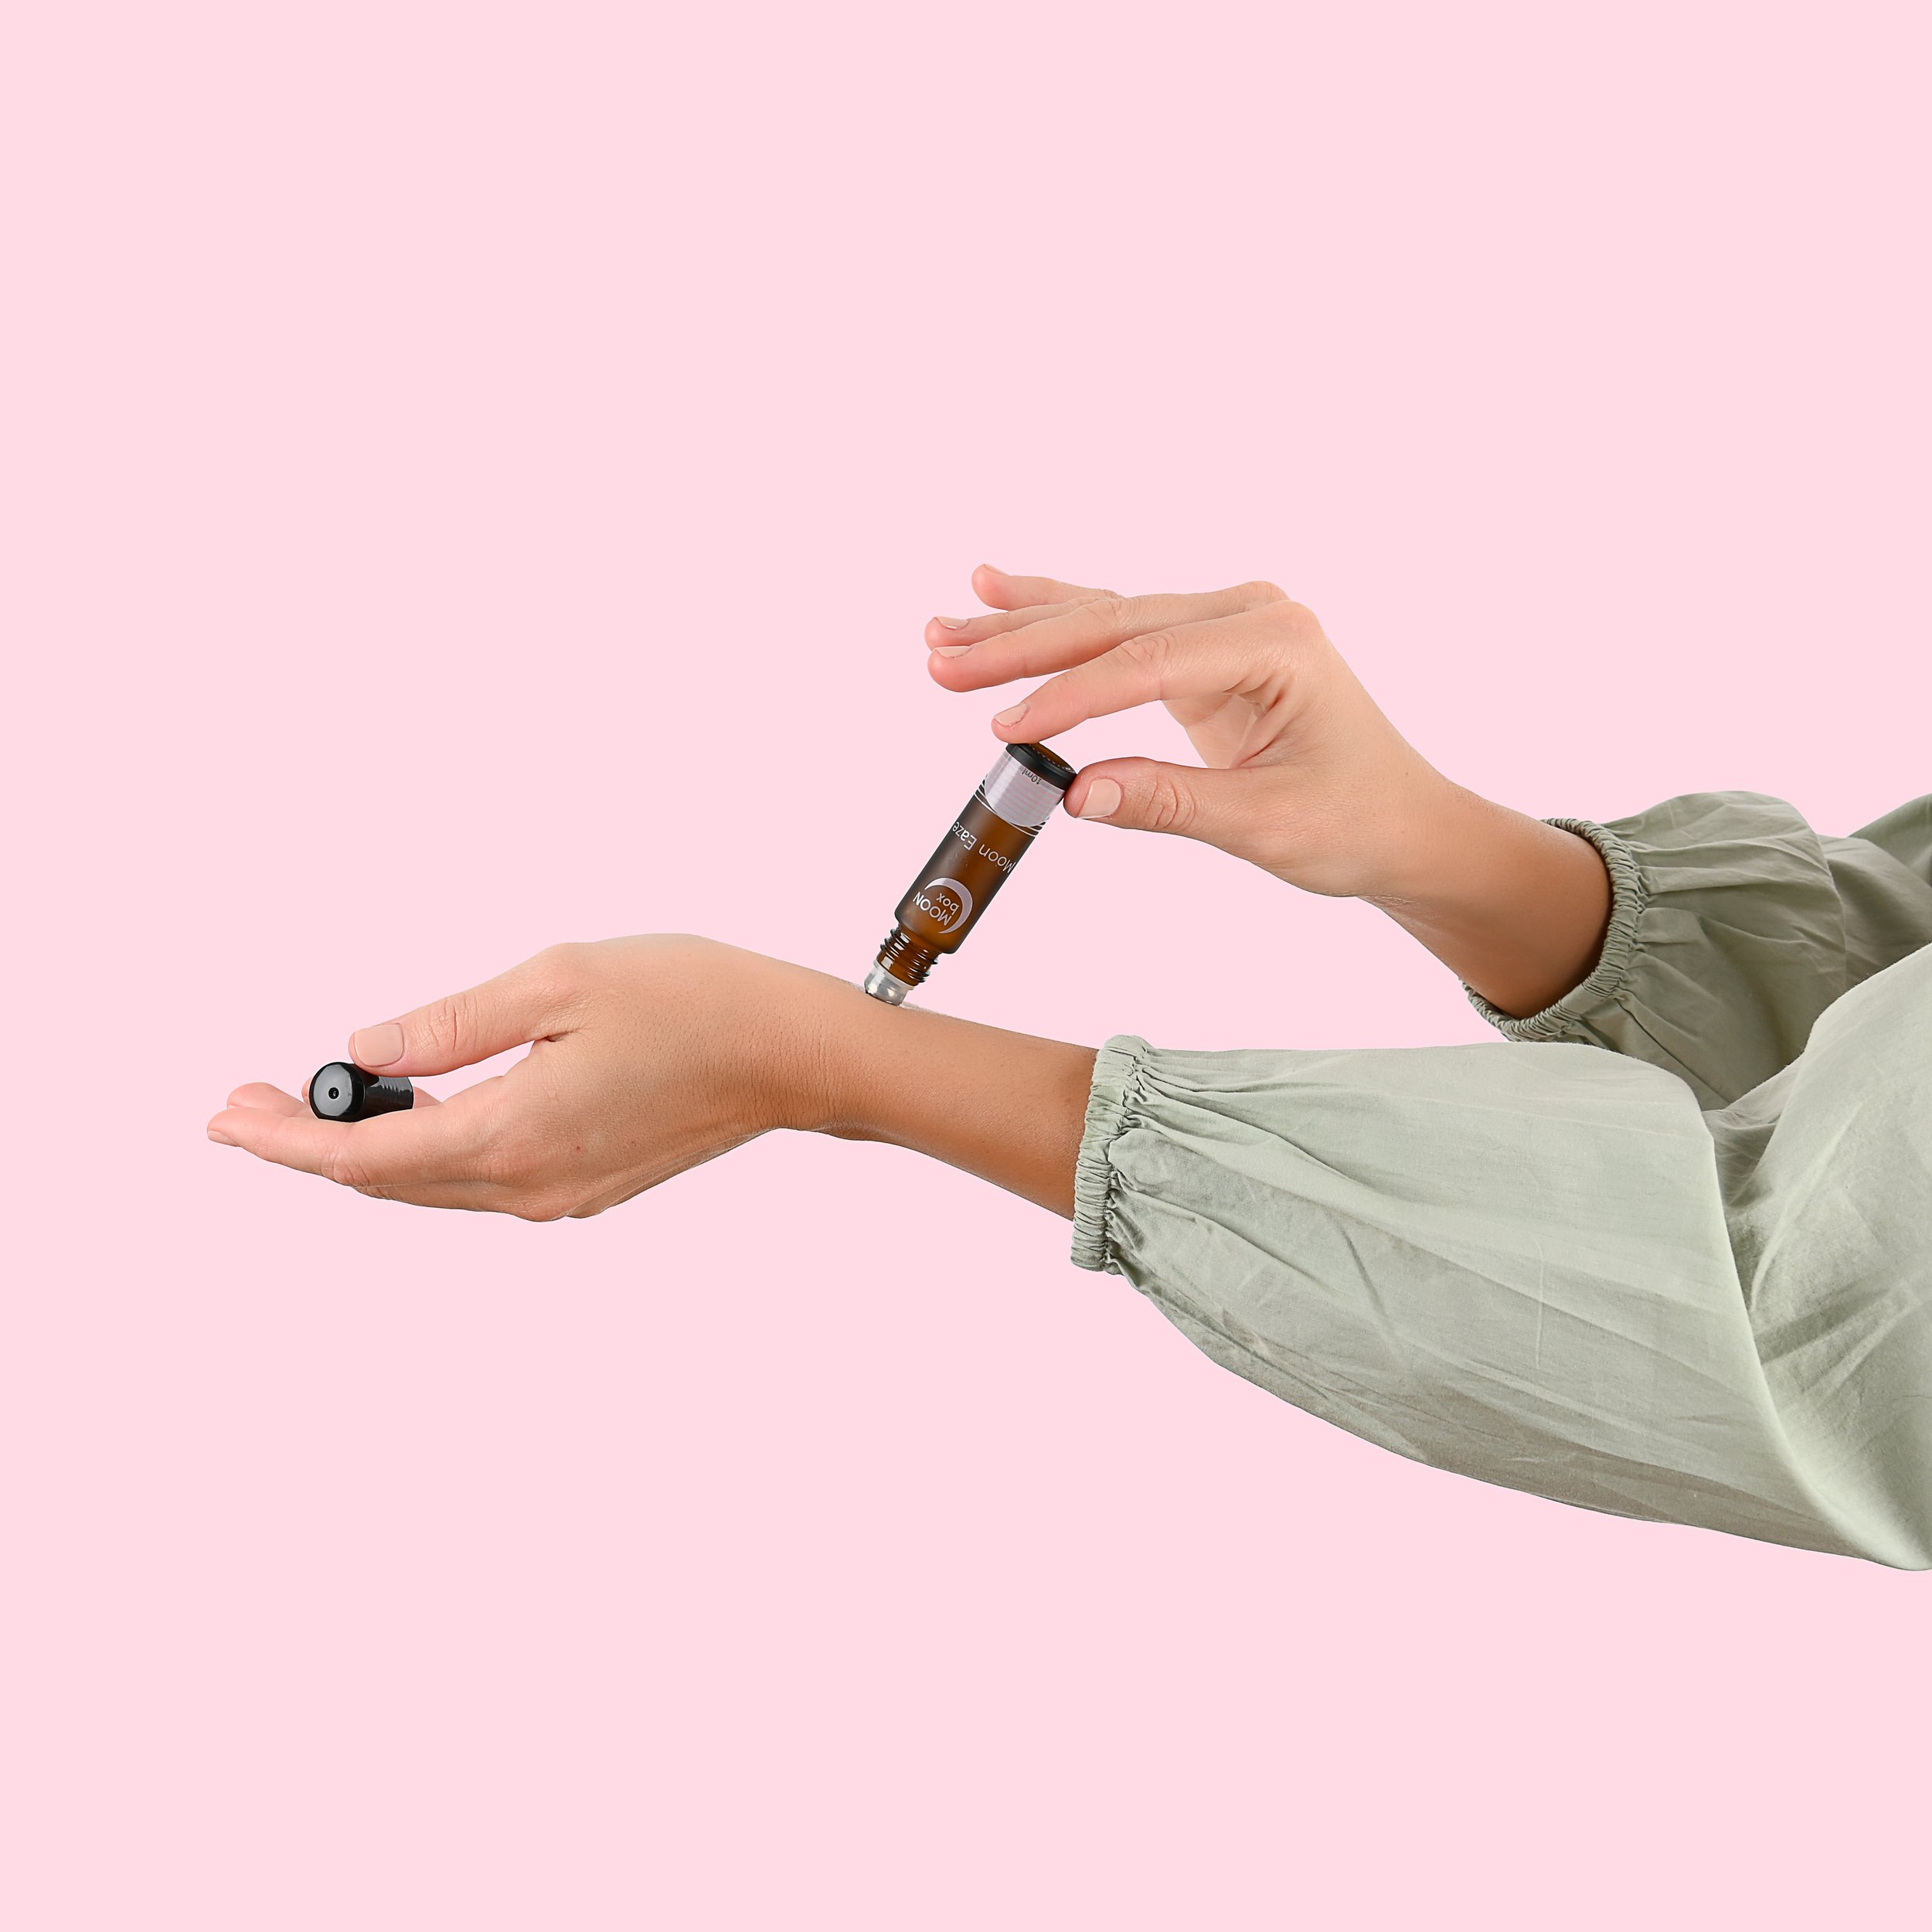
From the side of frame with 1 hand:
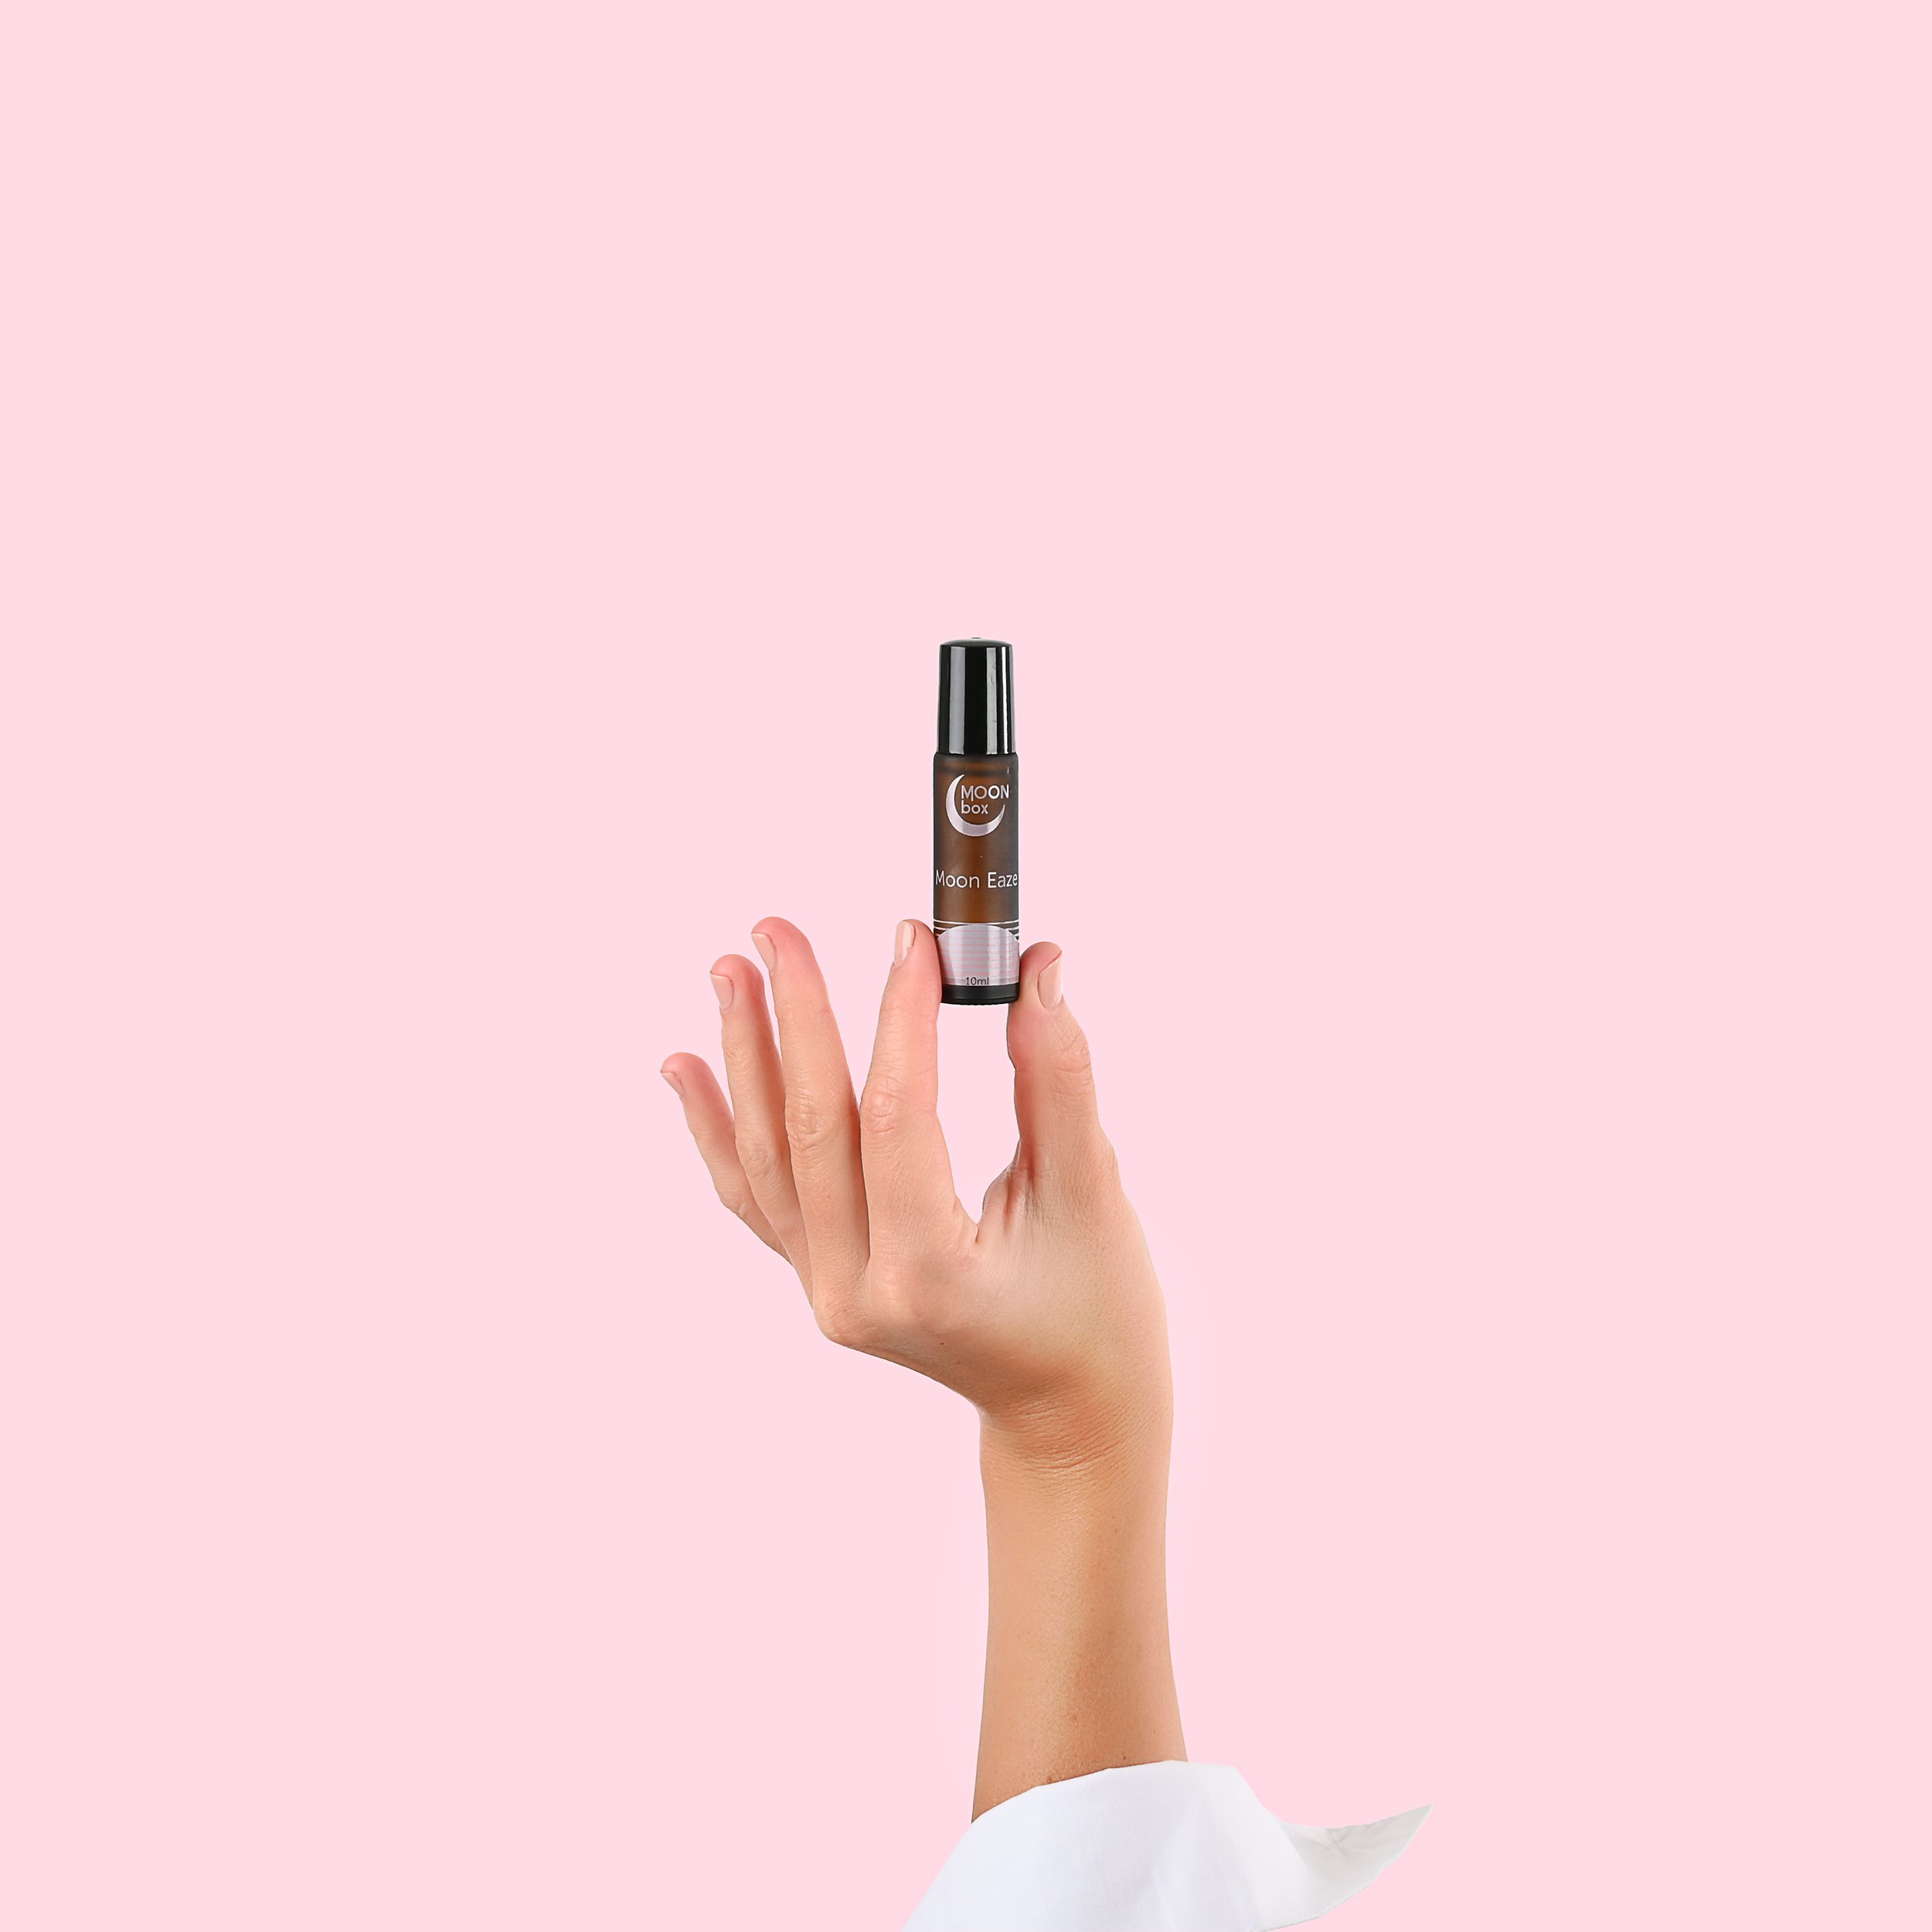
Opening or using product:
OK, so there you have it. I hope this blog has been helpful and gave you some ideas for hand modelling your products. As always, if you create anything awesome please share your pics in the Facebook Group Photography for Makers - I’d love to see your work!