
Different uses for paper in a product photo
If you're looking to up your product photography game, paper can be your new best friend! There are so many different ways you can use paper to create unique and eye-catching product photos. Here are just a few ideas to get you started:
Cut out shapes:
Cutting out shapes from paper can be a great way to add interest to your product photo. Whether it's a simple shape like a circle or a more intricate design, placing a paper cutout in front of your product can create an interesting shadow or texture. To create this effect, simply cut out a shape from a piece of paper and place it in front of your product. Play around with different shapes and angles until you find the perfect look.

Unroll paper to create curves:
By unrolling a sheet of paper and curving it, you can create a unique backdrop for your product photo. This can be especially effective if you want to create a sense of movement or flow in your photo. Simply unroll a piece of paper, curve it into the shape you want, and place it behind your product.

Create a texture or riser for your product to sit on:
This technique is especially valuable when working with small objects such as jewelry. By employing creative folding and crumpling methods, you can introduce captivating textures into your images. Additionally, manipulating paper by folding or bending it can serve as a means to fashion props and risers specifically designed to securely hold and elegantly showcase these objects.
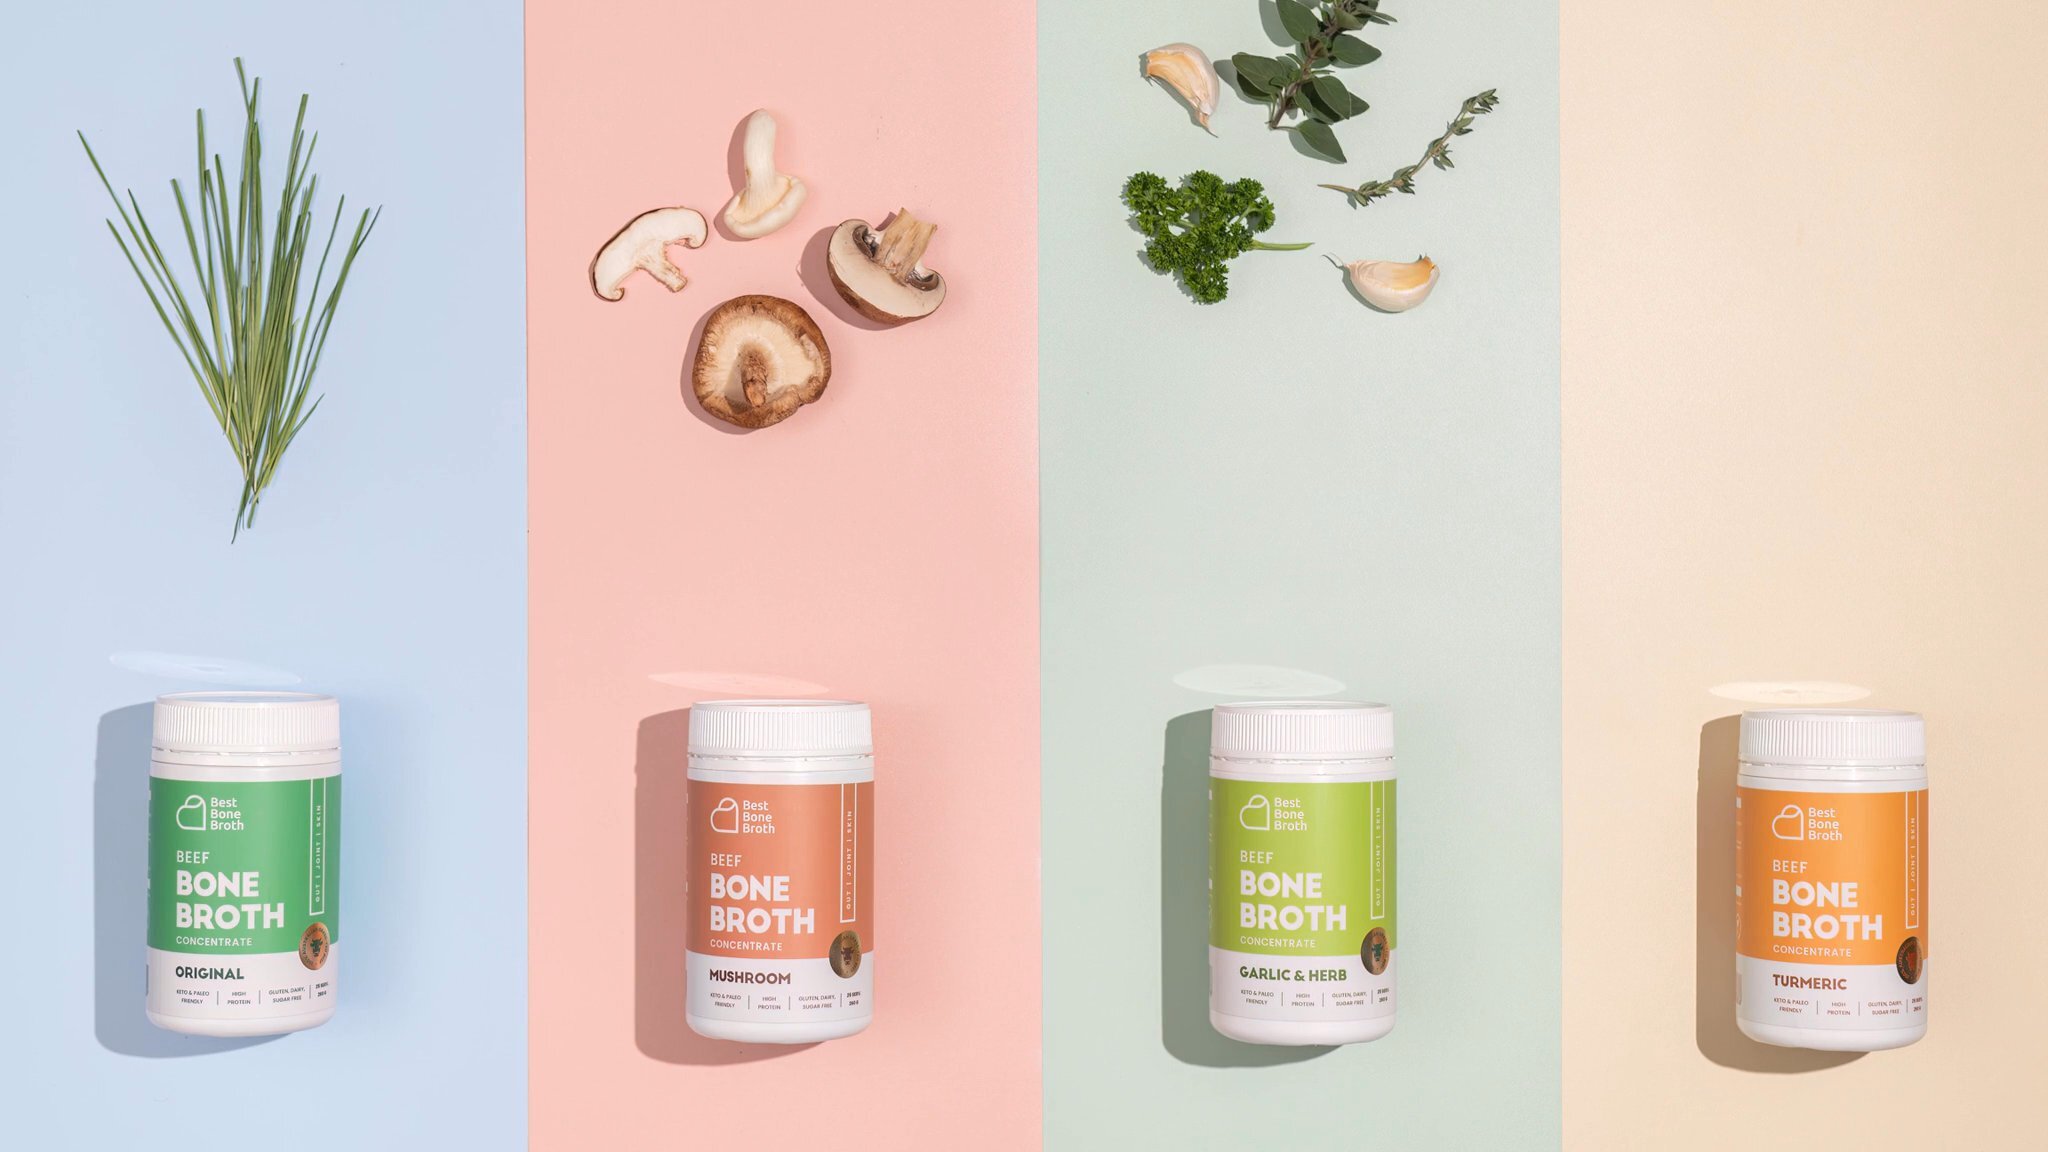
Layer paper to create sections:
Layering different pieces of paper can be a great way to create sections and interesting compostions in your product photo. You can try layering different shades of the same color and light to create depth and shadows, or use contrasting colors for a more dramatic effect.
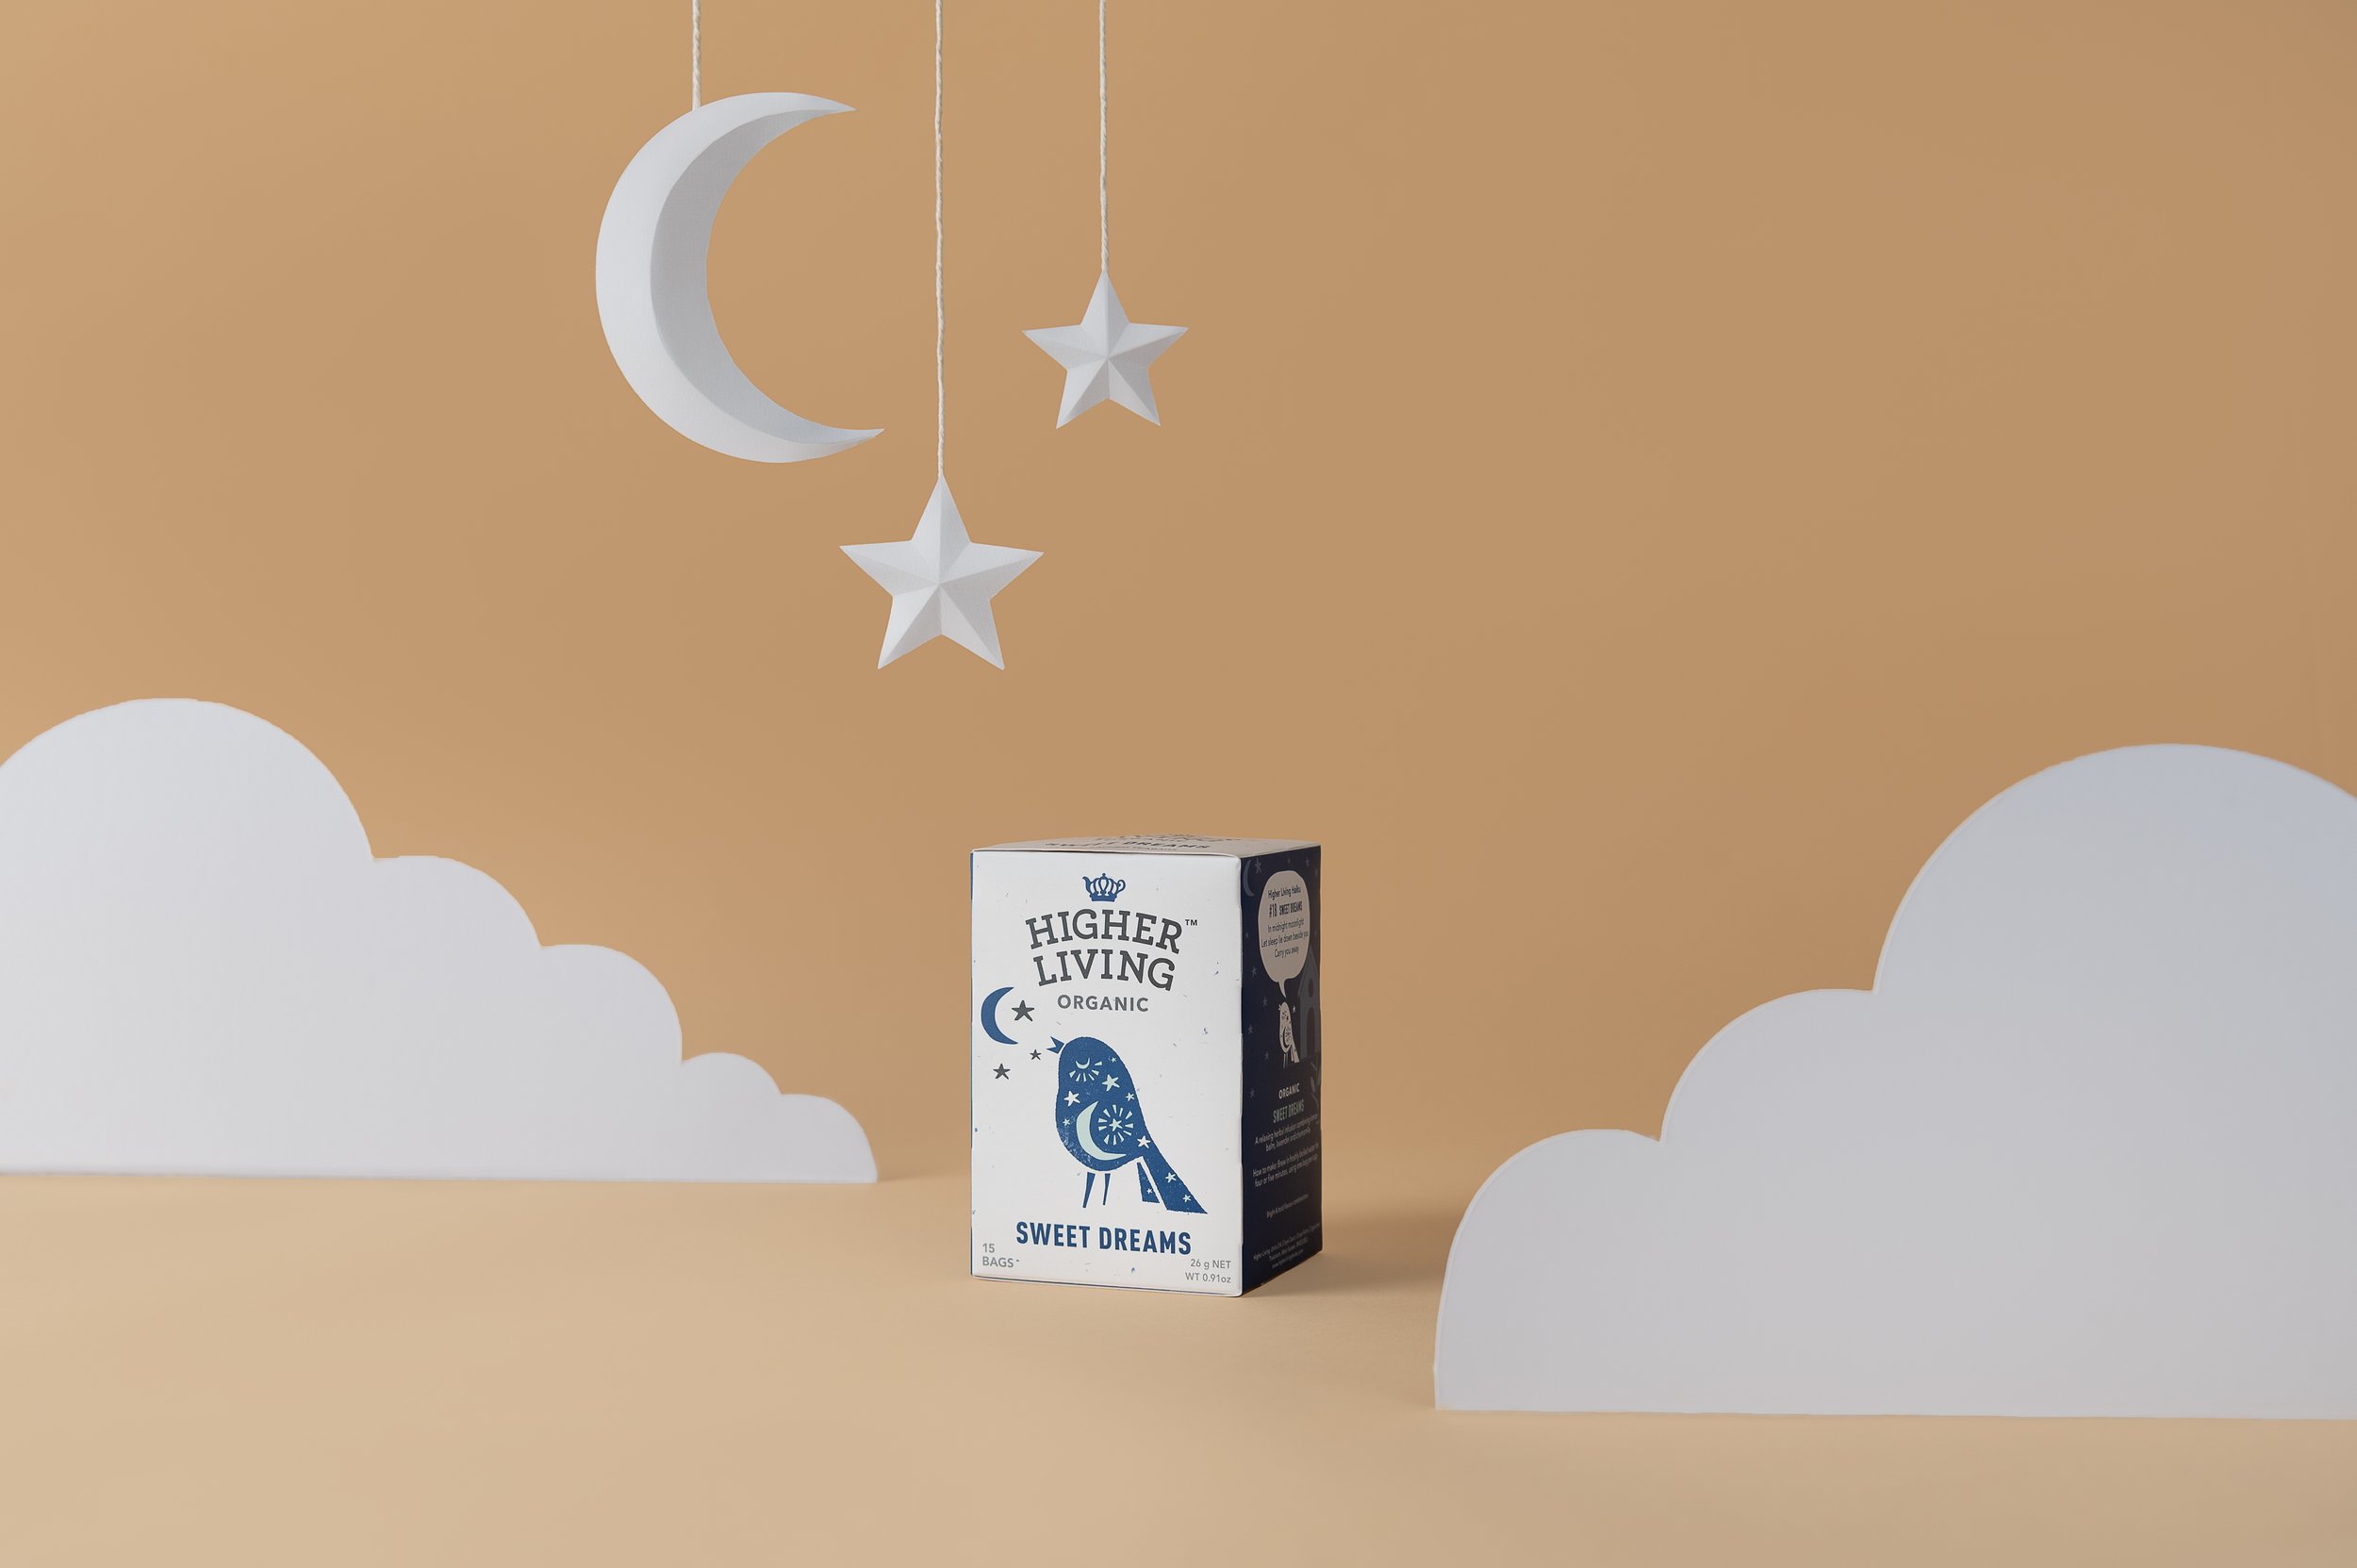
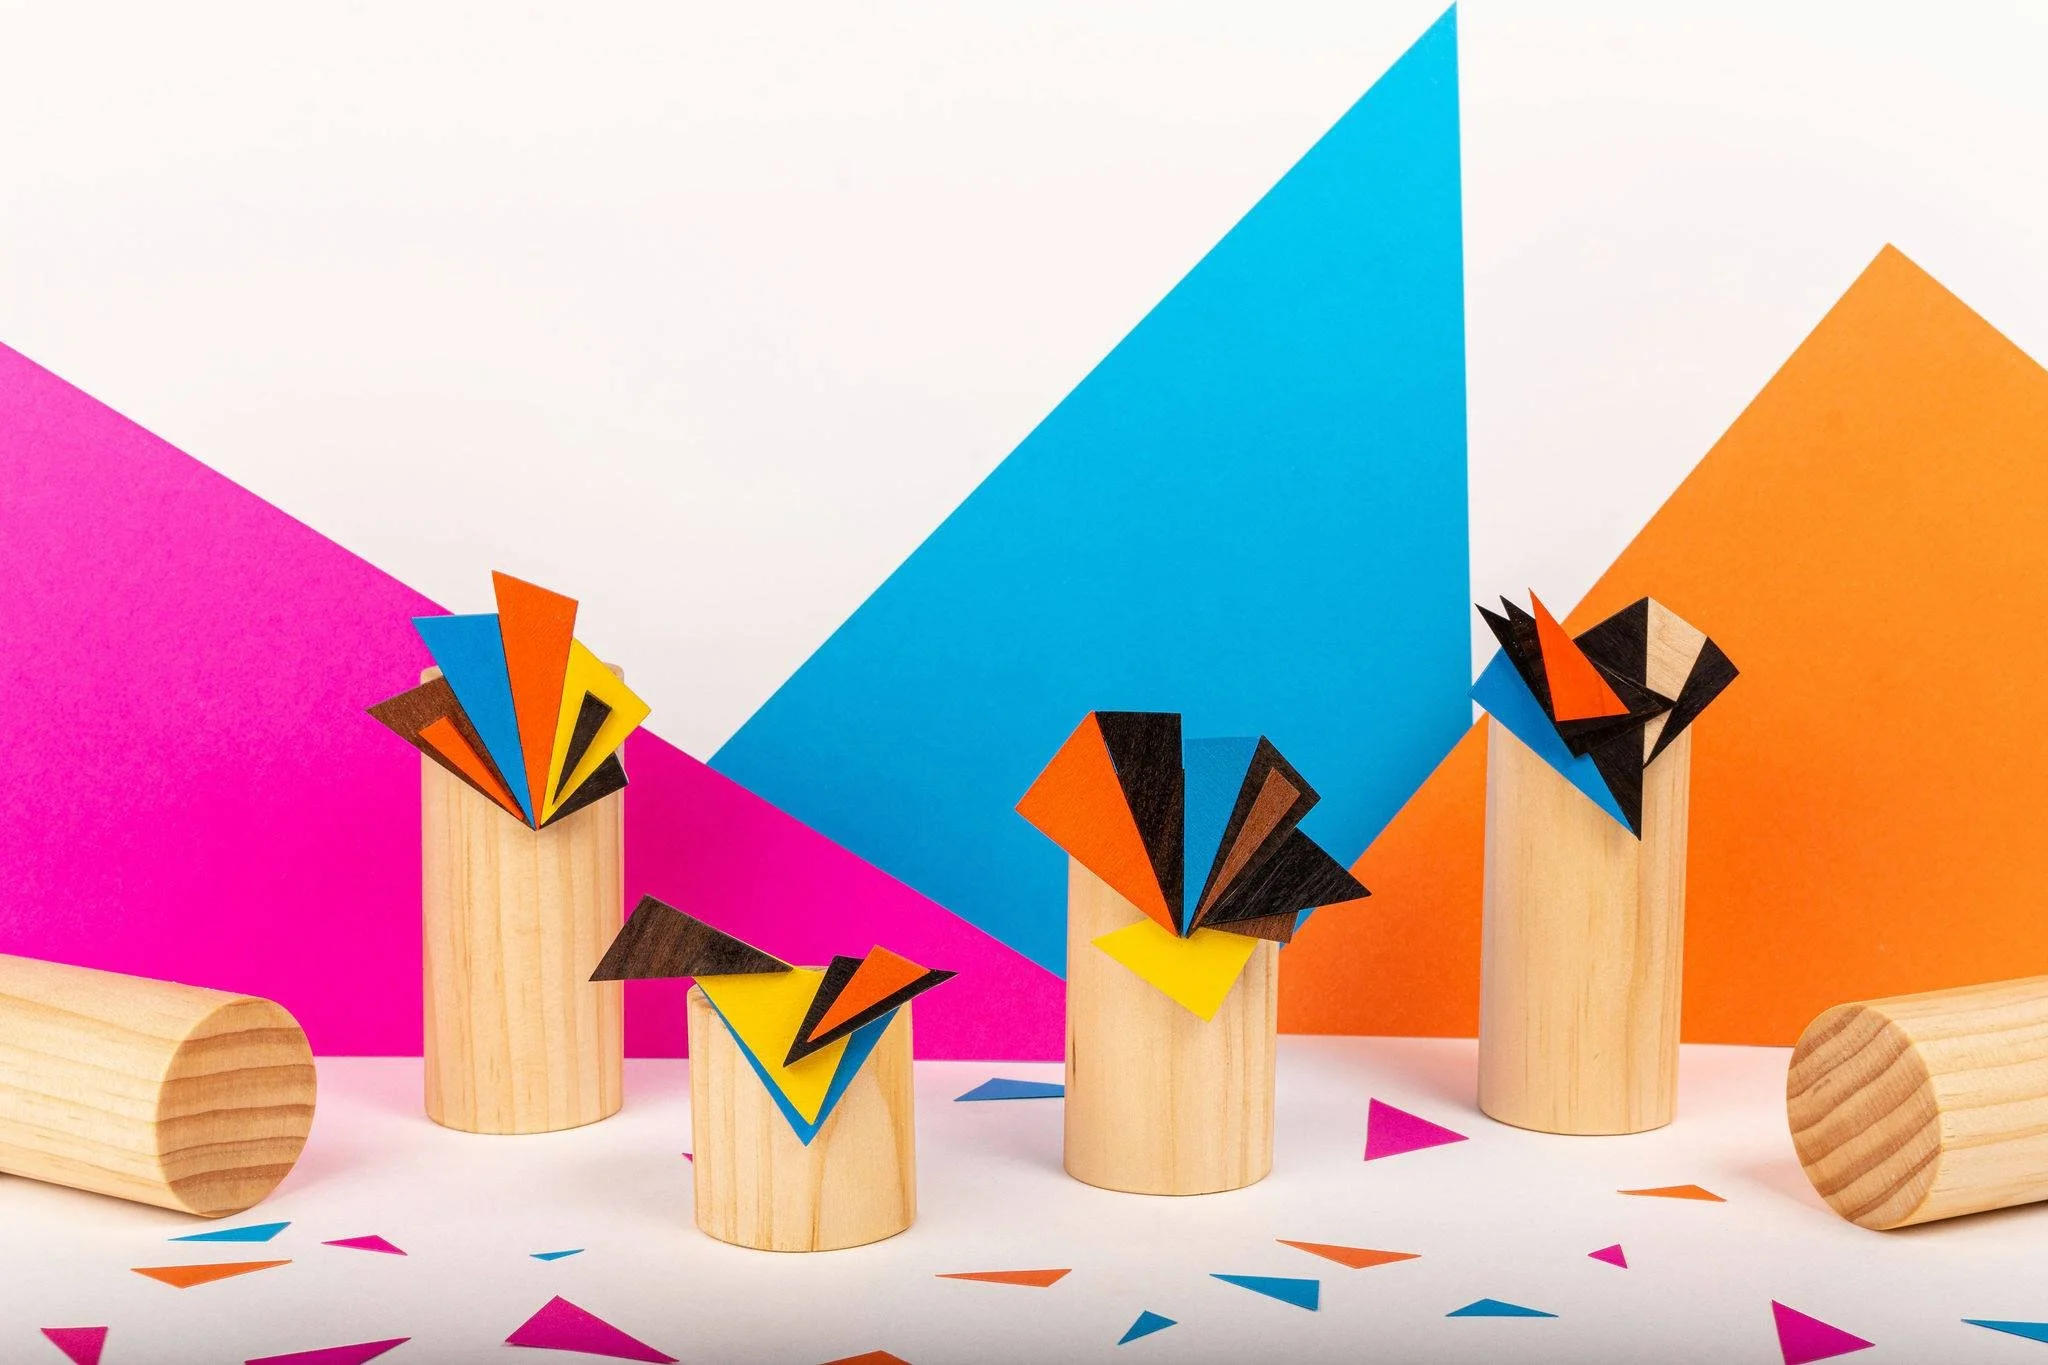
Get crafty and create paper props:
If you want to add a little extra something to your product photo, consider creating some paper props. This could be anything from a paper flower to a miniature paper chair. Use your imagination and get creative! To create a paper prop, simply cut out the shape you want from a piece of paper and use glue or tape to assemble it.
Cut shapes out of paper to cast shadows on your scene:
Cutting shapes out of paper and placing them in front of your light source can create interesting shadows in your product photo. This can be especially effective if you want to add some texture or depth to your photo. To create this effect, simply cut out a shape from a piece of paper and place it in front of your light source.
Using paper in your product photography can be a fun and easy way to add interest and depth to your photos. I hope this blog has been helpful and gave you some ideas for photographing your products. As always, if you create anything awesome please share your pics in the Facebook Group Photography for Makers - I’d love to see your work!