
How to Photograph Shiny Objects
Reflective surfaces, metal, glass, chrome these things look so beautiful in real life but it can be a challenge to capture on camera.
Lately I’ve been teaching a lot of workshops where the same question comes up time and time again (mainly from my friends who are jewellers or homeware makers) how do you photograph metal, glass and other reflective materials? There is no easy answer to this question, as with most things in the photography world it's a lot of experimentation, trial and error. To give you a place to start, I’ve put together some tips for capturing reflective surfaces:
KNOW THE DIFFERENCE BETWEEN GOOD REFLECTIONS AND BAD REFLECTIONS
Photography is all about light and contrast. Images are made interesting by highlights and shadows. So reflections are not always a bad thing, however its the way that light interacts with our objects that we want to control.
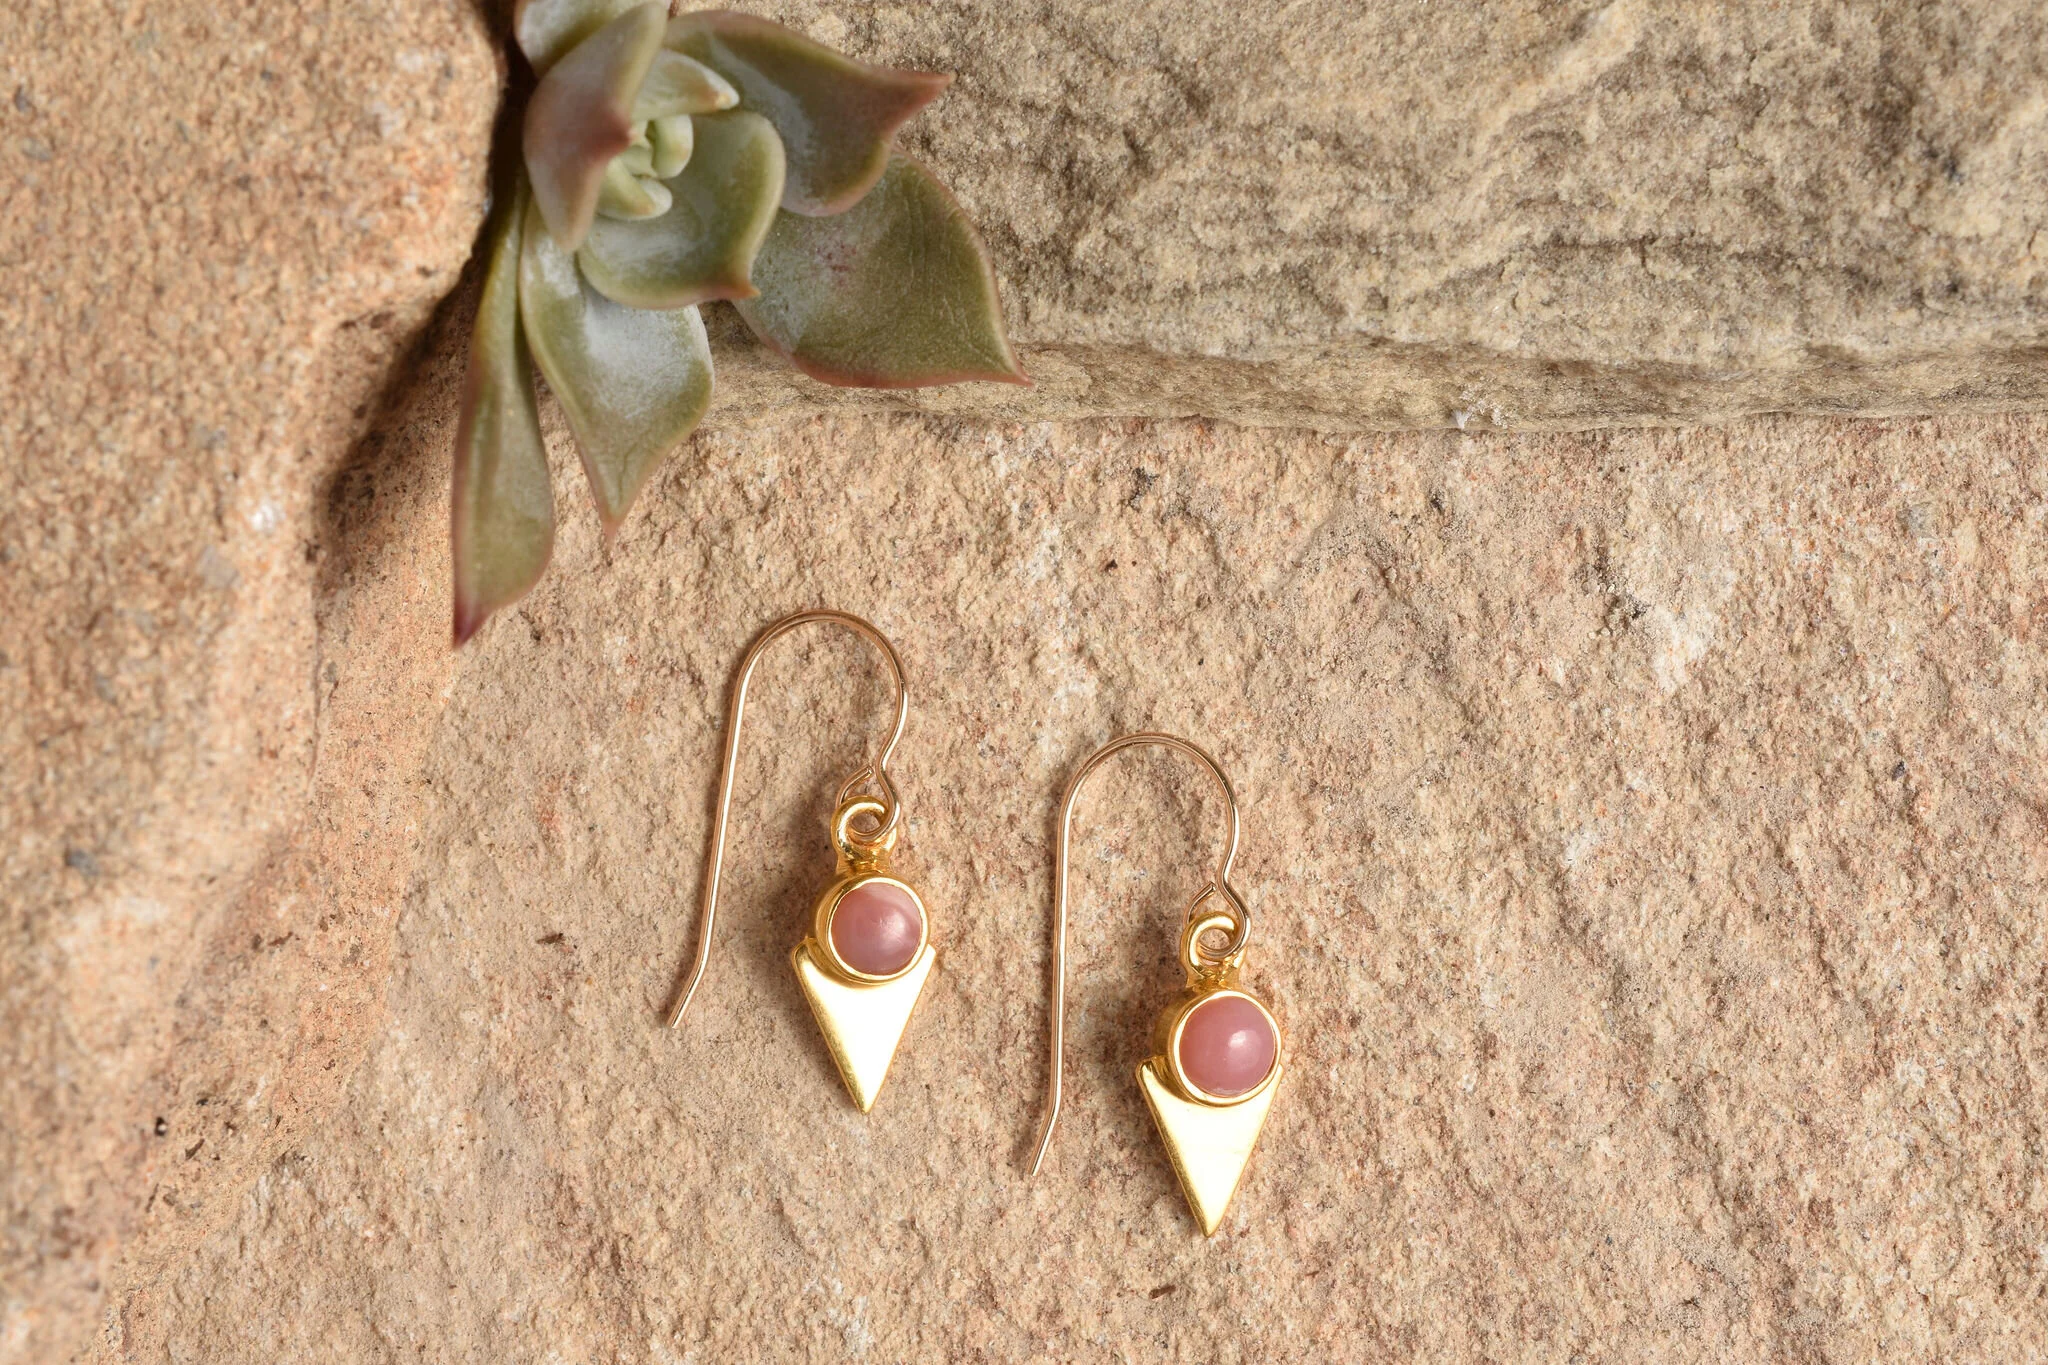
In example 1 below I have some ‘bad’ reflections, in image 2 I have some ‘good’ reflections. The difference between these 2 images is subtle but we can see that in image 1 the highlights are broad and scattered - essentially blowing out large portions of an object and flattening out the image.
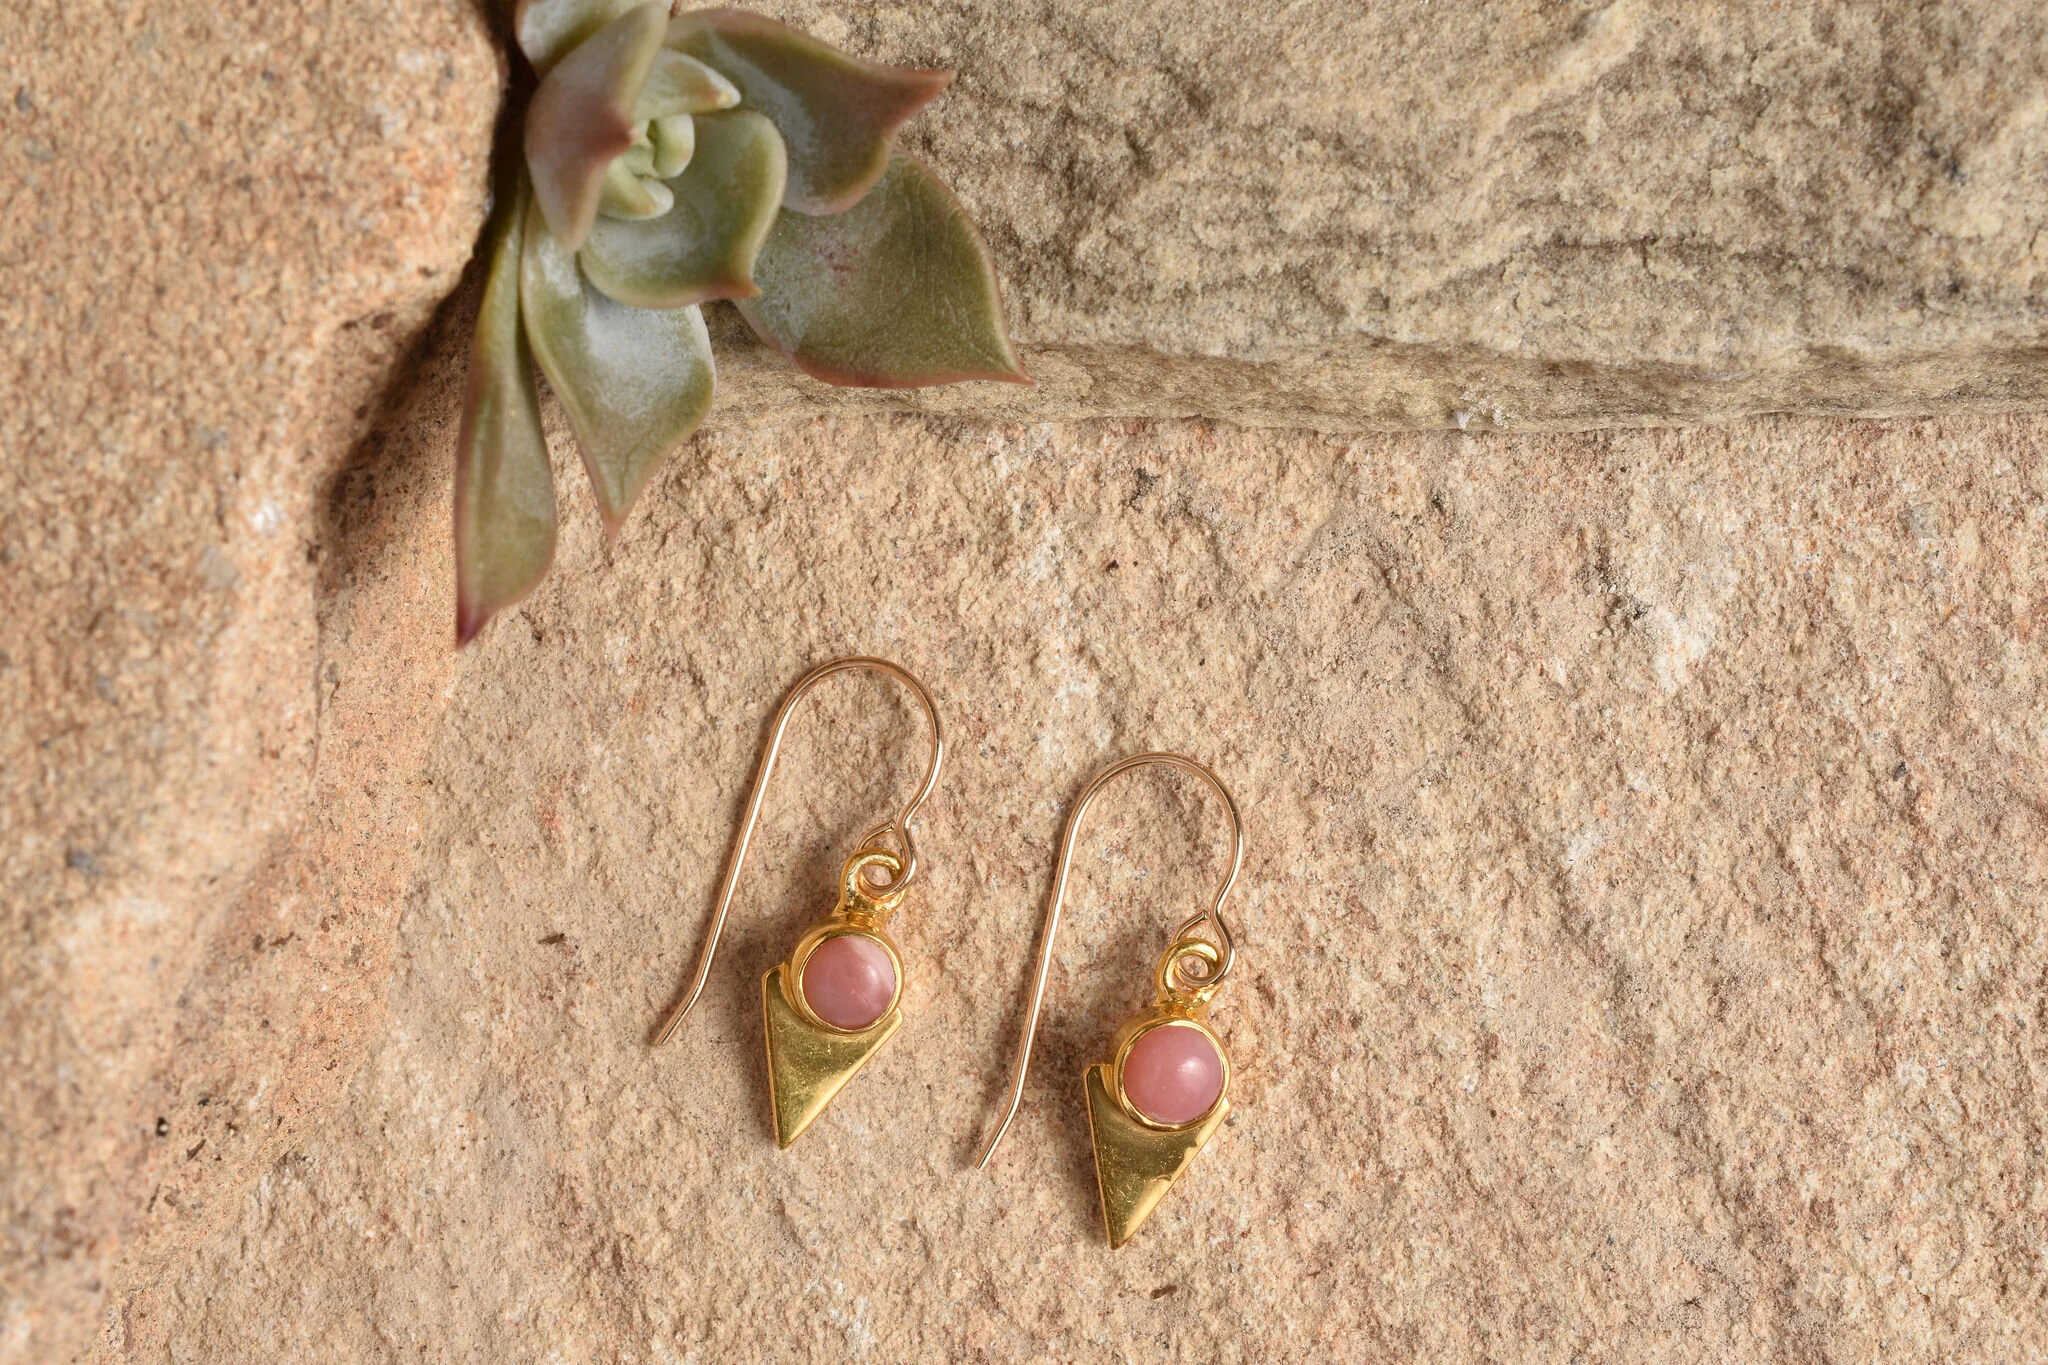
In example 2 the highlights are defined and centralised, they are not too strong, but are just small isolated spots which actually add interest and dimension to our image. The highlights also have an element of shading from dark to light.
Not camera or light settings were changed between these 2 images, I simply adjusted the position of the product to change the reflection and highlight.
EXAMPLE 1: Bad reflections
EXAMPLE 2: Good reflections
*Note: these images are unedited (i.e. straight out of camera)
IT’S ALL ABOUT ANGLES:
If you are working with a reflective object, it’s best not to position your camera directly in line with the reflective object - this will cause the surface to act like a mirror and reflect back your camera, you and whatever else is directly facing it.
Try positioning your camera slightly above the object and the scene that you are photographing, then tilt the camera down to capture the scene from a slight high angle.
LIGHTING
If you are finding that your products or props are reflecting light and showing up in hot spots or burnt out areas on your frame, try using a diffuser to soften the light hitting your object.
If you are finding that your scene is getting too much harsh light - you can also bounce some light in using a silver reflector. By combining the silver reflector and the diffuser to your lighting you should create a fairly balanced scene. This will allow you to lower your exposure settings and reduce burnt out areas in the frame.
Here is a little video which demonstrates how to bounce and reflect light:
*Remember to always practice safety when diffusing lights - don’t place any flammable materials directly onto the lights.
WEAR GLOVES
Reflective surfaces are often also prone to fingerprints and smudges, so if you are working with a lot of glass or metal in your scene it's a good idea to wear cotton gloves while styling - this will prevent you from having to edit out marks and prints later. Also keep a microfiber glass and a spray bottle of water and vinegar mix on set to clean the reflective objects.
USE MATTIFYING POWDER
If all else fails, you can resort to applying mattifying powder or cream to your object. This is actually a makeup product which you can apply to any object to make it appear less shiny.

I hope you’ve found this blog inspiring. For more tips and tricks on how to DIY your product photography sign up for my enewsletter. Every month I send a magazine filled with tips and tutorials on creating your own brand photography and other inspiring things. When you sign up, I’ll send you a copy of my ‘4 composition tips for flat lay photography’ to get you started!
If you have questions or would like to connect you can always connect with me over in the photography for makers facebook group.
Happy Snapping!
Rachel