
How to make a tile backdrop
I’ve recently made my first REAL tile backdrop and I’m in love with it. So, I thought I’d share the love and show you how I did it. Before you say it - yes, it is possible to buy vinyl tile backdrops but but nothing is ever quite as good as the real thing. For me, using real tiles can add that extra depth and realism which will make your images really pop. So here is how I made mine:
To make a tile backdrop you’ll need:
Tiles of your choice
Spray paint (if changing your tile colour)
Tile adhesive
Ultra white grout
Grouting spade
Large tile sponge
STEP 1: Prep your tiles
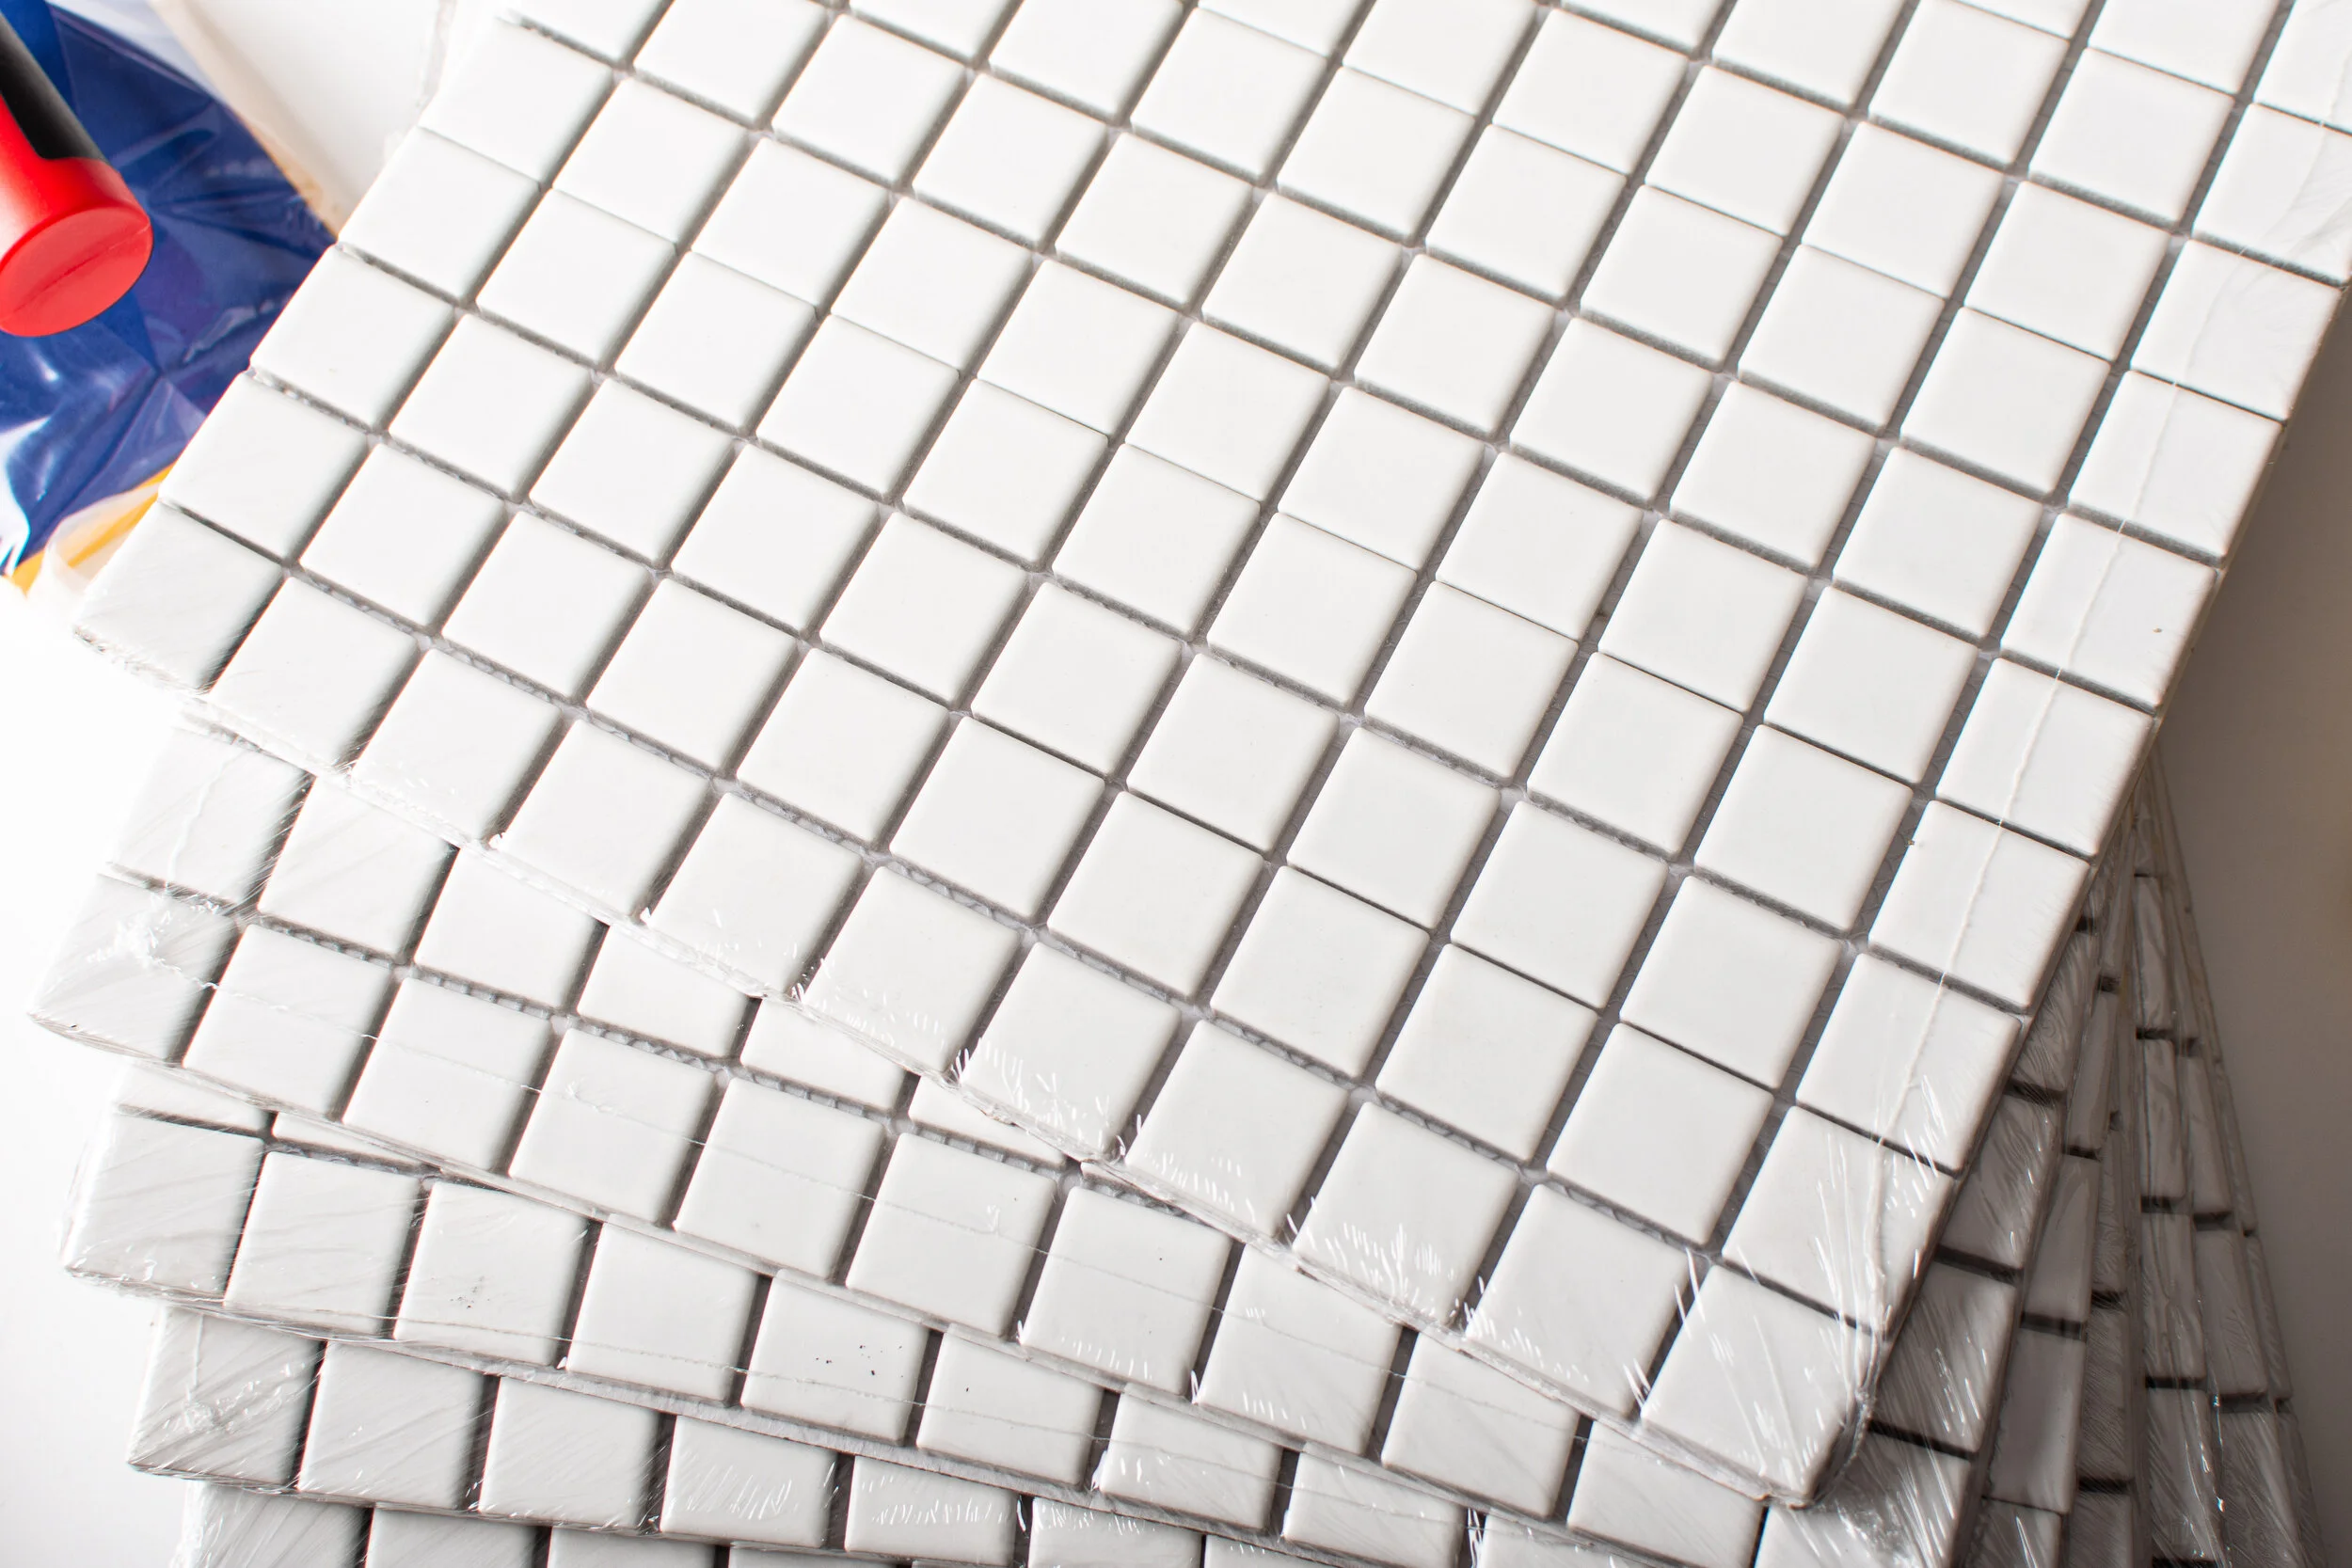
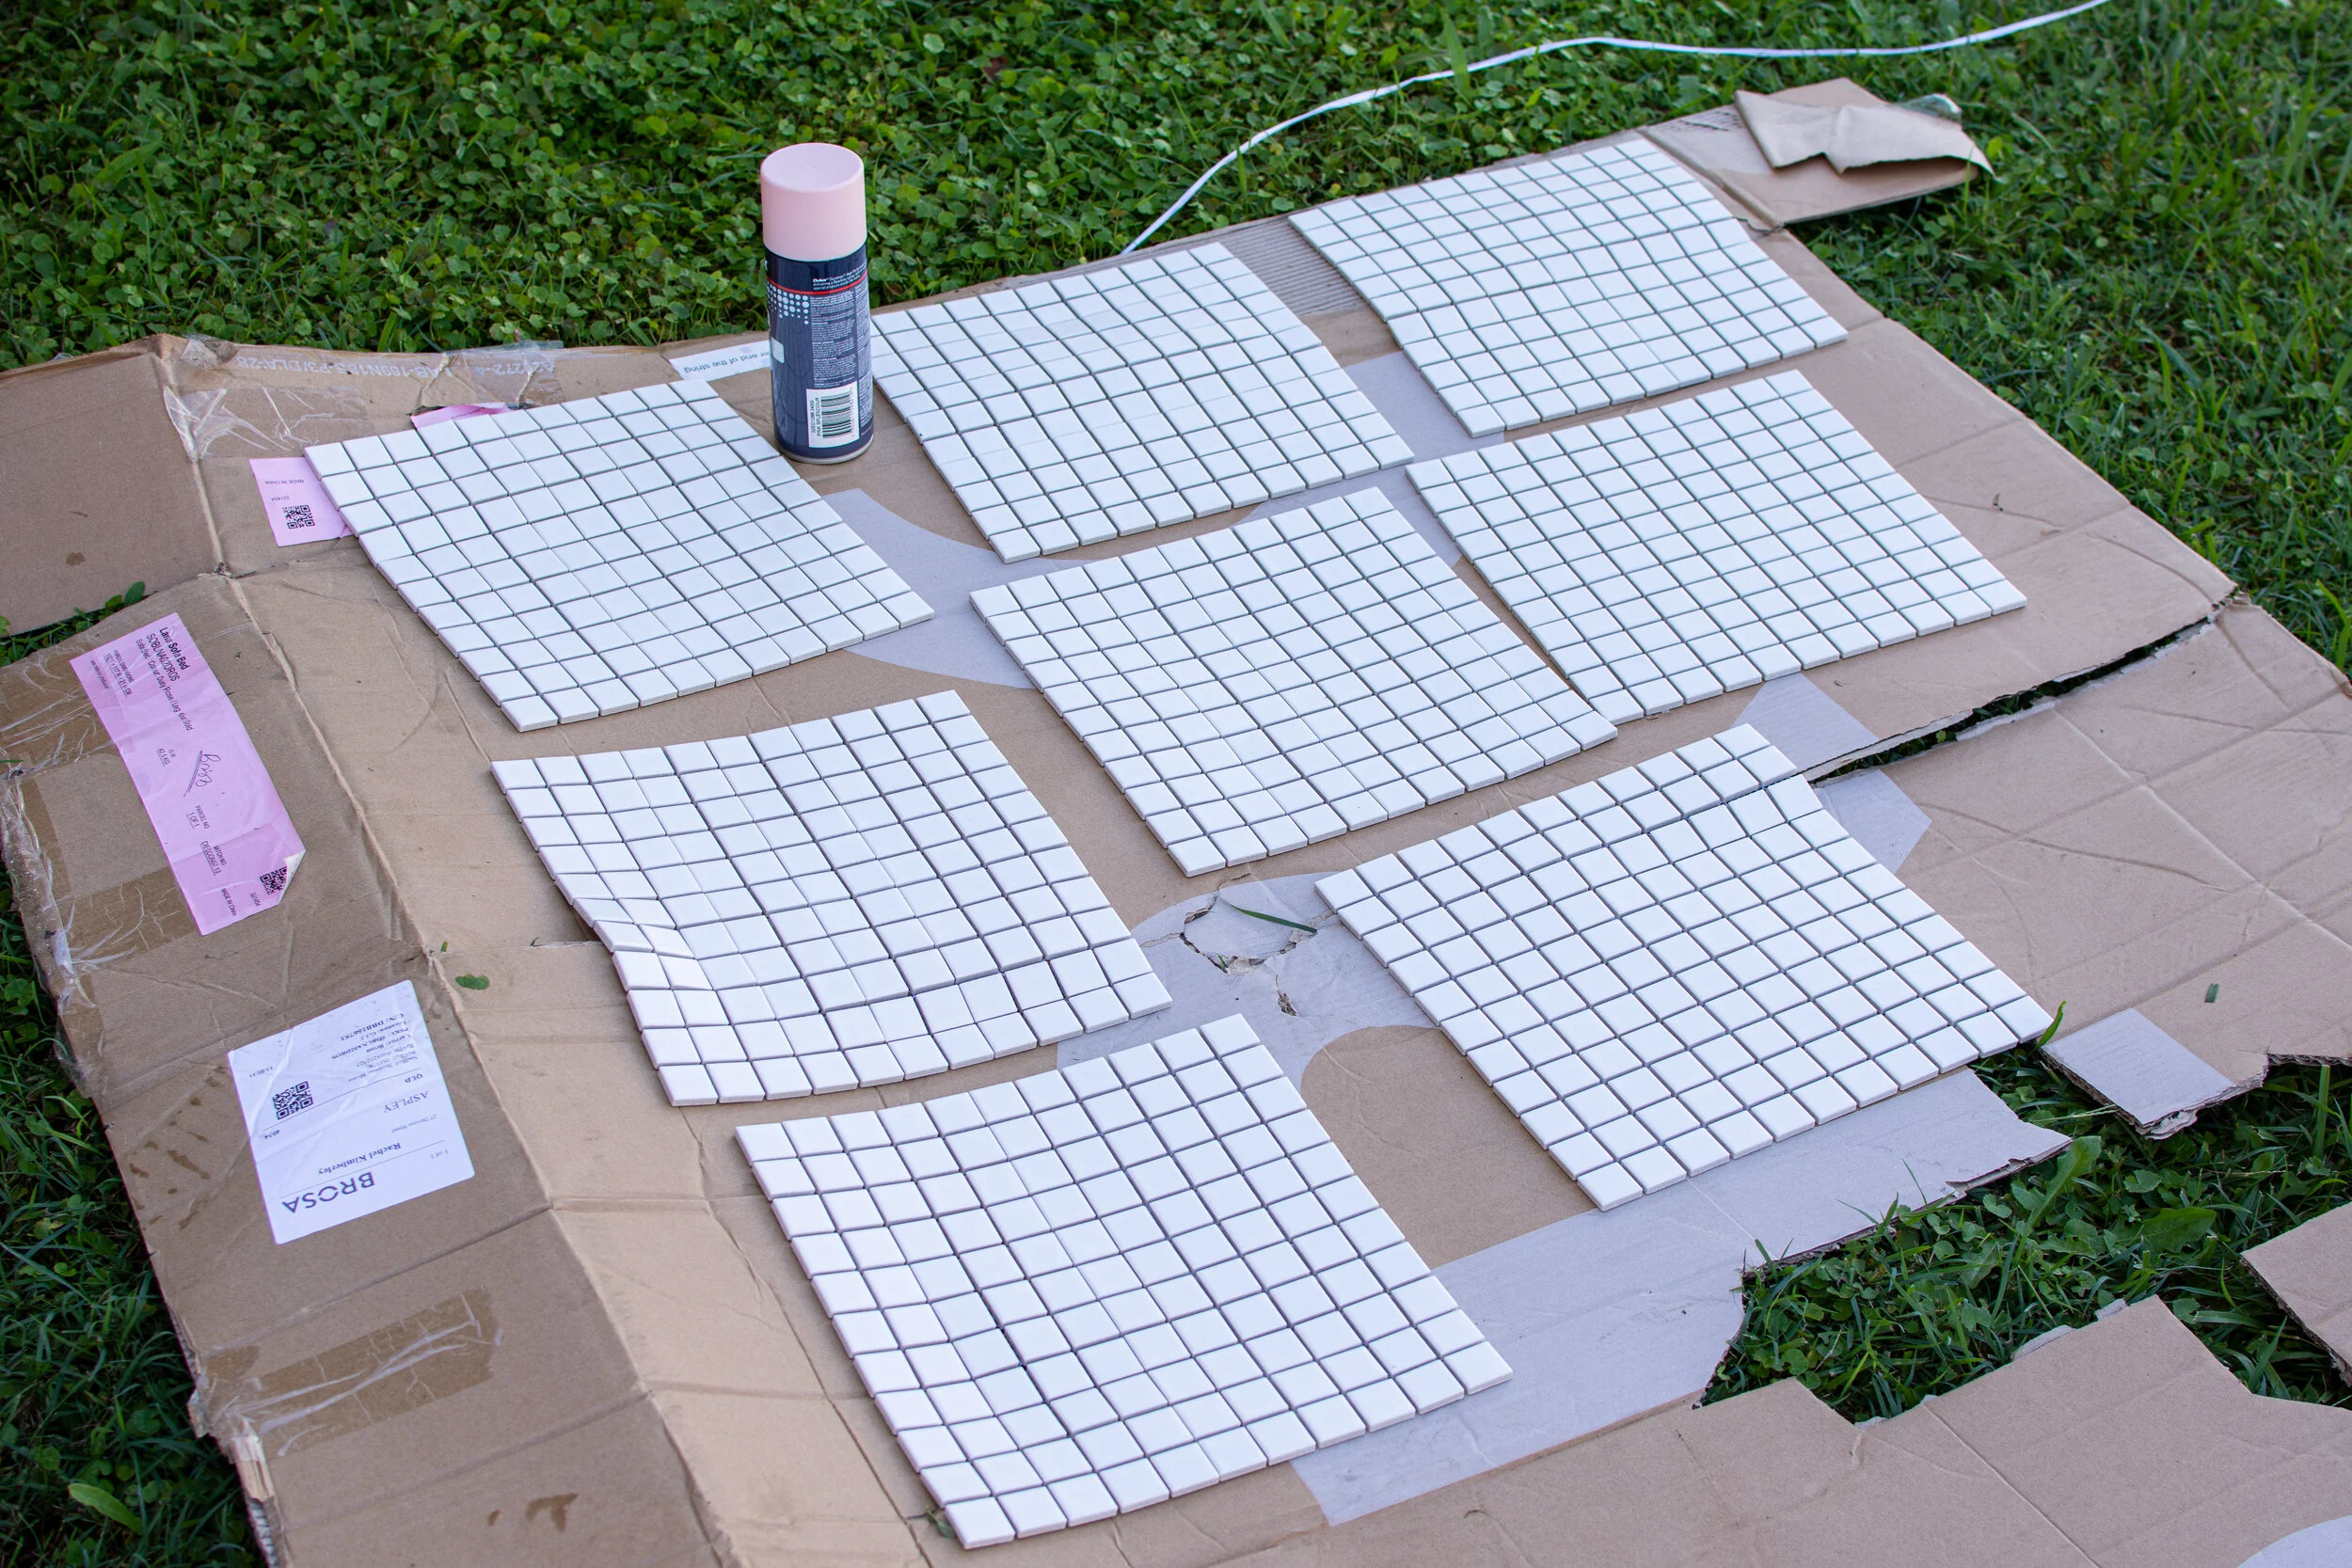
When picking tiles to use, it's important that you find tiles with a matte finish. Anything glossy will cause you problems with reflection. Tiles can be expensive (particularly if you want a specific colour tile). It may also be difficult to find the exact colour you are after. So I just bought some plain while matte tiles and spray painted them in a soft pastel pink before I used them. Again, make sure you choose matte finish spray paint to avoid creating a reflective surface.
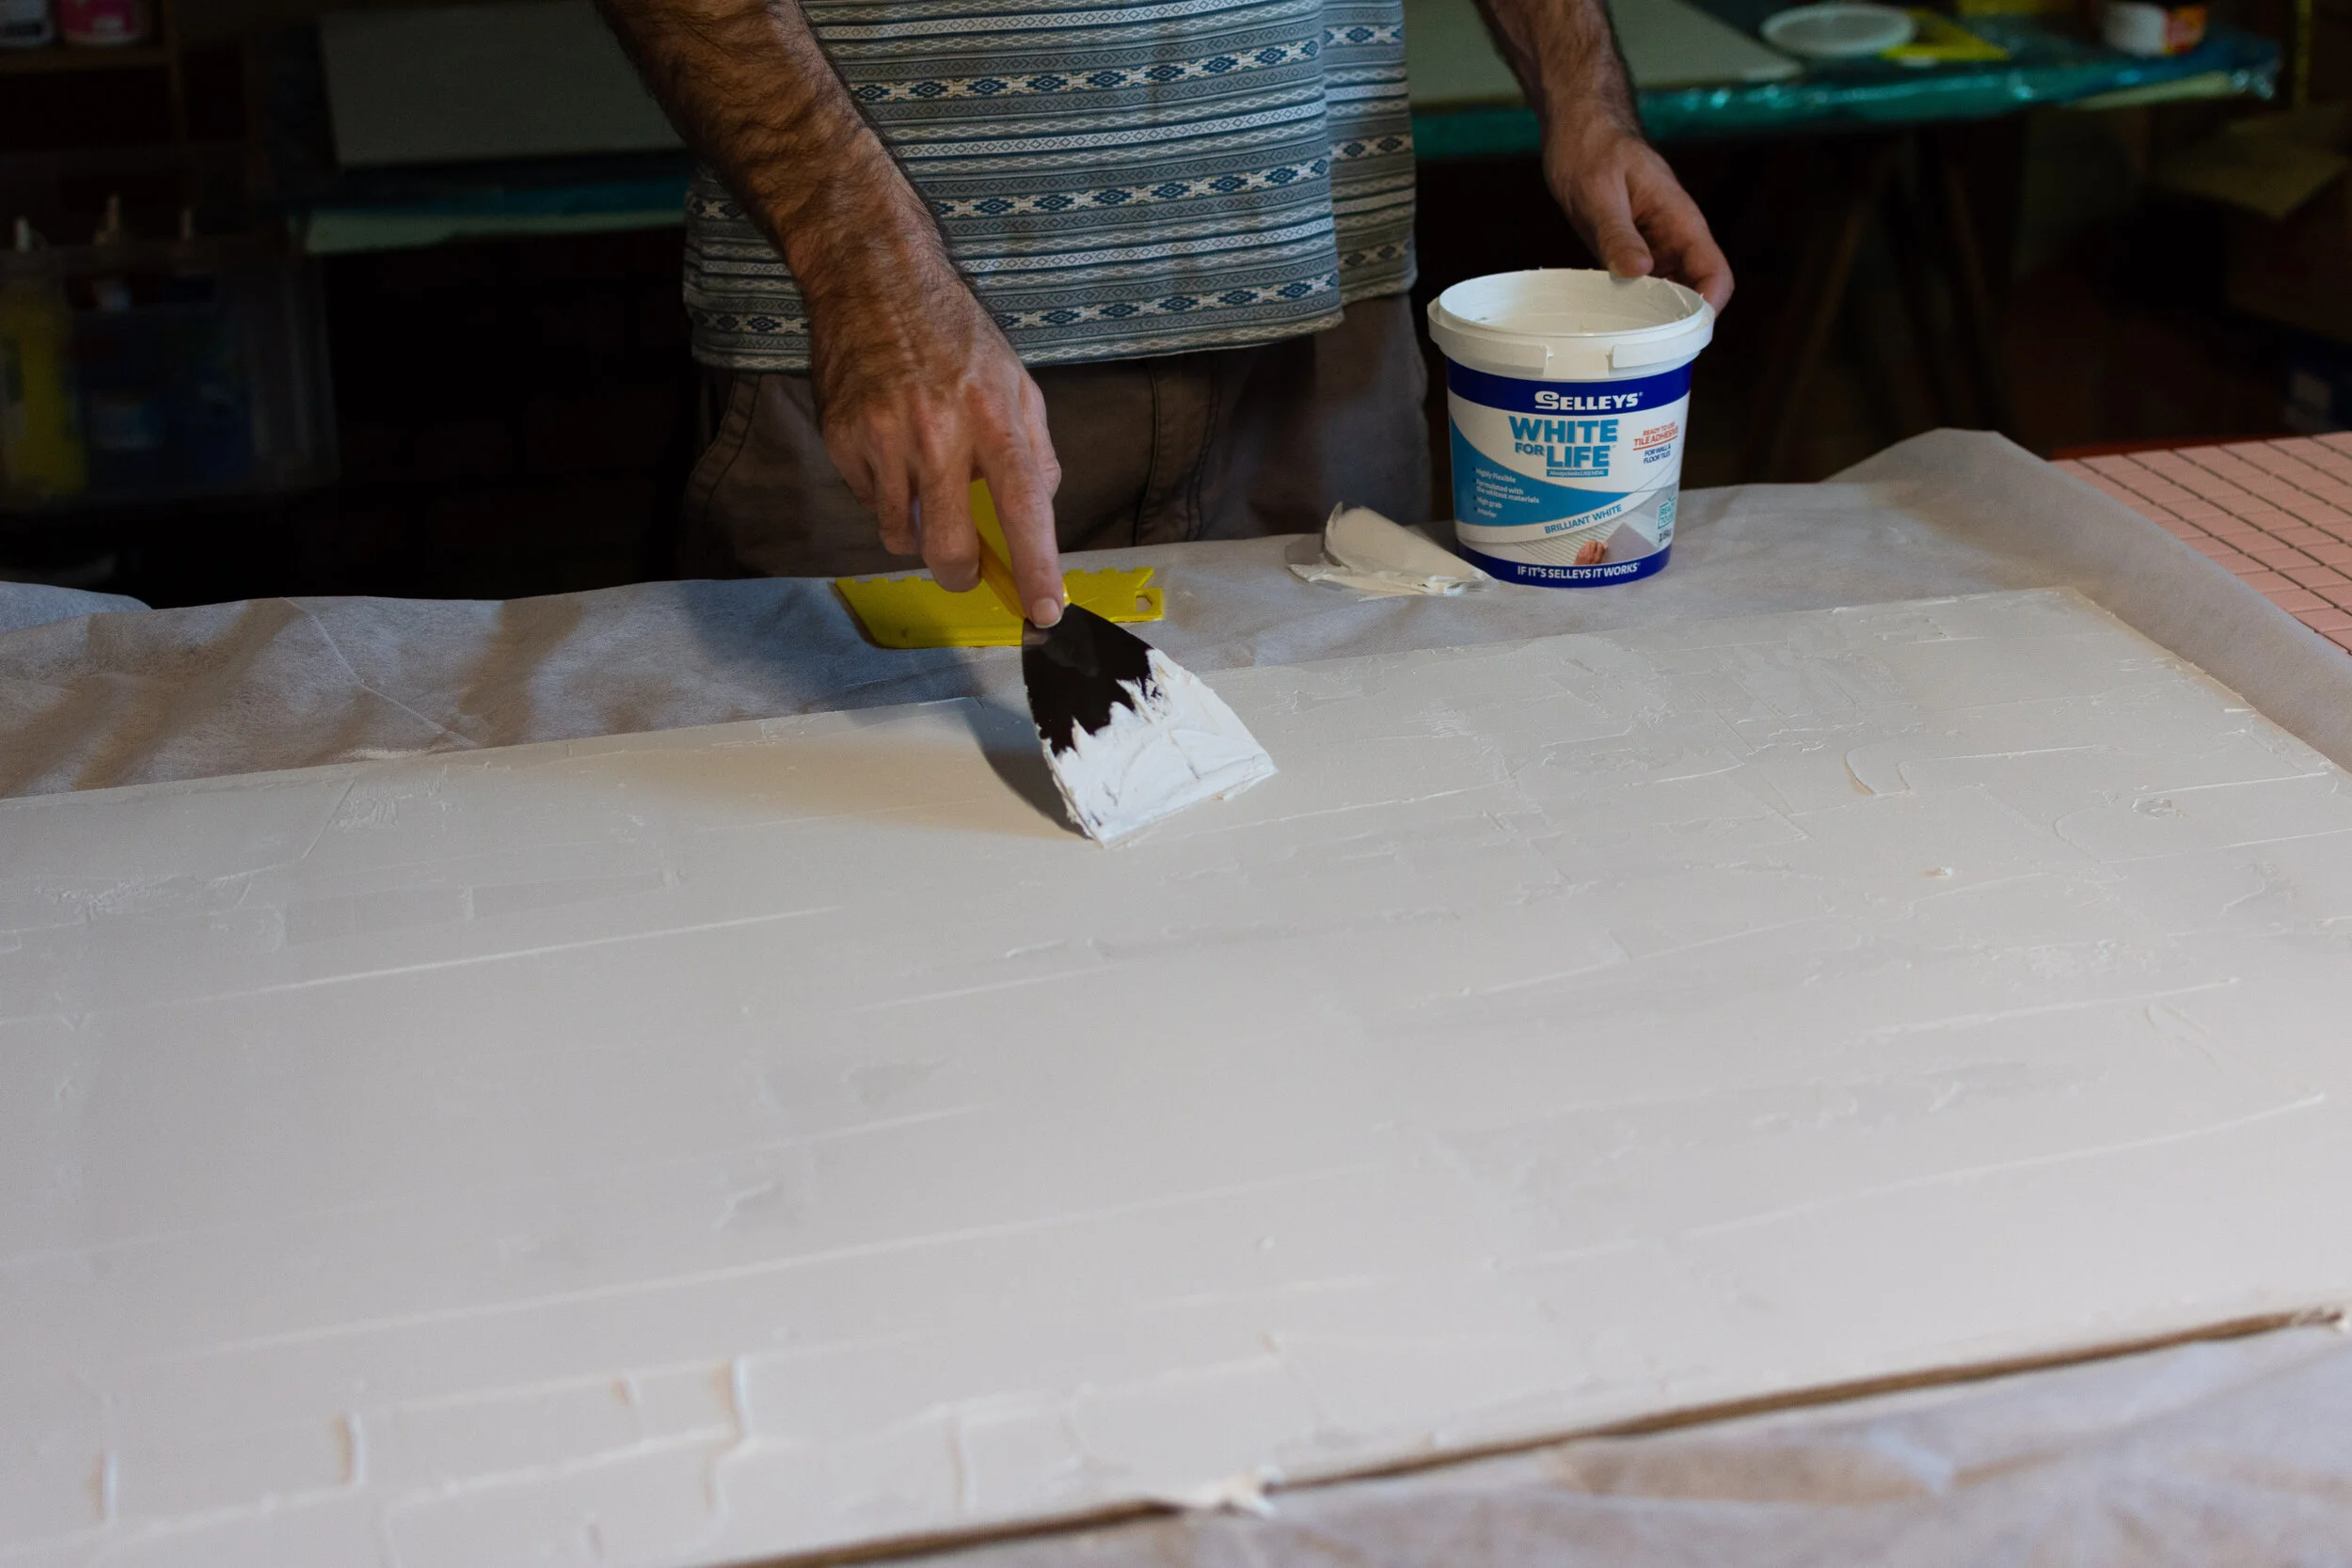
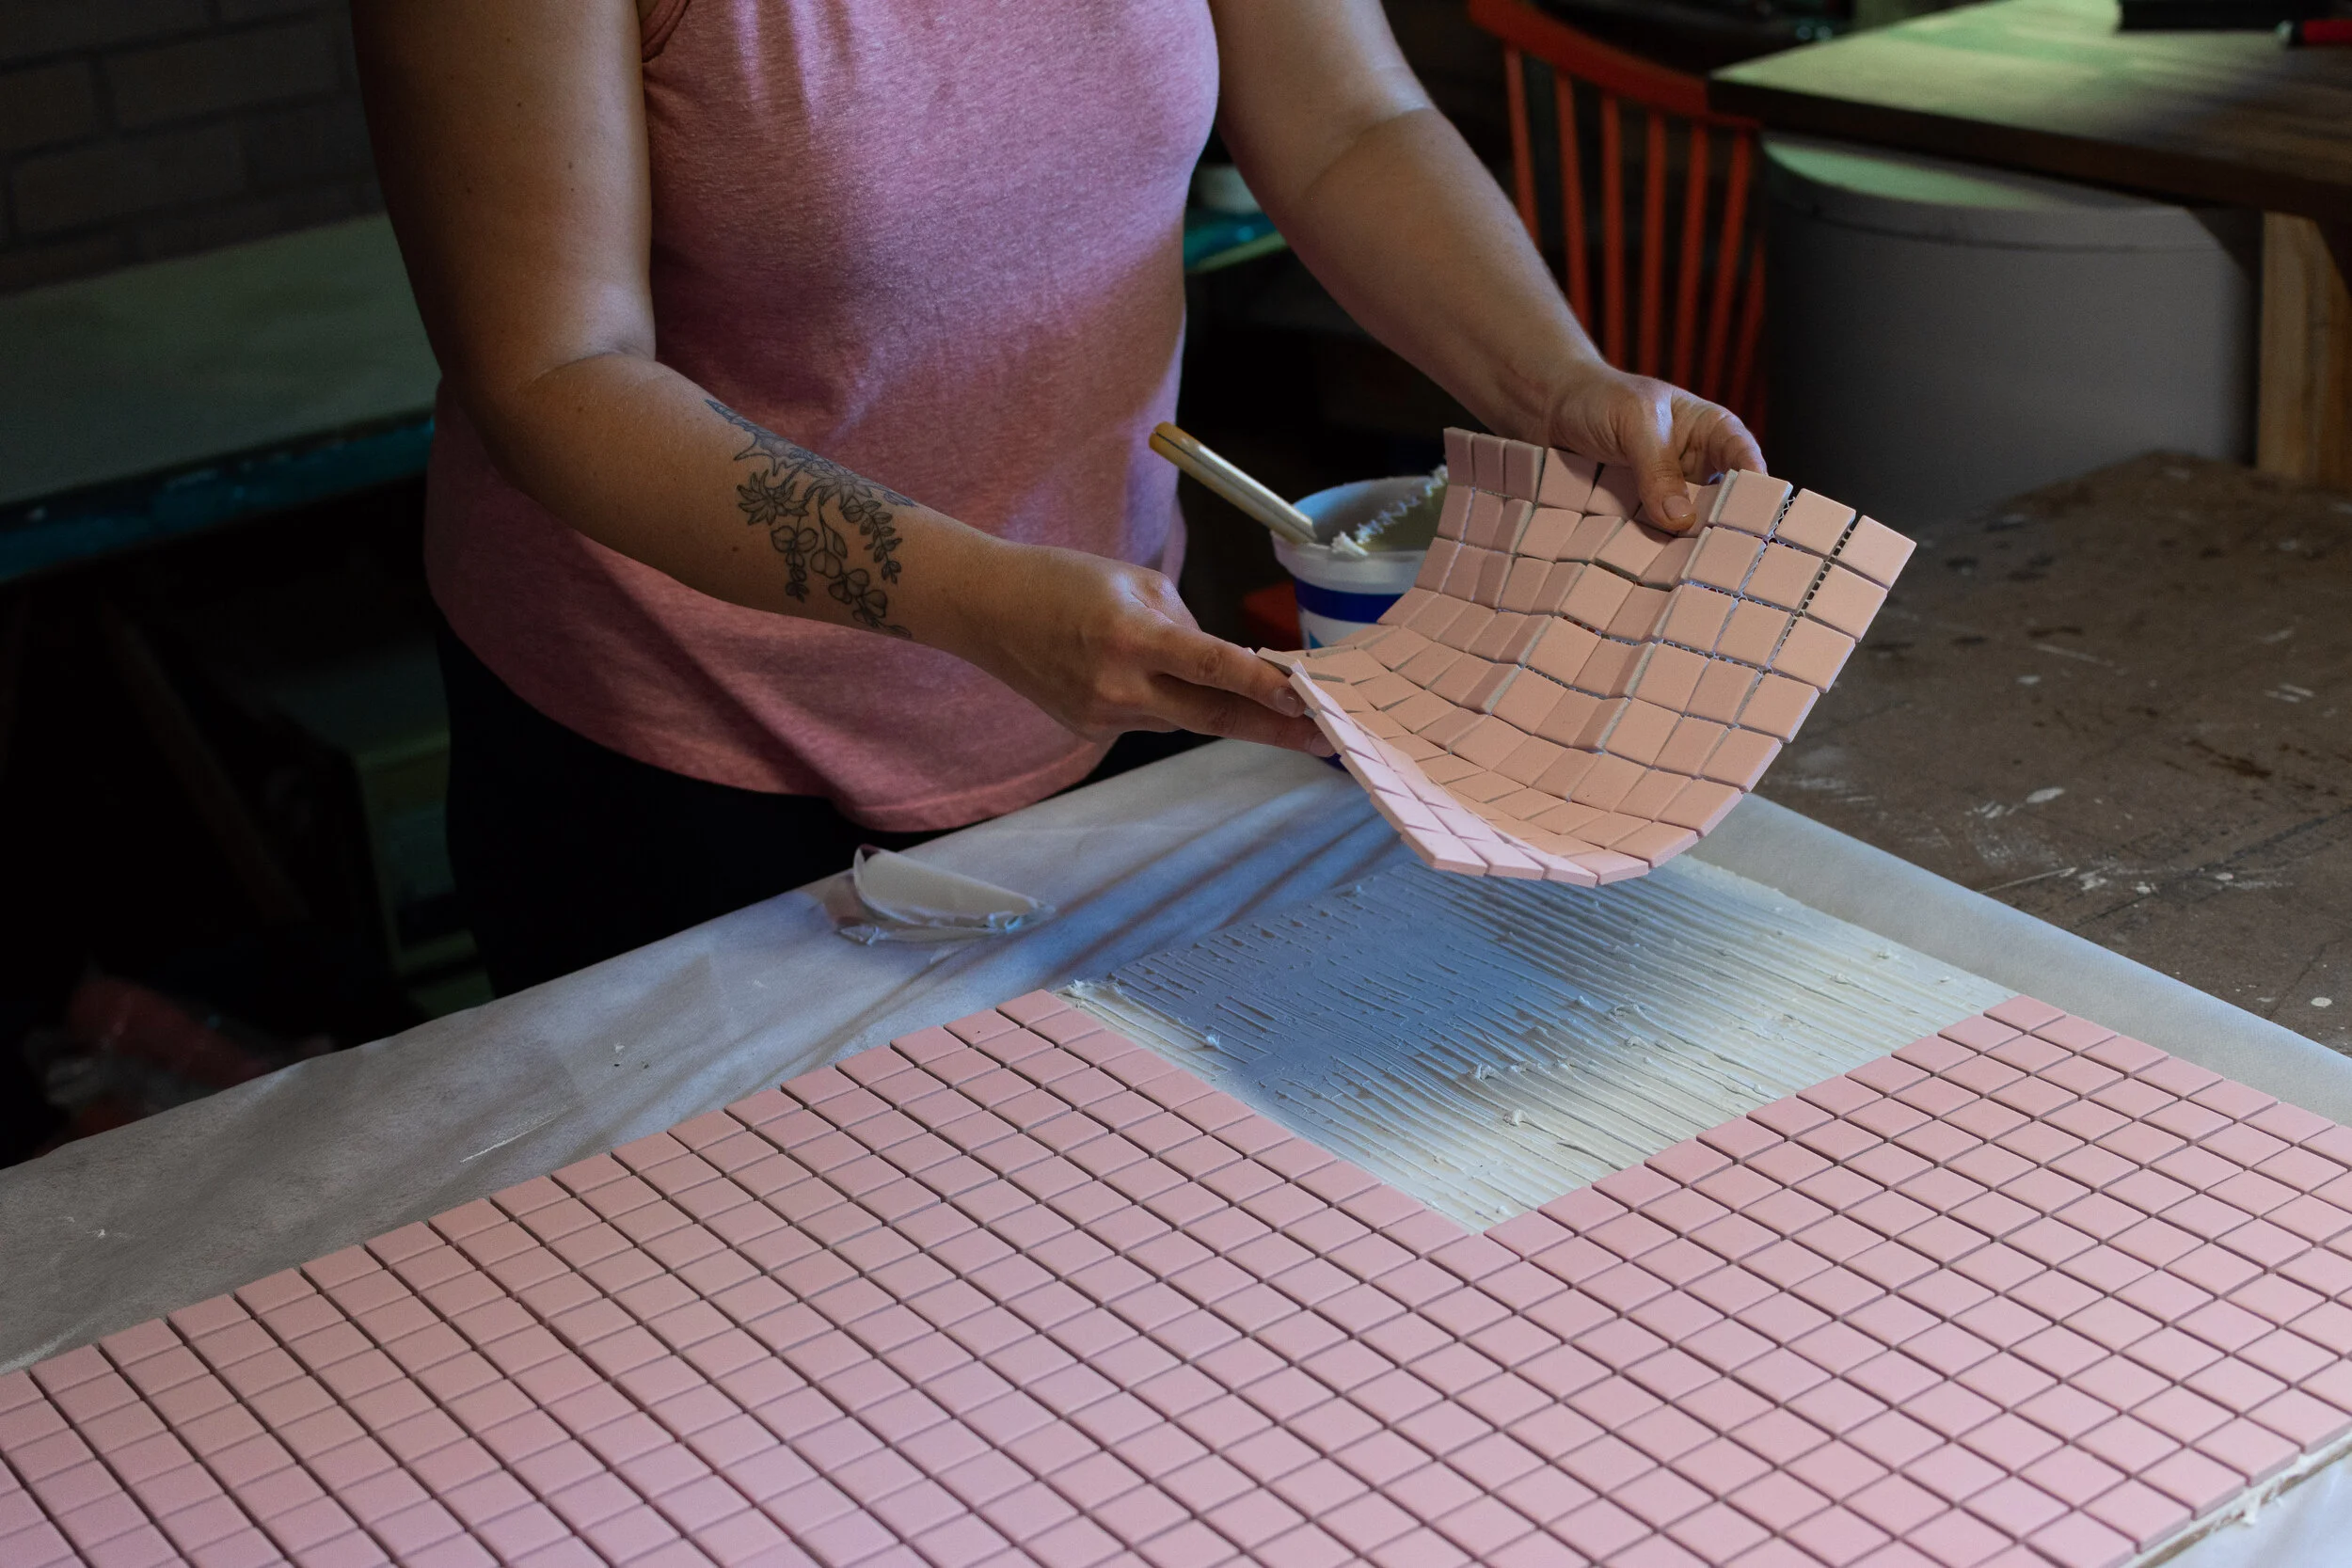
STEP 2: prep your MDF board
Next it's time to add your tile adhesive to your board. As soon as you’ve done this you’ll need to add your sheets of tile (before your adhesive dries). Be careful when you are placing these, try to ensure that the gaps between the tiles are all aligned as you lay each sheet down. The adhesive dries quickly, so there isn’t a lot of time to wiggle things around once the sheet is placed.
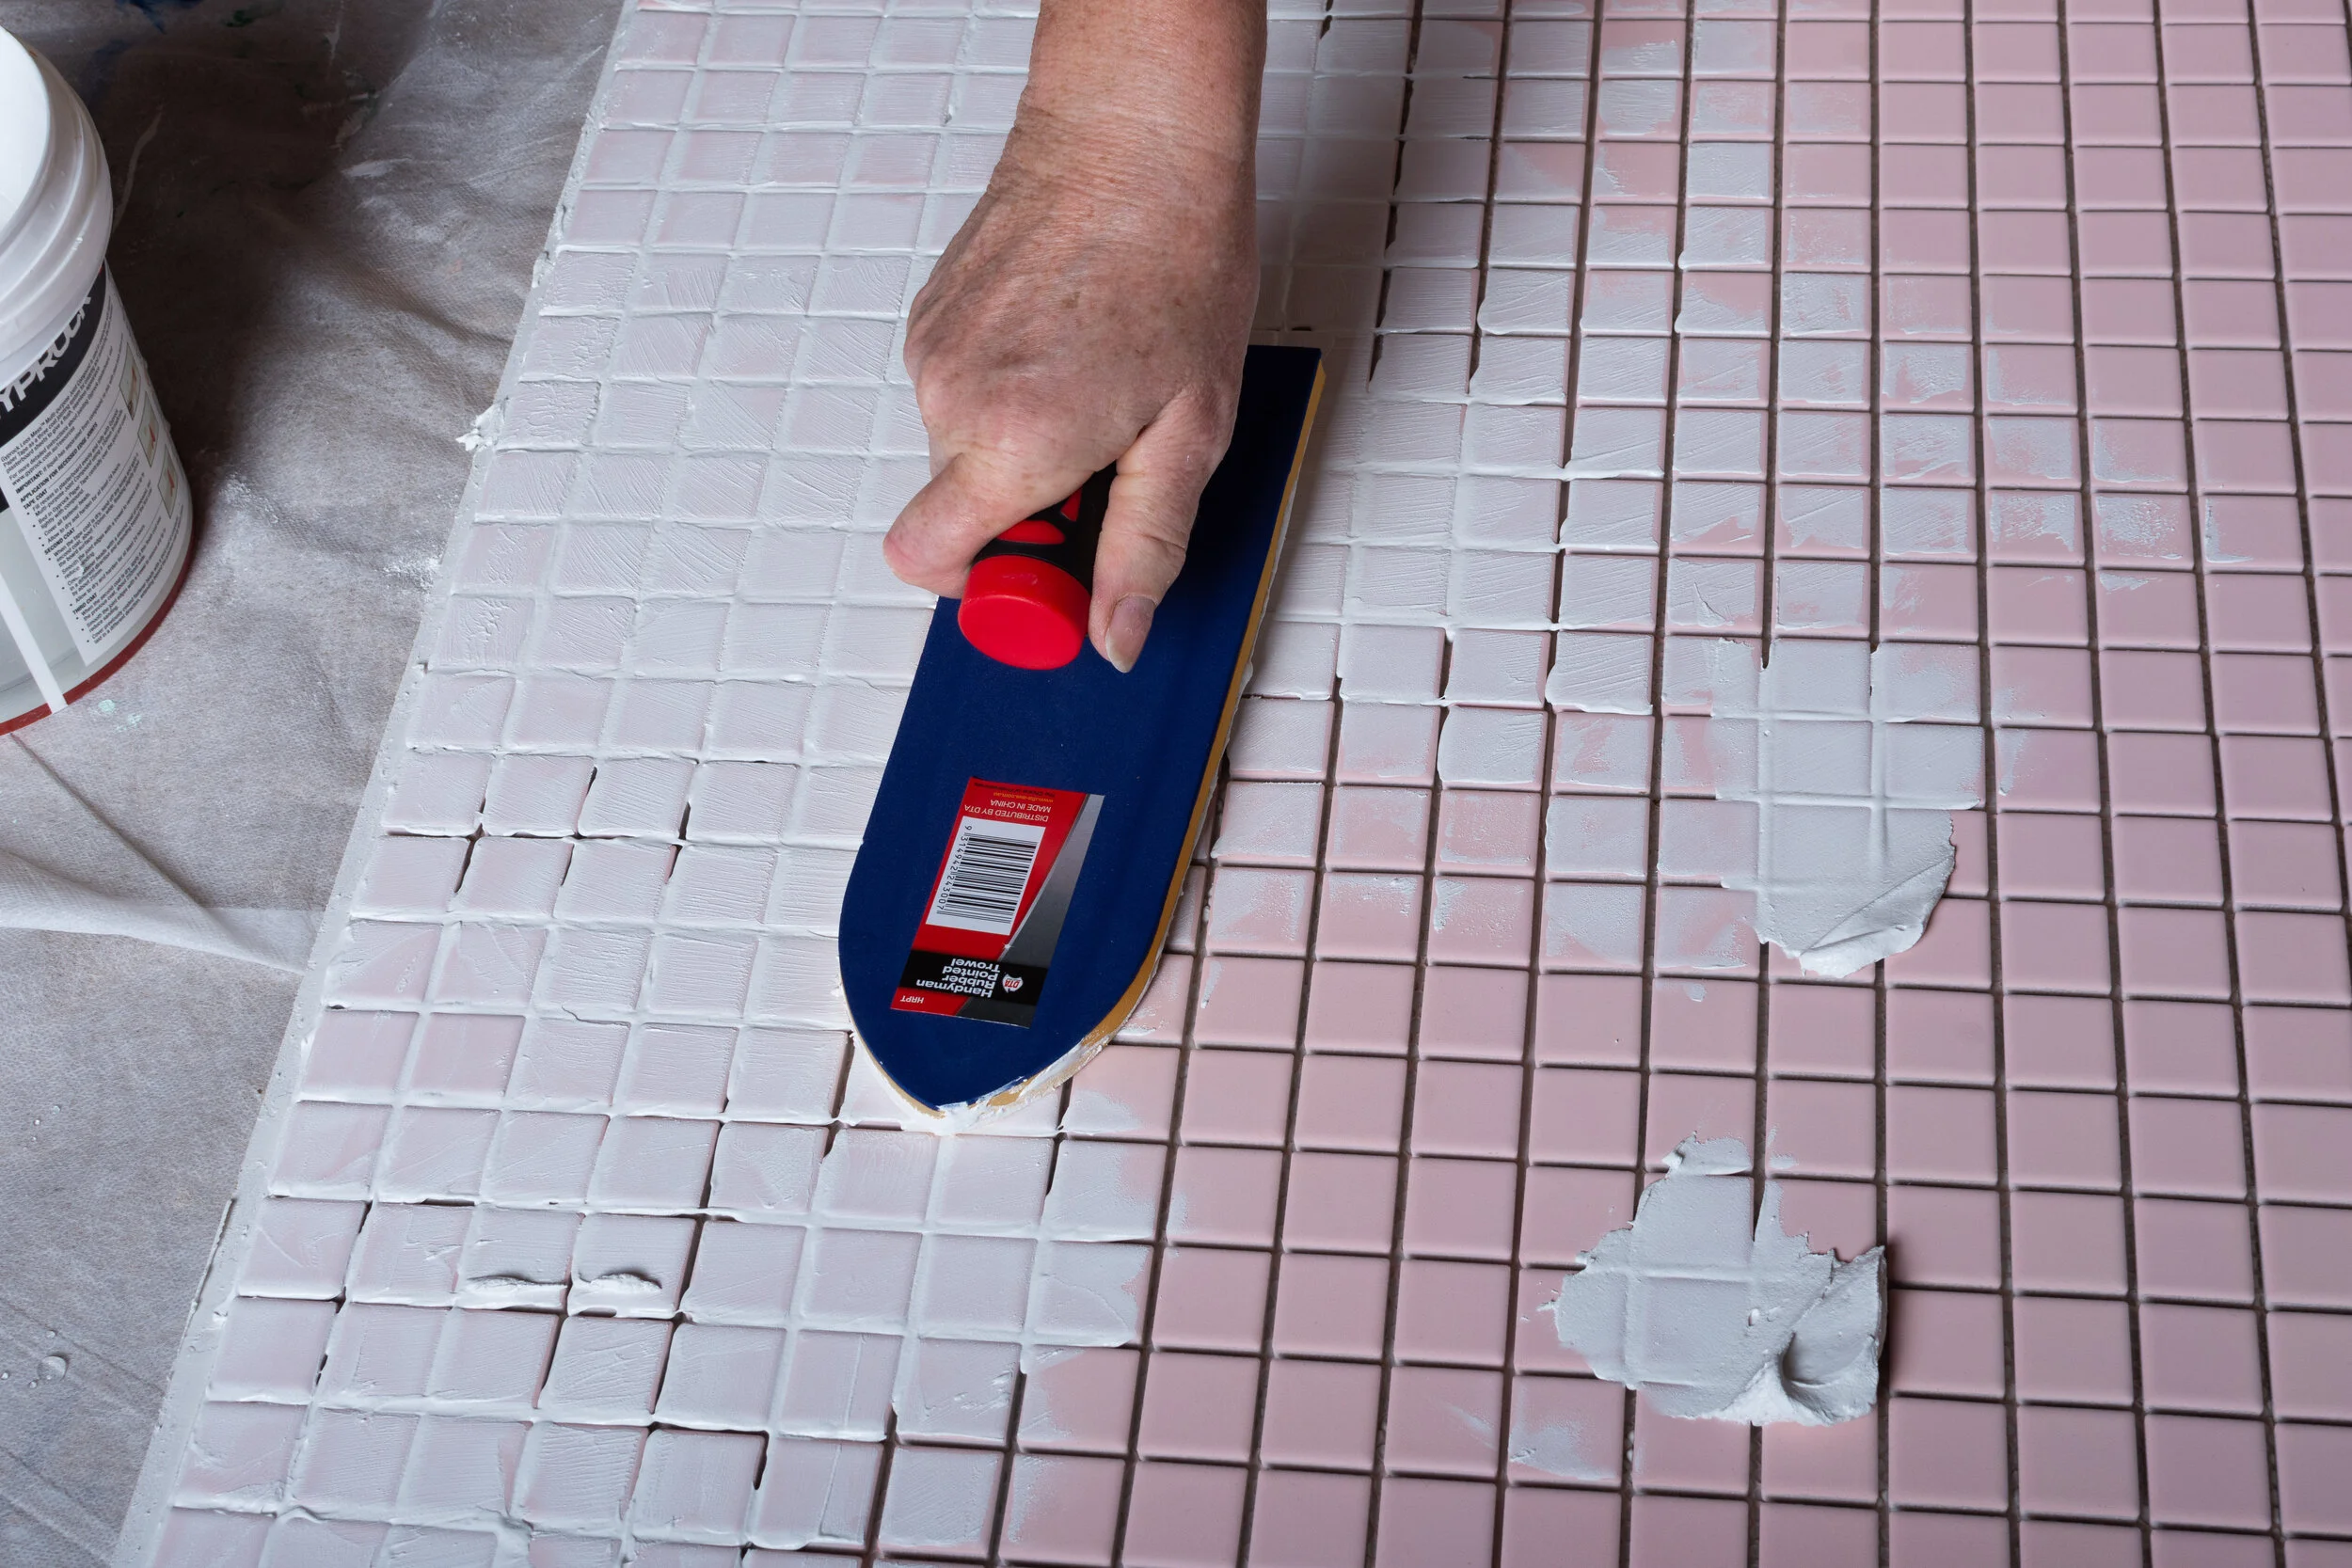
STEP 3: GROUT
OK, now it's time to add your grout. I used an ultra while grout as I wanted to ensure that my grout had a nice clean colour and that it contrasted nicely with my pink tiles. Mix up your grout as per the packet instructions and then guide it into the gaps in your tiles with a grouting spade.
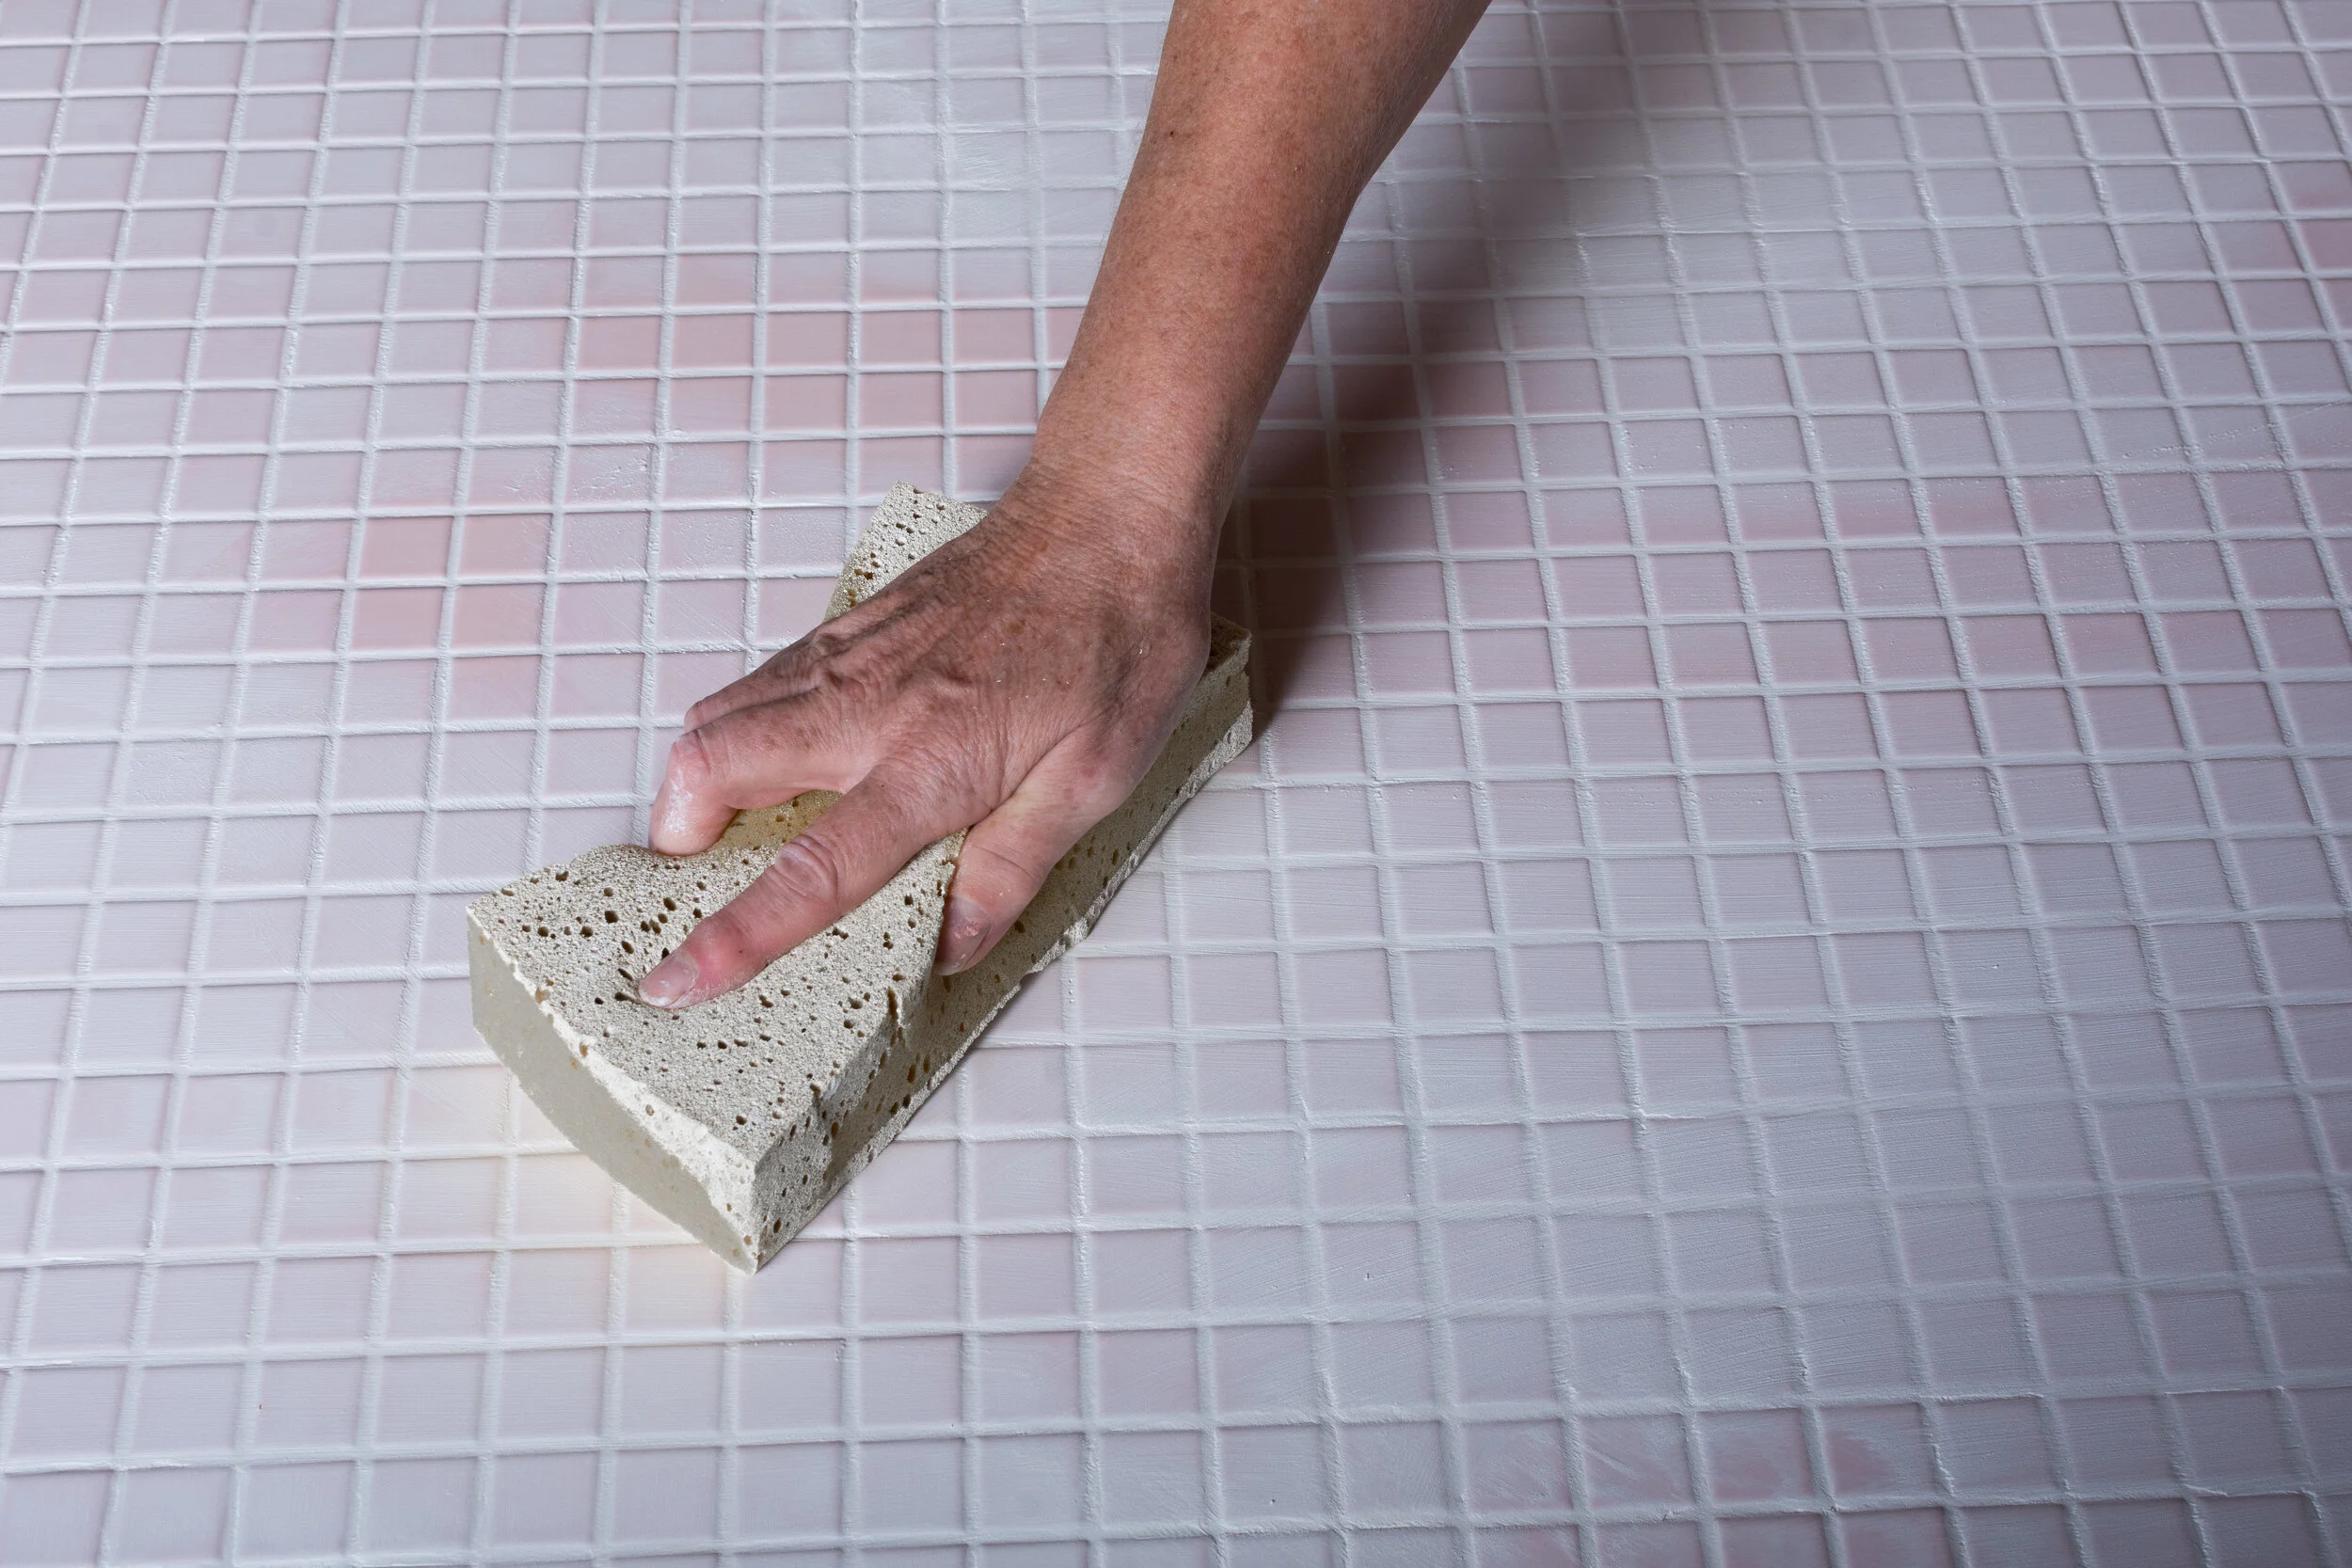
STEP 4: CLEAN YOUR TILES
The final step is to clean the grout off your tiles. Now, don’t be a fool as I was and leave your grout to sit on the tiles for too long - or you will give yourself quite the task getting that grout off! Give the grout a couple of minutes to settle and then start wiping off the excess grout with a damp sponge. Try to get as much off as you can with the sponge, then come back with a dry cloth to buff up the tiles at the end.
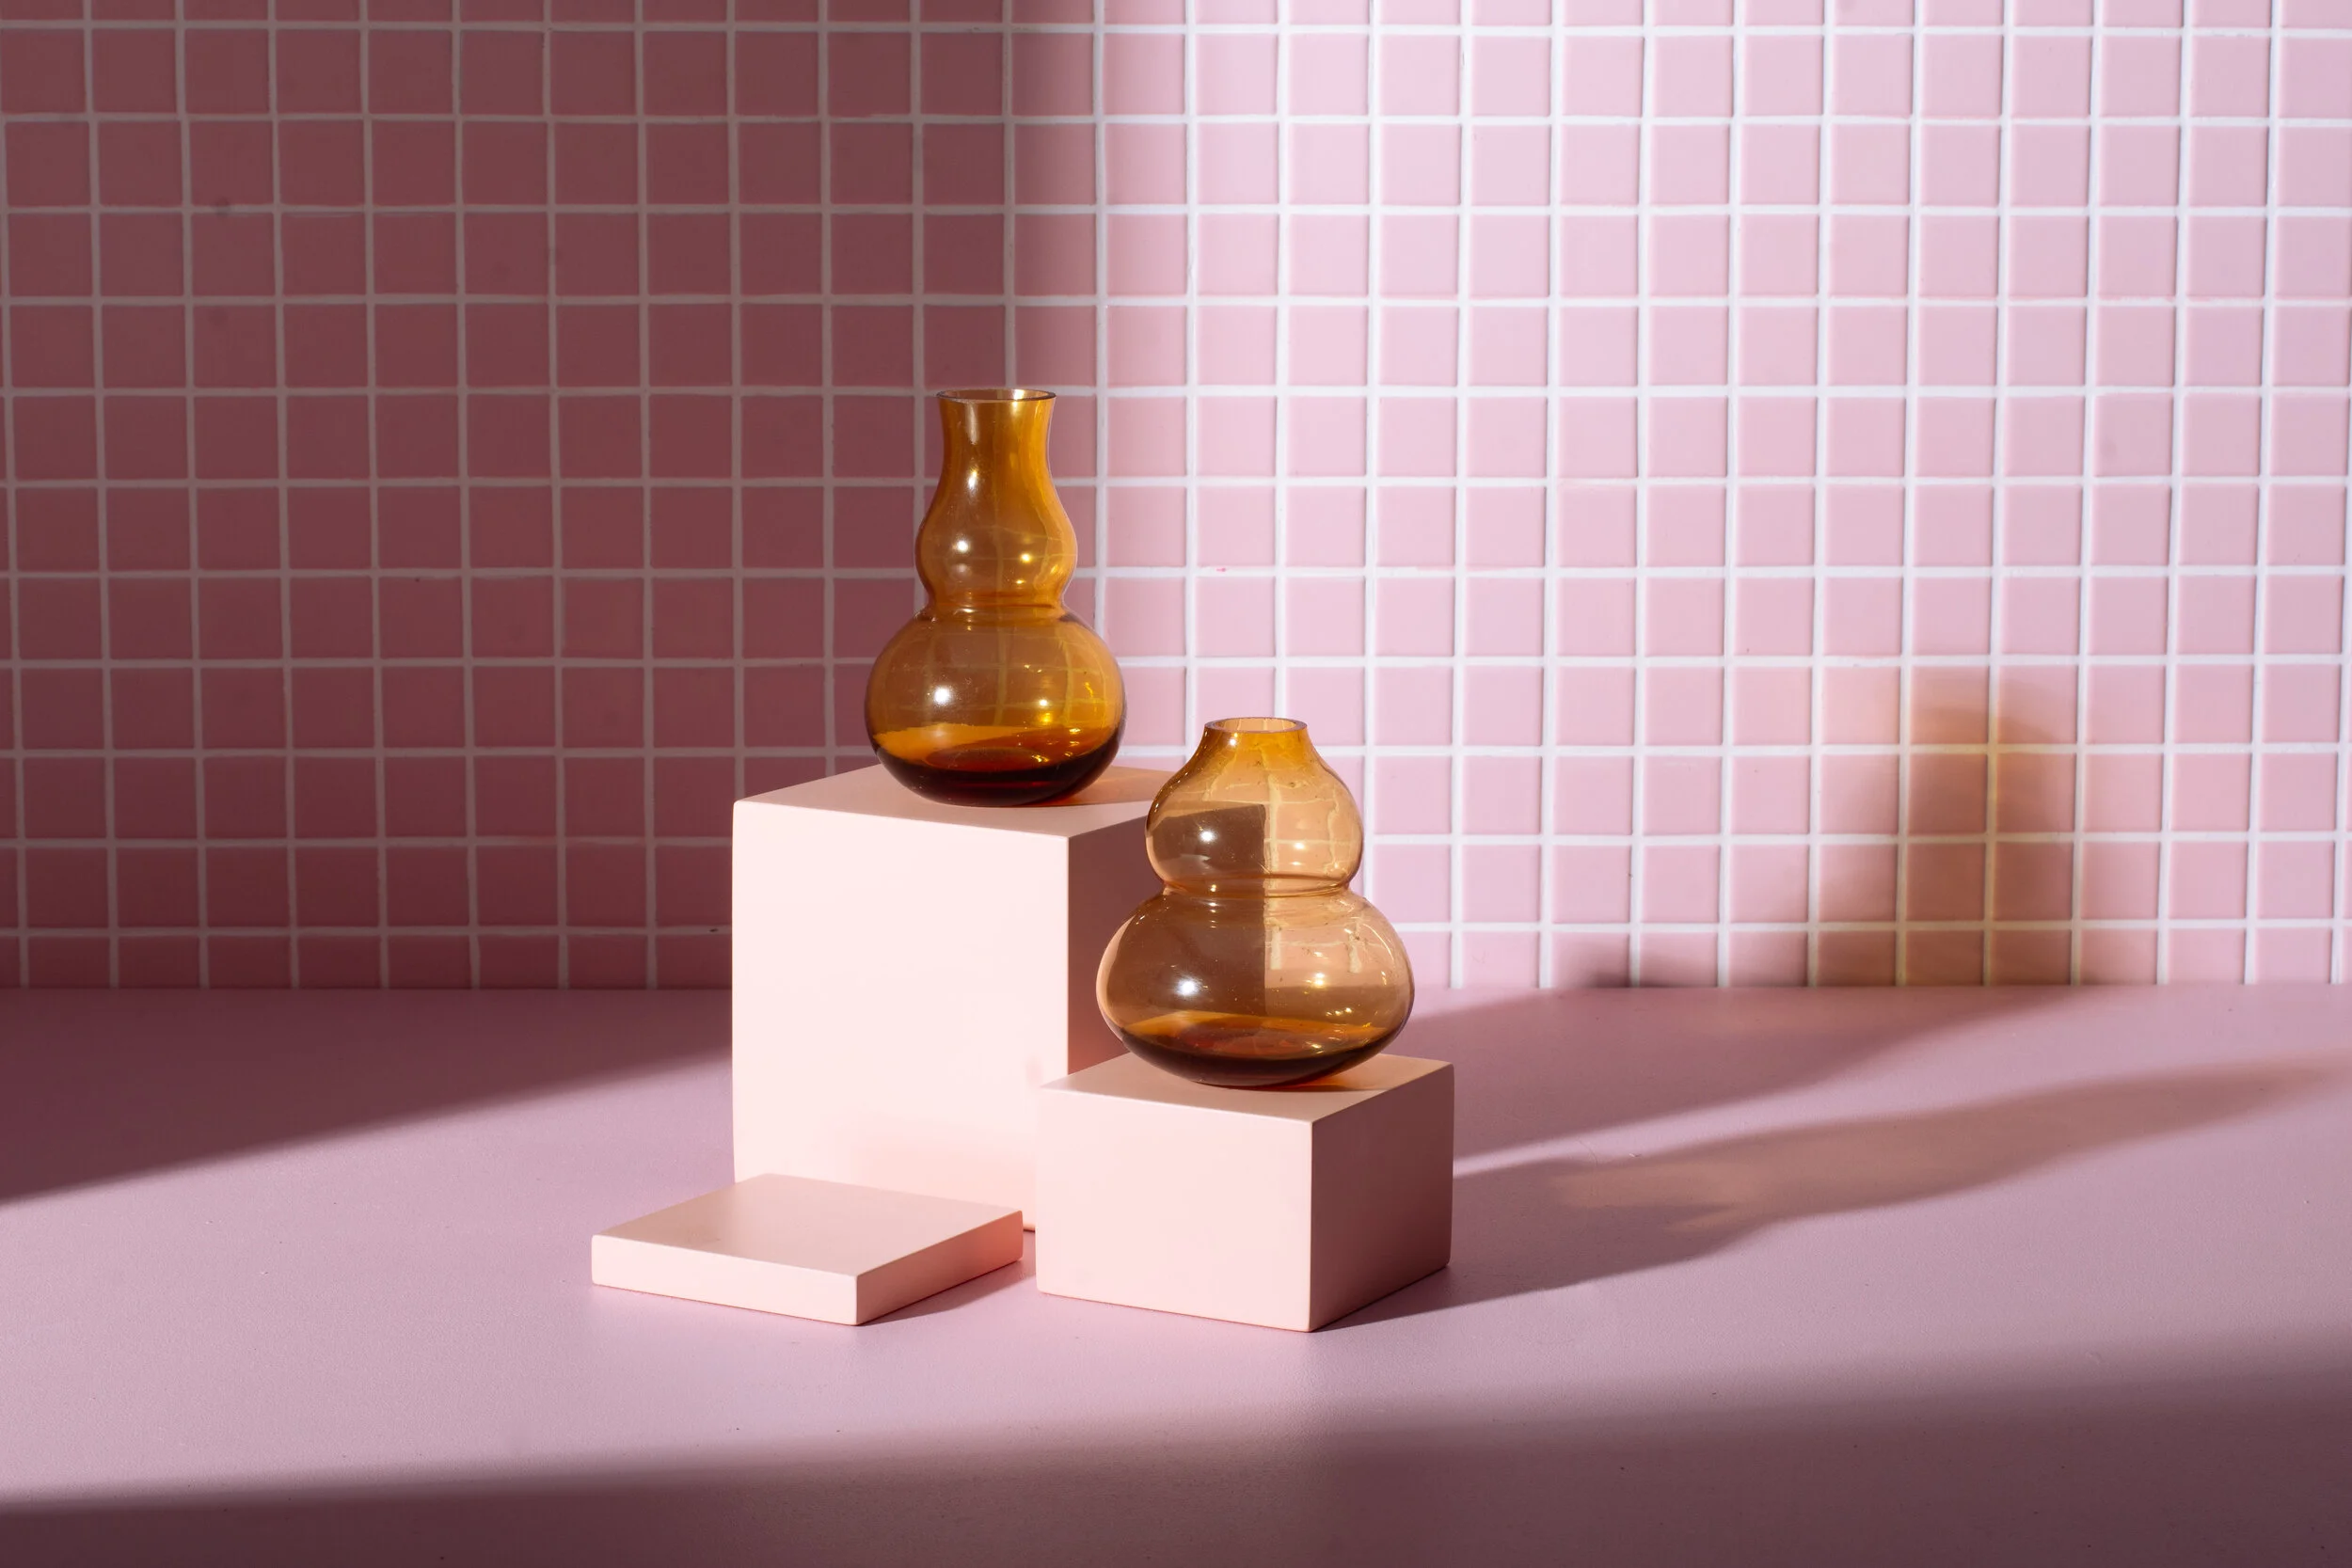
Wa la… You have a tile backdrop! Now I haven’t used this bad boy in a product shoot just yet but I’m excited to bust it out asap! For now, here is a little test shot that I took for fun.
If this all sounds like too much work you can purchase a vinyl backdrops with a tiled pattern from Everyday Co. You can use my coupon code: RACHELKIMBERLEY for 20% off your purchase.
Well, there you have it! I hope this has inspired you to create your own backdrop. If you do, please come on over and join us in the photography for makers facebook group and share your images. I’d love to see what you are making!