
Lets talk about tripods (and tripod hacks)
If you want to create professional looking images, a tripod is a key piece of equipment you will need.
A couple of reasons that I always use a tripod for product photography:
Stabilizing your camera will ensure the images of your product come out crisp and sharp
Setting your camera up on a tripod helps to keep your framing and distance between your camera and the product consistent (especially important when you a shooting a batch of products)
Having a tripod is particularly important if you want to create stop motion animations or cinemagraphs. In these types of images keeping your camera SUPER still will be the element which takes your image from good to great.
If you’re just starting out, there are plenty of budget-friendly options available, and if you’re ready to invest in your photography, a tripod is a piece of equipment which is well worth the investment.
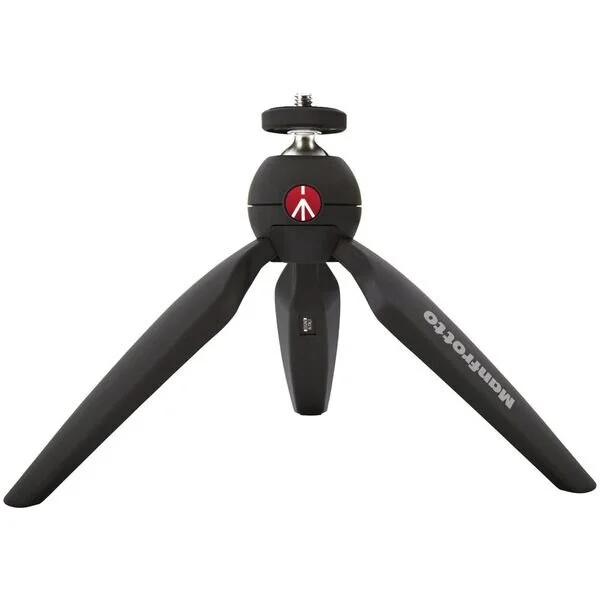
SMALL TRIPODS
If you shoot mostly small items, a table-top or mini tripod will do. If you are shooting with a smartphone make sure the one you buy either comes with, or is compatible with, a smartphone clip attachment.
I personally use this monfotto tripod with this smartphone attachment. It's high quality and reliable.

If you are shooting flat lay images which as small items you can pick up a tripod such as this which attaches to your desk and is great for overhead shots.
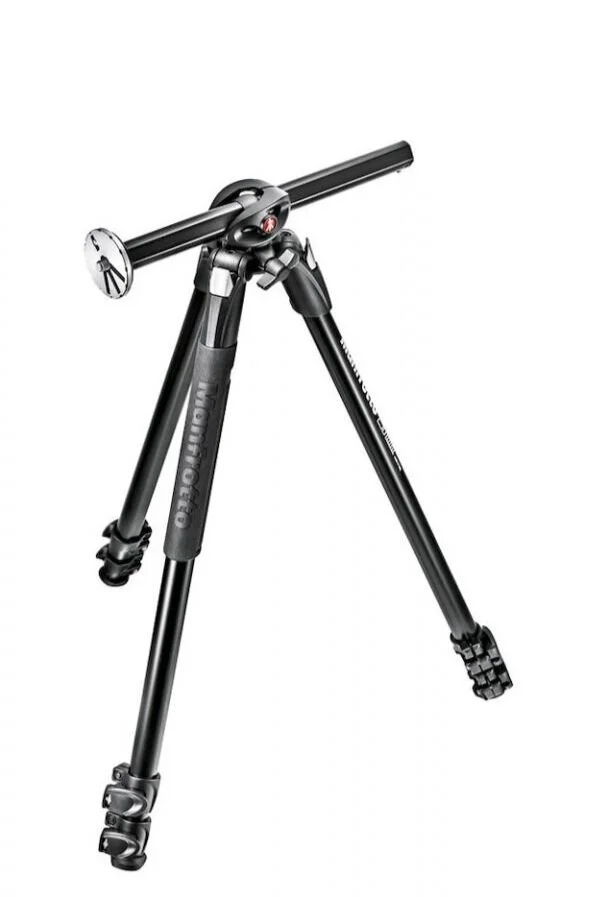
LARGE TRIPODS
If you shoot larger items (i.e. furniture) you might want to invest in a full-size tripod. There are loads of cheap tripods options available on sites such as amazon. However some can be quite flimsy. Personally, I love the manfrotto brand. I started out with something like this, but a few years ago I upgraded to the Manfrotto Befree GT XPRO Aluminium Tripod which has an articulating arm which allows you to get more directional or overhead images on your tripod (very handy for flatlays).

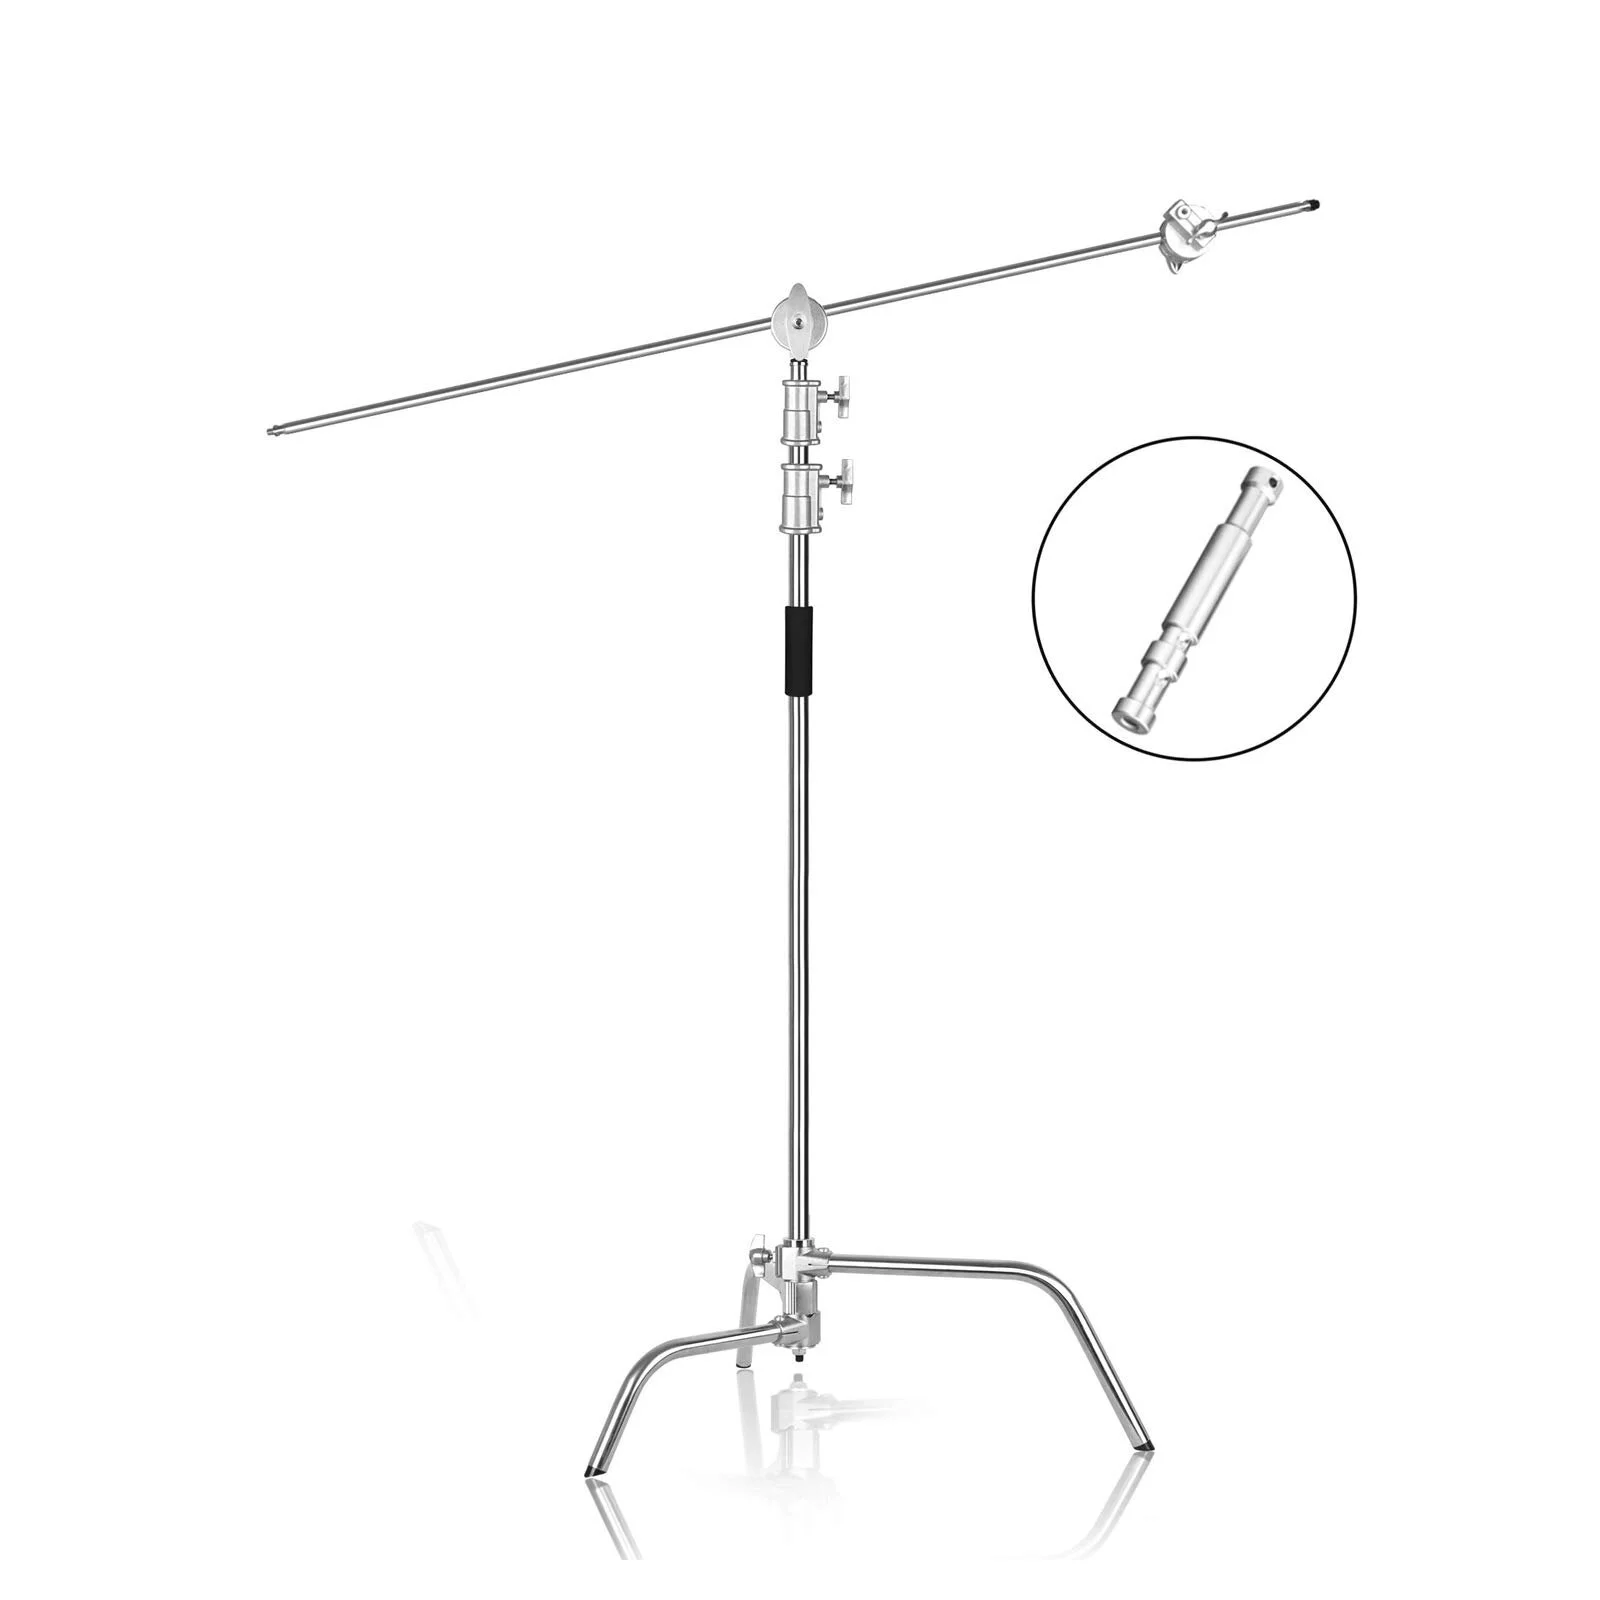
C-STANDS
OK so a C-stand is technically not a tripod but I’ve included it in this post because it can be a super hand piece of equipment if you are shooting a flat lay with a larger item (perhaps a flat lay of clothing etc). For this type of image you need to get some distance on your surface and sometimes a tripod with an articulating arm is just not tall enough or the tripod legs can get in the shot.
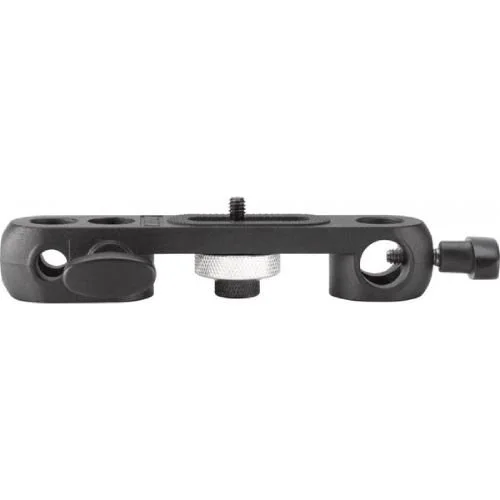
So for large item flat lays I use a C stand to get around this problem. In order to attach my camera to the C stand I use this adapter.
TRIPOD HACKS
Ok, so what if you don't have the cash to invest in camera gear just yet? Well if you are shooting with your phone there are ways to stabilize your camera without spending money on a tripod, here are some hacks:
UPRIGHT TRIPOD HACKS
Place the phone against a mug handle or inside a cup. Keep in mind that if you do this, you will need to use a timer to press the shutter button.


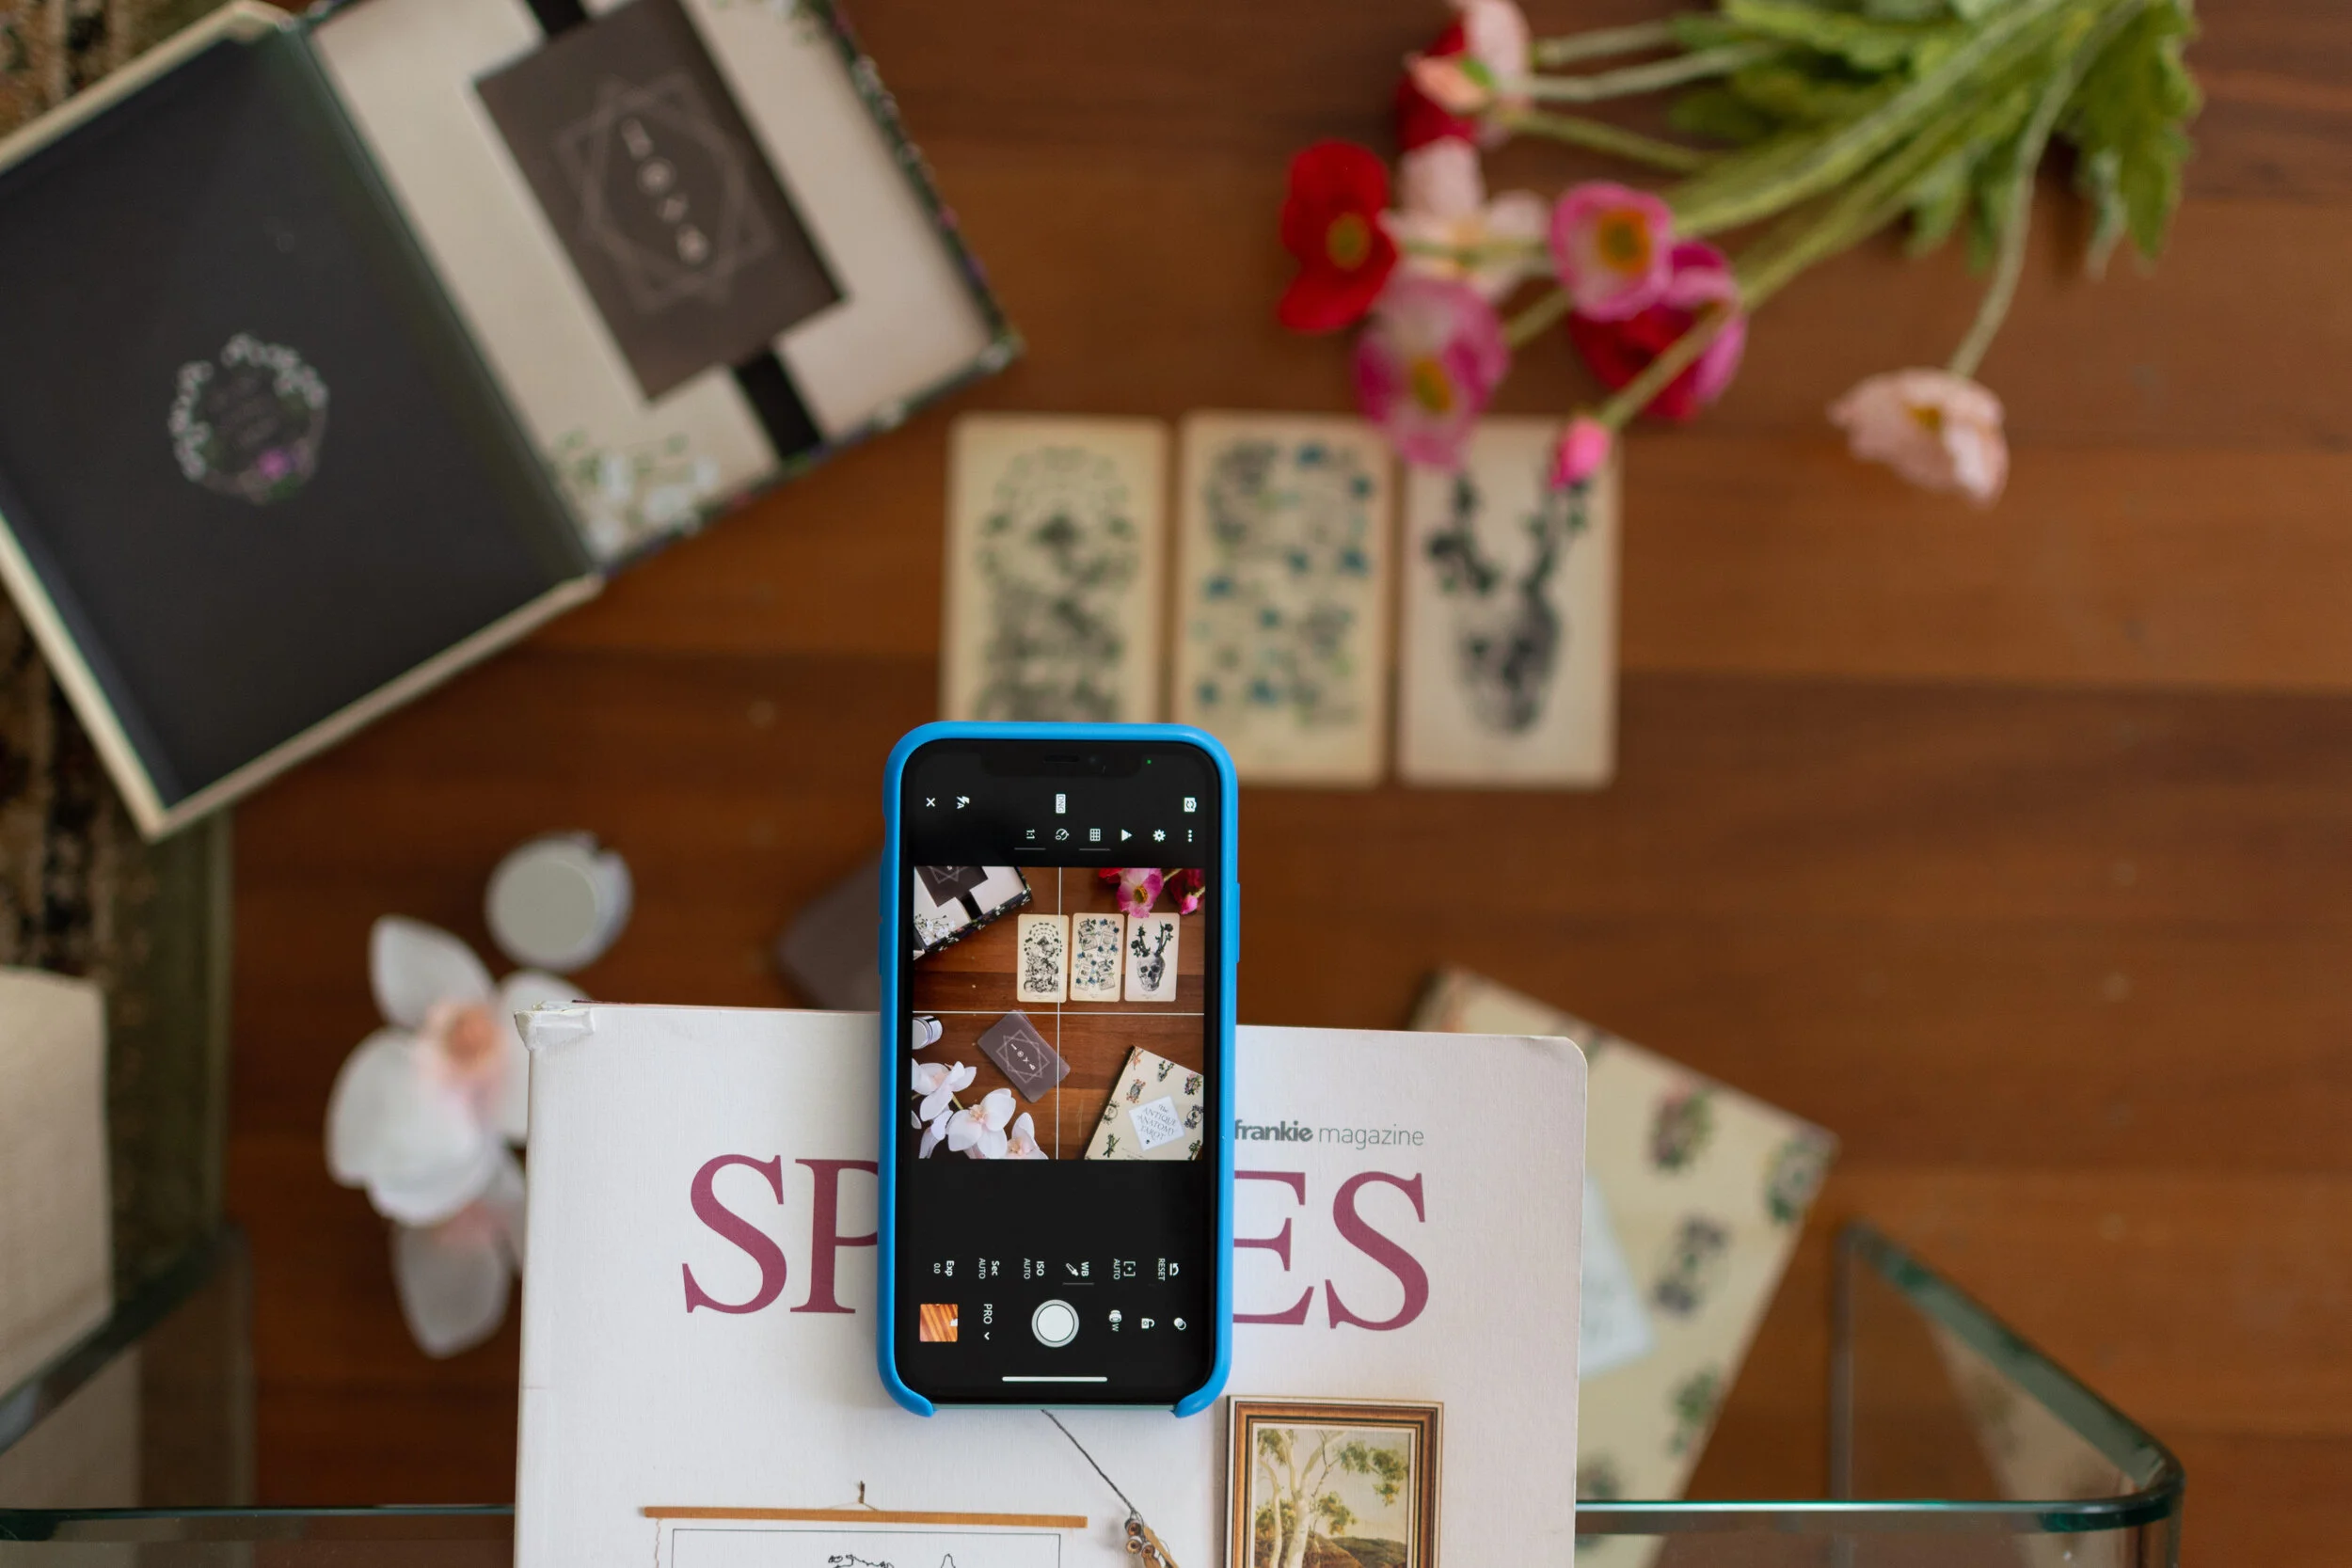
FLATLAY TRIPOD HACK
For flat lays, use the edge of a table, chair or kitchen cabinet edge as an overhead tripod. If you’re getting the legs of your chair or table, use a book as an extender so your phone can be further out.
HANDS FREE
What if you want to do some hand modelling? or you want to be far away from your phone? How will you trigger the shutter button?
This is where bringing in some hands free options will be helpful. If you are still close to your phone you can use your headphones as a shutter release cable. Simply plug them into your phone and use the volume controls to trigger the shutter.
If you are far away from your phone you might want to purchase a wireless remote like this one. You can also enable a timer on your phone camera.
Well, there you have it! I hope this has helped you to get your head around tripods. If you take any images using this advice please come on over and join us in the photography for makers facebook group, I’d love to see your images! If you want to learn more about equipment you can find my full equipment recommendations blog post here.