
How to photograph Artwork
This blog has been requested and in the pipeline for a long time - and I finally got around to creating it (yay). So for all of you artists and illustrators out there, here is some photography advice just for you!
PRESENTING YOUR ARTWORK TO BE PHOTOGRAPHED:
The first decision that you’ll need to make is how you will present your artwork to be photographed. Let's look at the options:
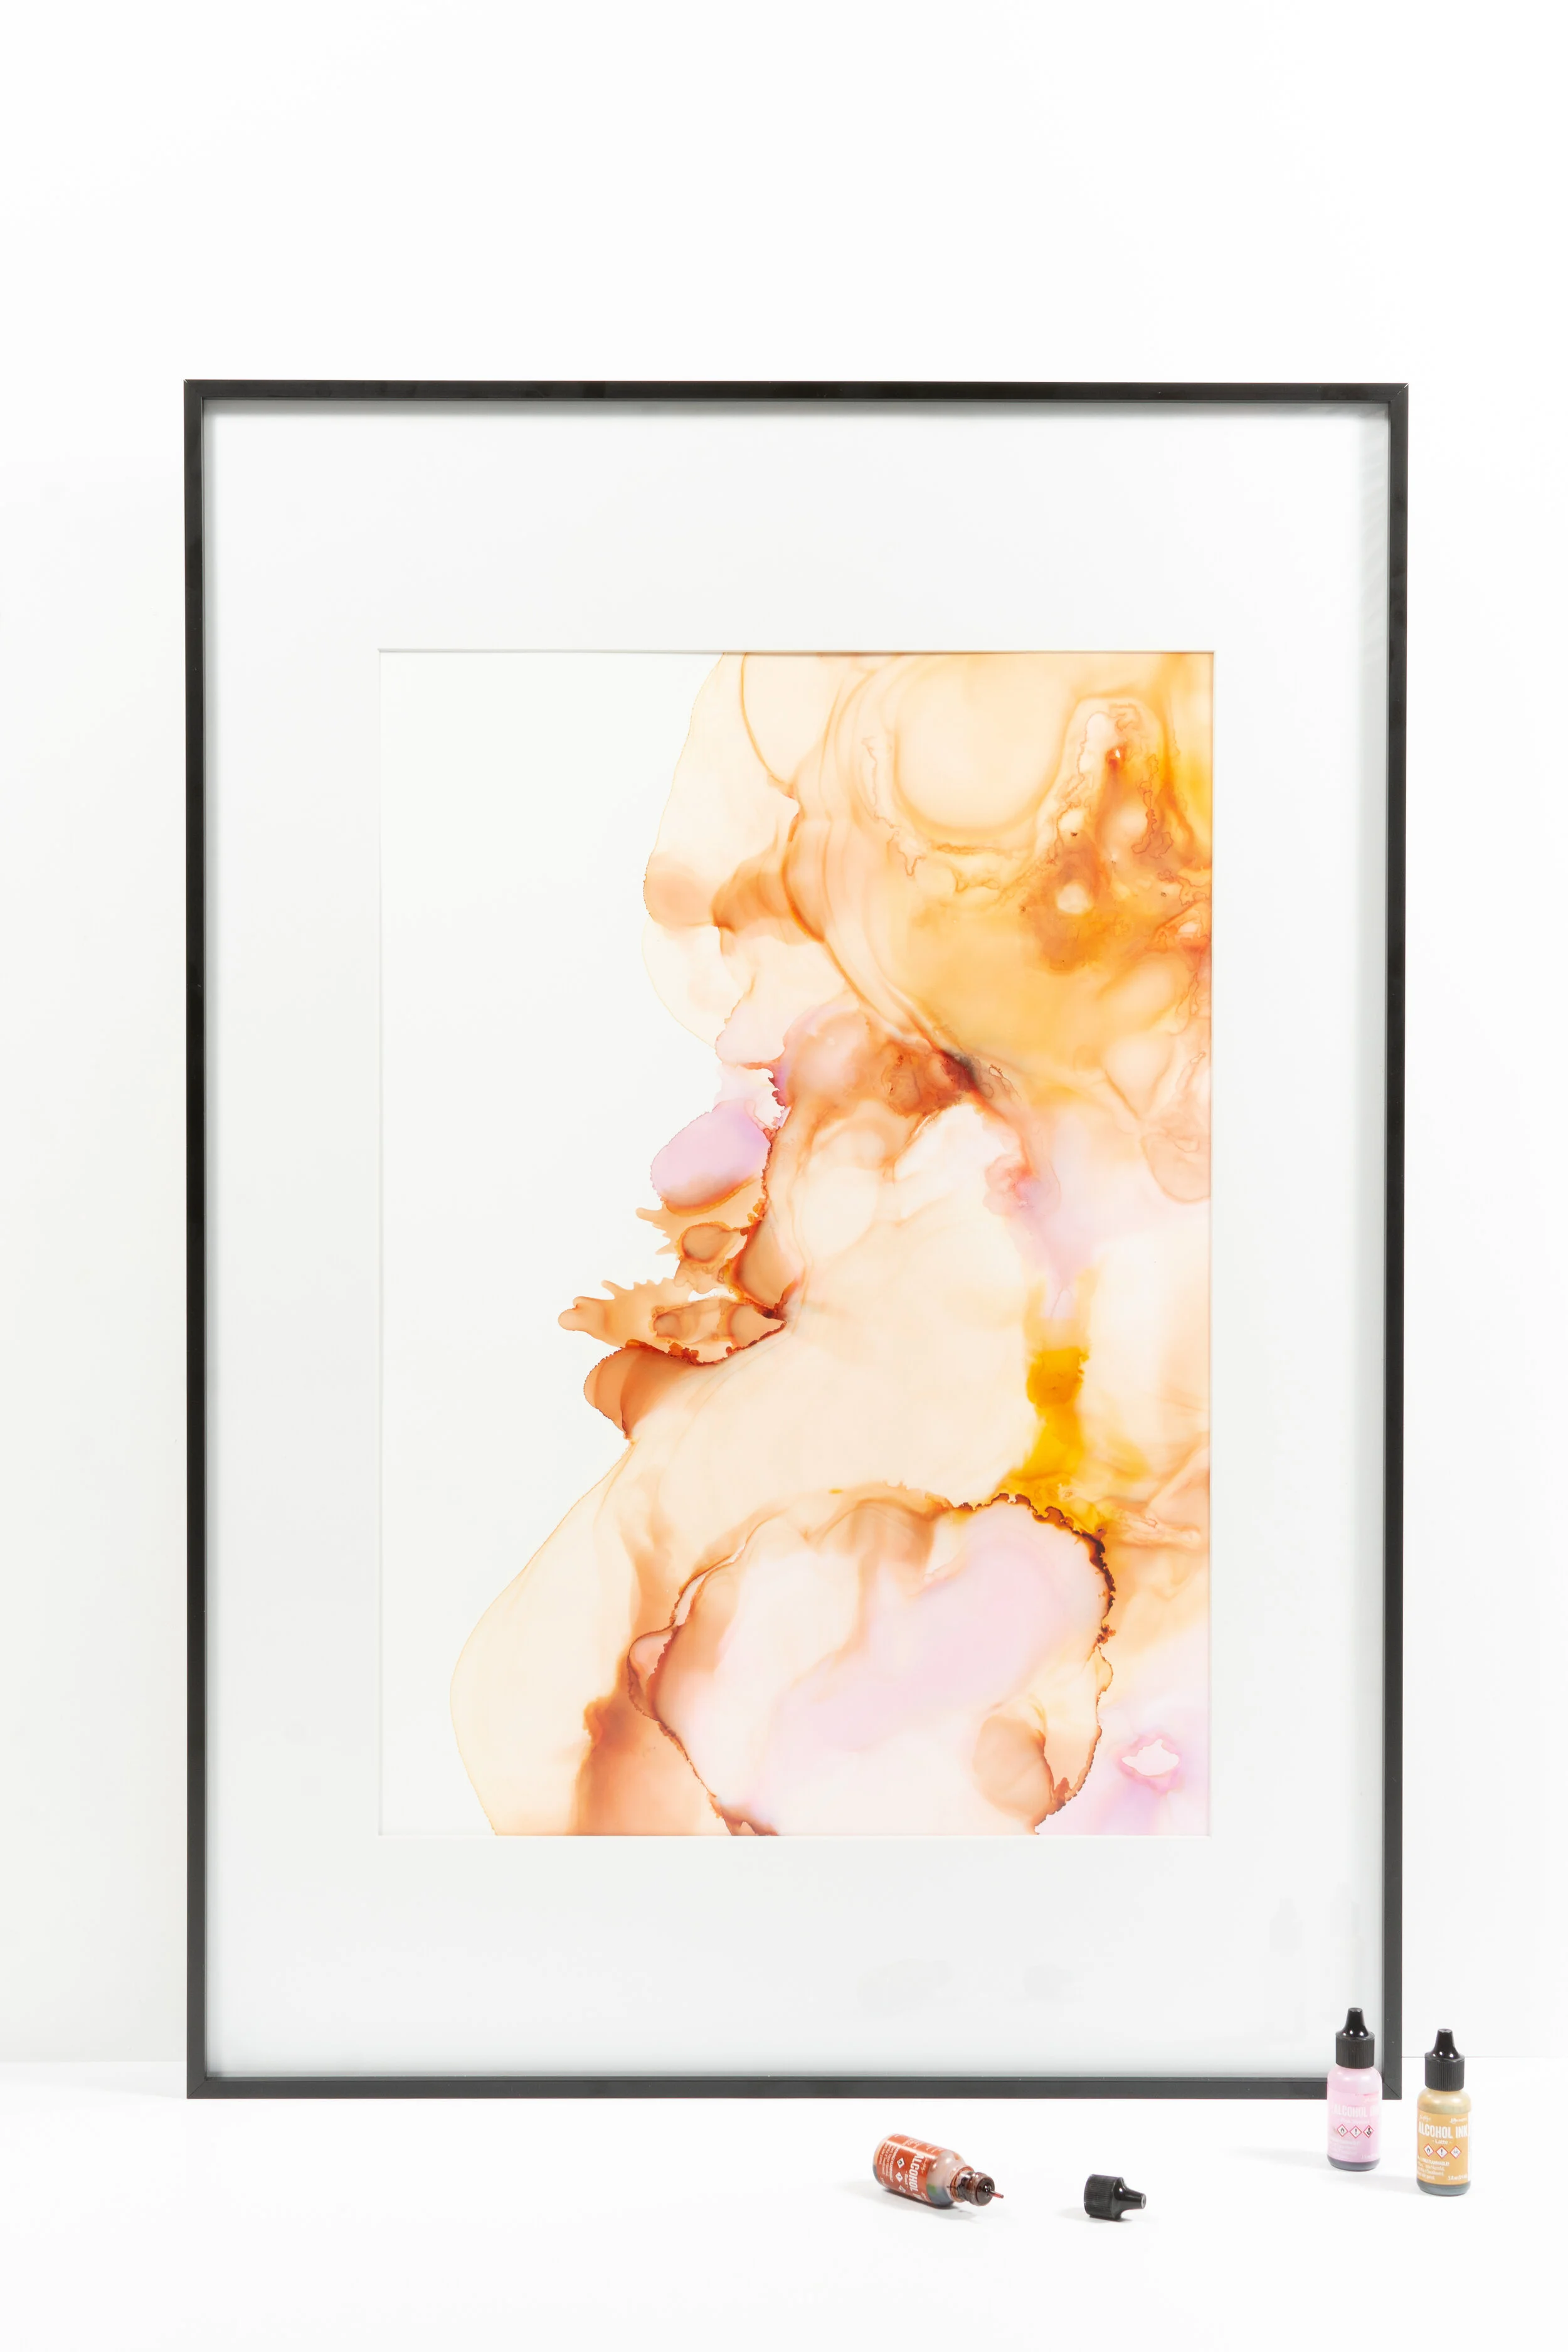
OPTION 1: HANGING YOUR ARTWORK ON A WALL
If you have an appropriate space, you might try hanging your artwork on the wall. Generally speaking you will want to use a neutral-coloured wall. White, grey, or black often works well.
If you’d like to style your photograph - you might like to use a coloured wall (which contains your brand colours). If you opt for this, it's important to remember that shooting in a room with a coloured feature wall can skew the colour balance of your photo (more on this below)
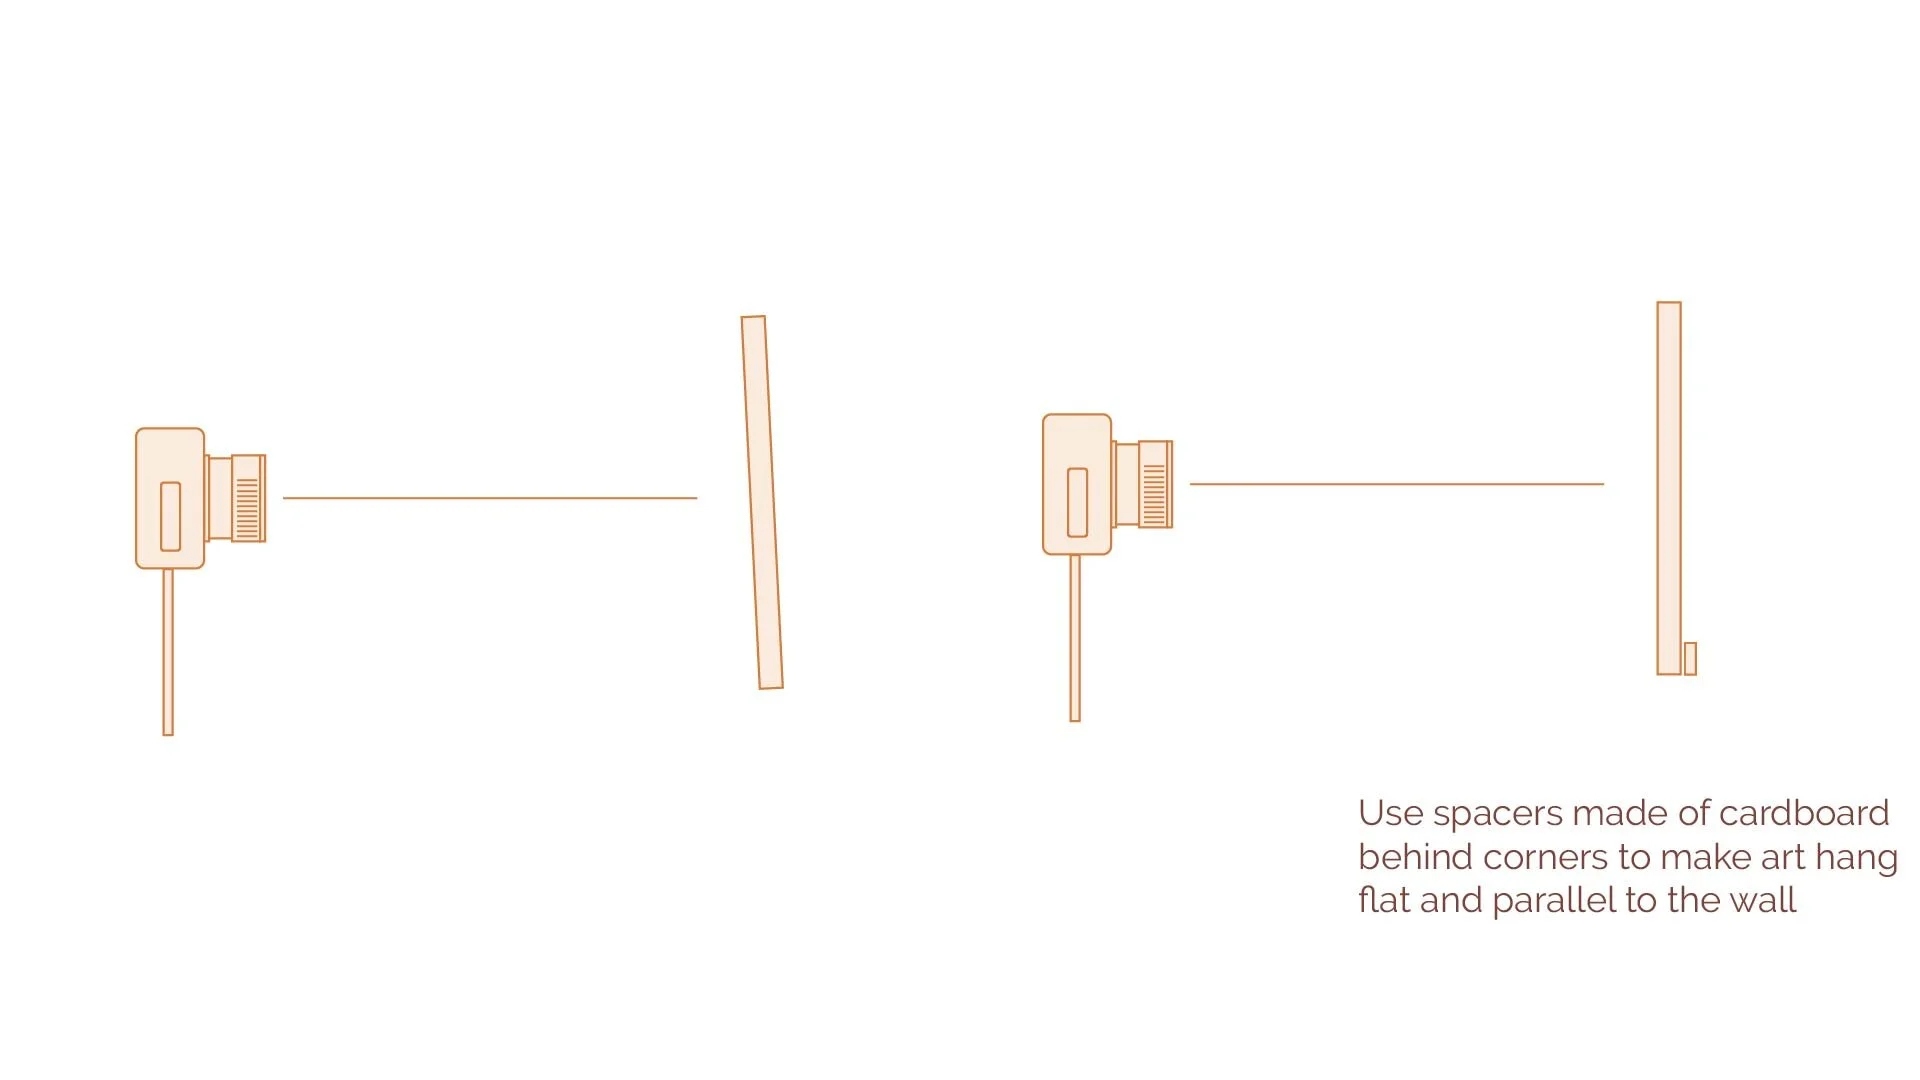
If the artwork has a frame, hang it at a comfortable height and check that it is flat against the wall. If necessary, use spacers made of cardboard or foam core behind each corner. That way, the artwork will hang flat and parallel to the wall.
Also remember that everything you put in the frame with your artwork is going to communicate about your brand. So be mindful in your frame selection and pick a frame which is going to compliment (and not steal attention from, your artwork).
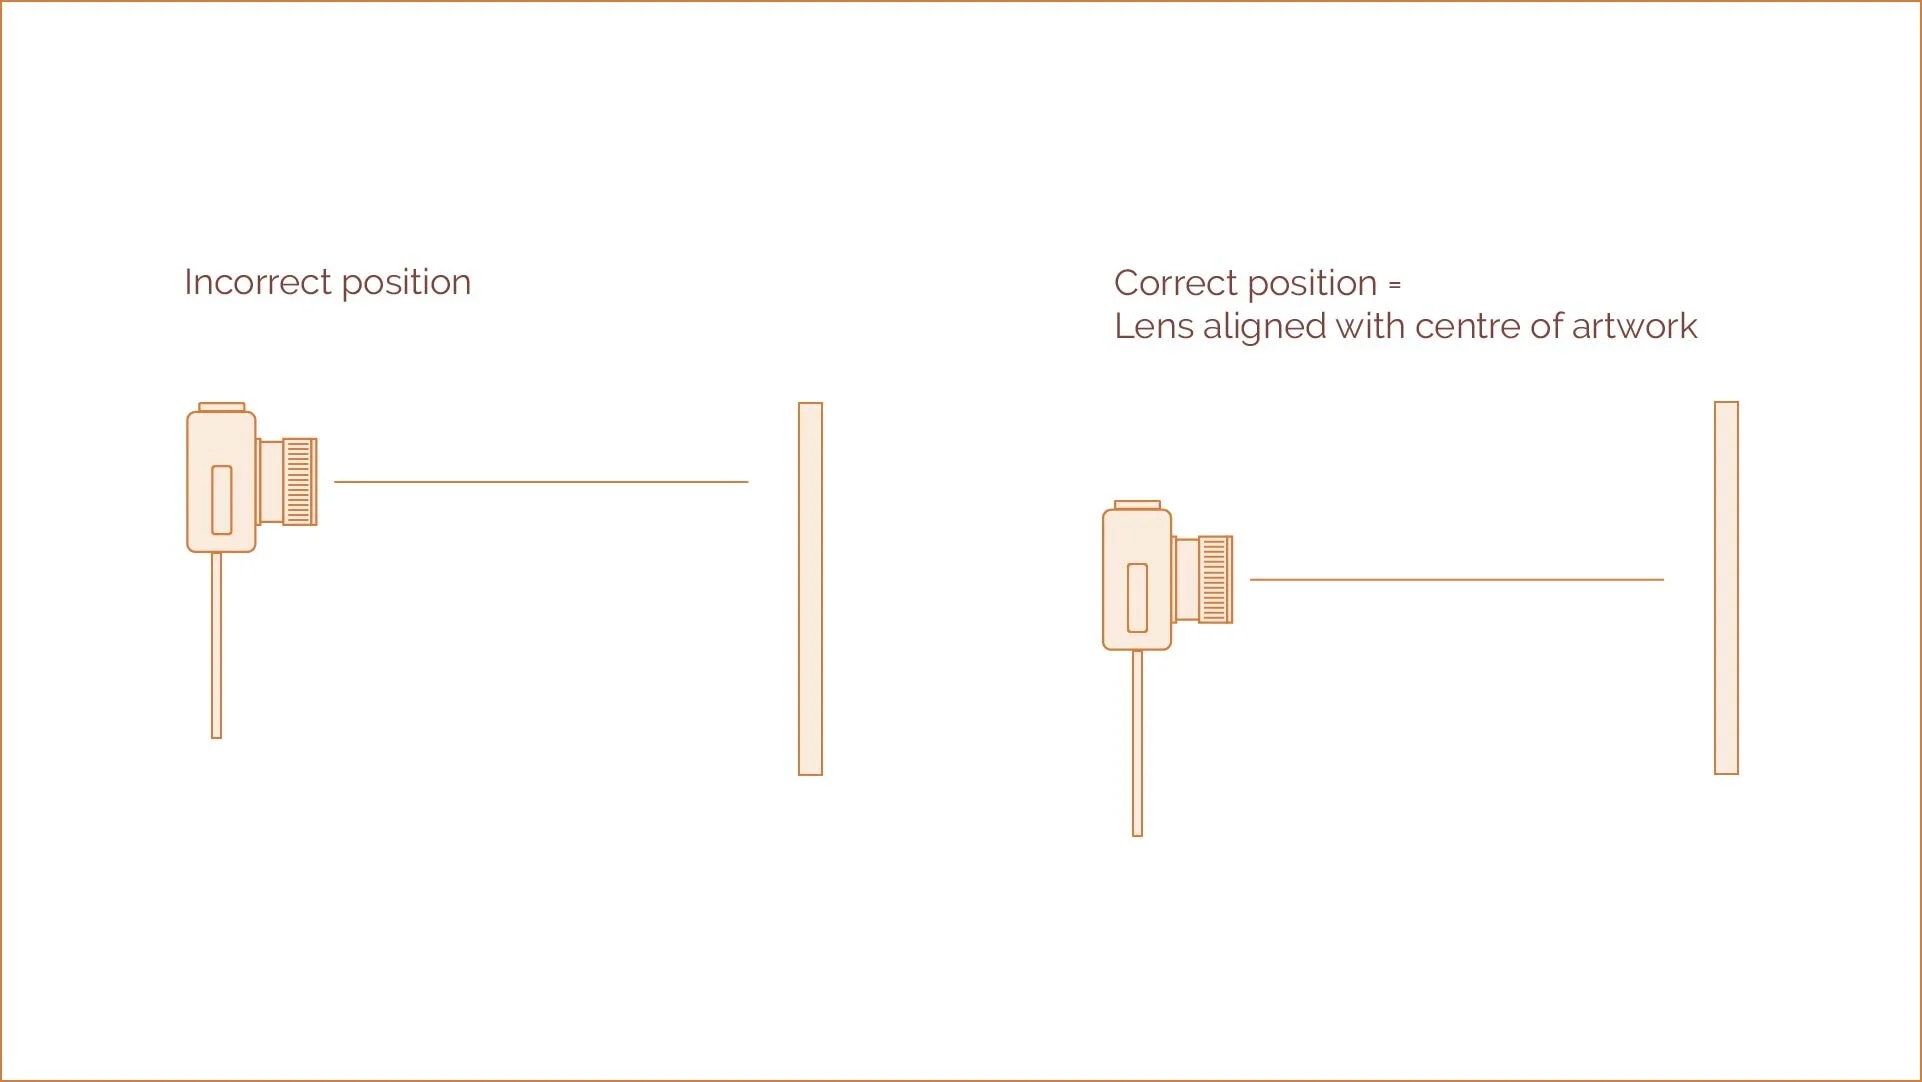
Use a level to check that your art is vertical. Then set up your camera on a tripod and position it so that the lens height matches the centre of the artwork. It's a good idea to use a measuring tape to ensure that everything is squared and straight. You don't want to create any skewed perspectives!
Make sure that your camera is level and perfectly parallel to the wall you are shooting. When both the camera back and artwork are parallel to each other, the perspective should be close to perfect.
When presenting your artwork this way, you are able to add in some styling elements such as plants, furniture and other wall ornaments. Once again, think through your styling choices carefully and make sure that they are on-brand.
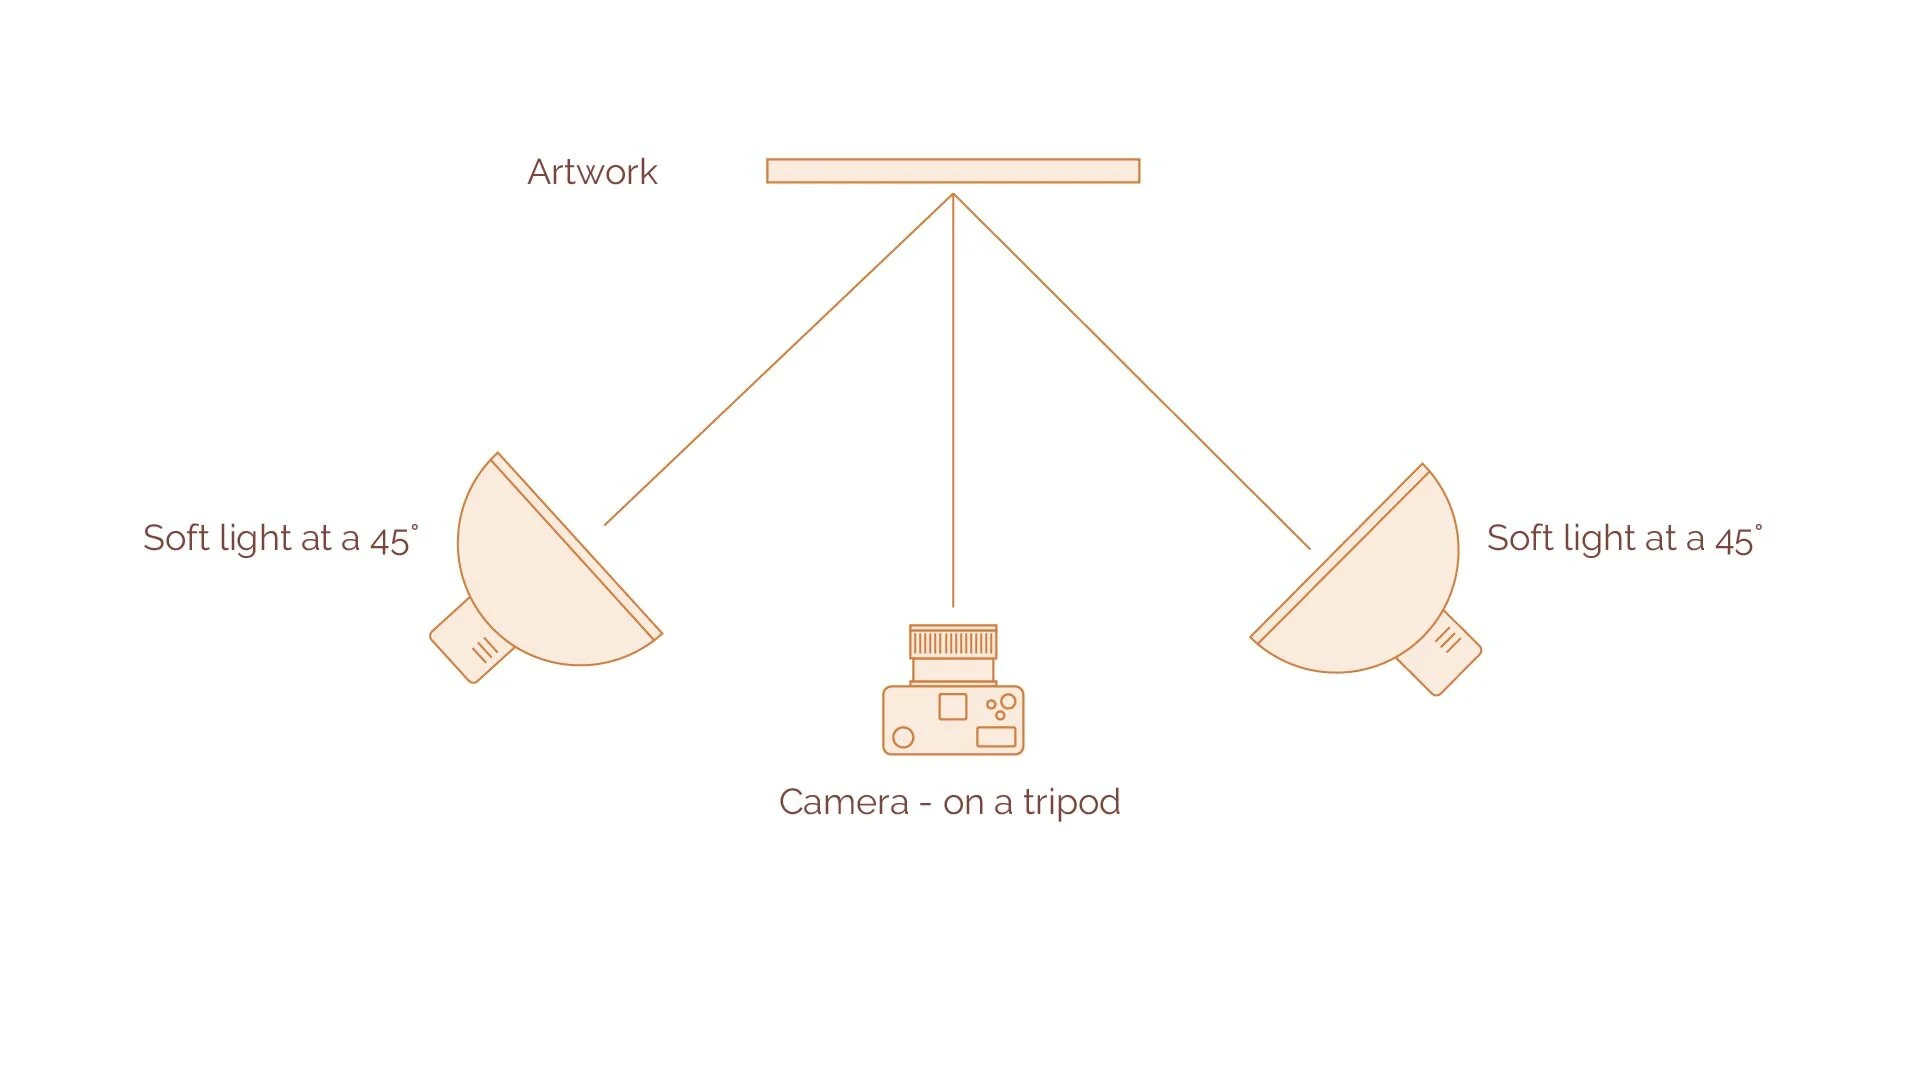
To light this scene, you will (ideally) have 2 photography lights. You can use professional strobes or, if you’re just starting out you can get yourself a cheap beginners lighting kit like this.
A standard lighting setup for photographing wall art uses two identical lights positioned at 45° to each side in front of the painting. These two lights need to be identical in wattage or output and be placed at the same distance from the centre of the artwork. This will provide an even wash of shadow-less light.
VARIATION OPTION: If you don’t have a wall which you can mount the photo on, but you’d still like to present it in an upright mannor, you can frame the artwork and sit it on a benchtop, shelf or even the floor. The technique for photographing an artwork in this way will be the same as described above.
TROUBLESHOOTING: REFLECTIONS
Many times, a piece of art will be placed behind glass in a frame. Some art mediums (such as oil paints) are glossy and susceptible to catching light sheen. So let's talk about how to eliminate glare on reflective surfaces.
Diffuse your lights: Add a diffusion cloth to the front of the lights so that the quality of light is soft. Hard direct light might blow out or burn lighter or white areas of your artwork.
Add more space into your set up: If your lights are too close, you might see glare on the edges of your painting. If this is the case try moving your entire set up a little to reduce the glare.
If you and your camera are showing up in your reflection you can try to camouflage yourself by using a piece of black foam core, cutting a hole in it - which is just large enought for your camera to peak through and placing it in front of your camera.
if the room is reflecting back objects from around the room. Hang some back cloth around the room to minimise these reflections.
If all else fails try taking the glass out of the frame! (you most probably wont be able to notice in the photograph)
OPTION 2: FLAY LAY
If you don’t have an ideal wall space or standing space to photograph your work on, you might opt to photograph your work in a flat lay set up.
Once you’ve positioned your artwork on the floor or surface, set up your camera or phone on a tripod with an articulating arm. Once again your camera should be positioned directly in the centre of your artwork in order to avoid any skewed perspectives. You can use a measuring tape or on a smartphone you can use the grid lines in your camera app to ensure your perspective is correct.

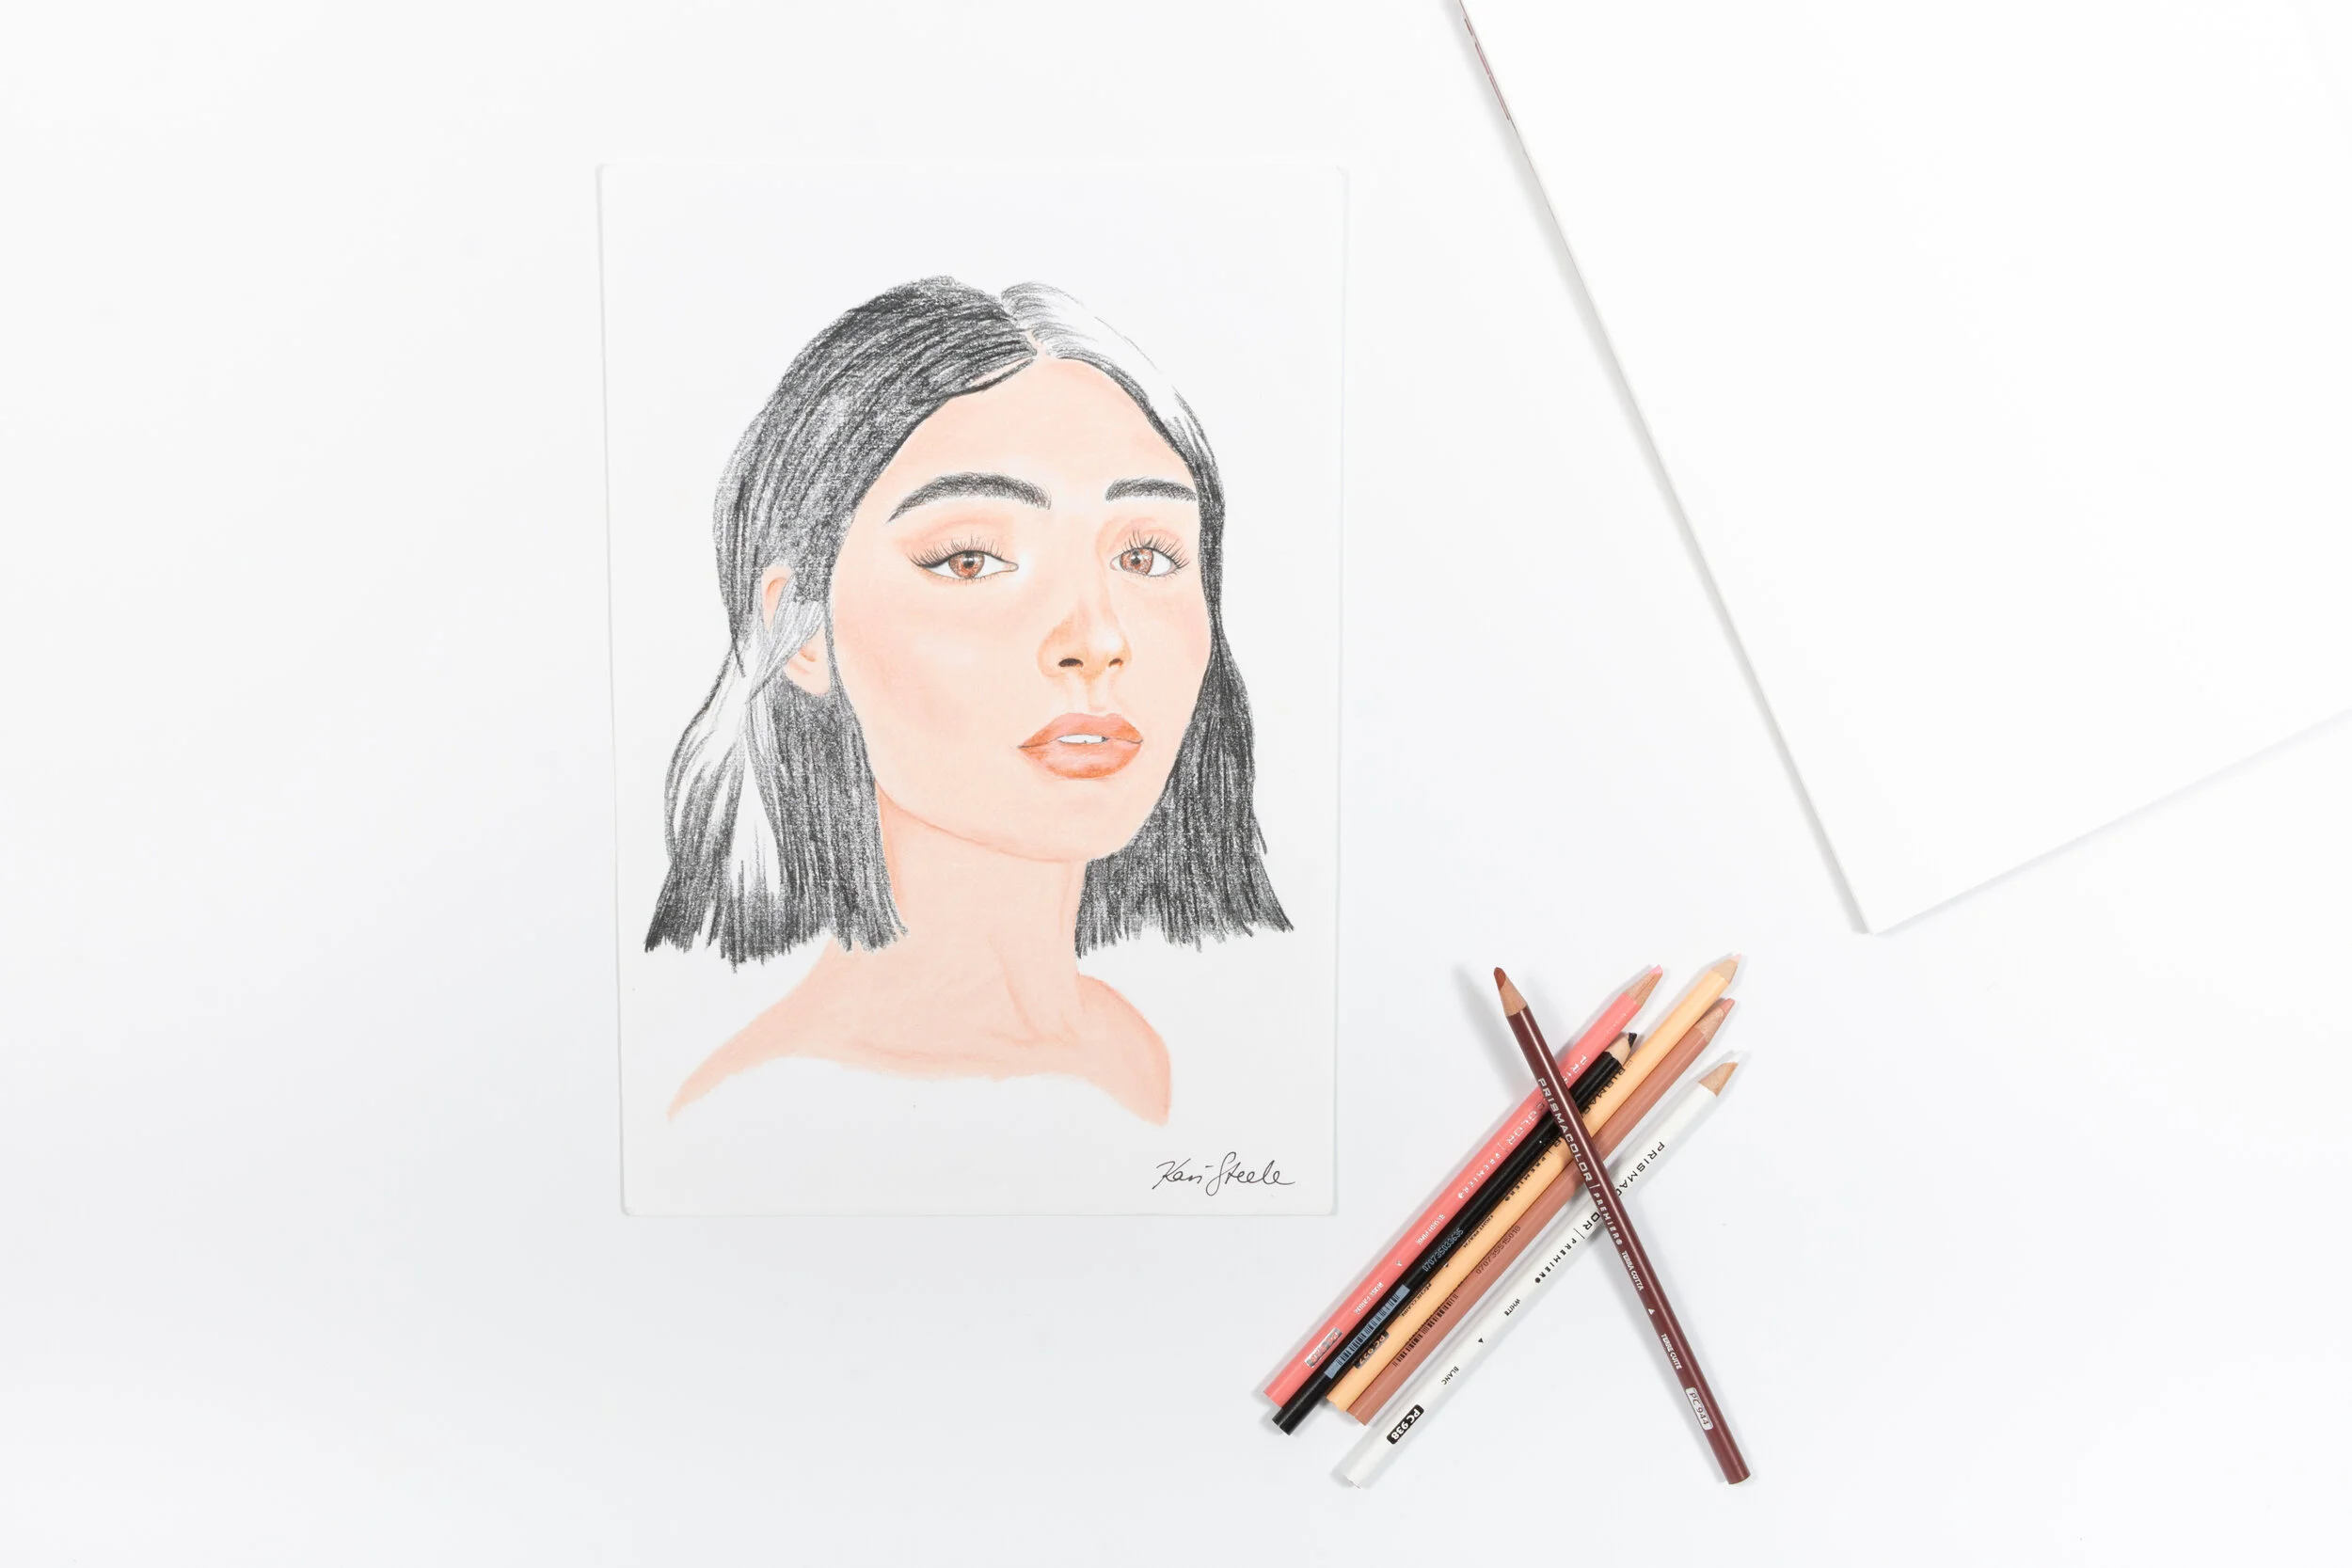
When presenting your artwork this way, you are able to add in some styling elements around exterior parts of the frame in a flat lay style. This could be anything from art supplies to plants and flowers. Just be sure to think through your styling choices carefully and make sure that they are on-brand.
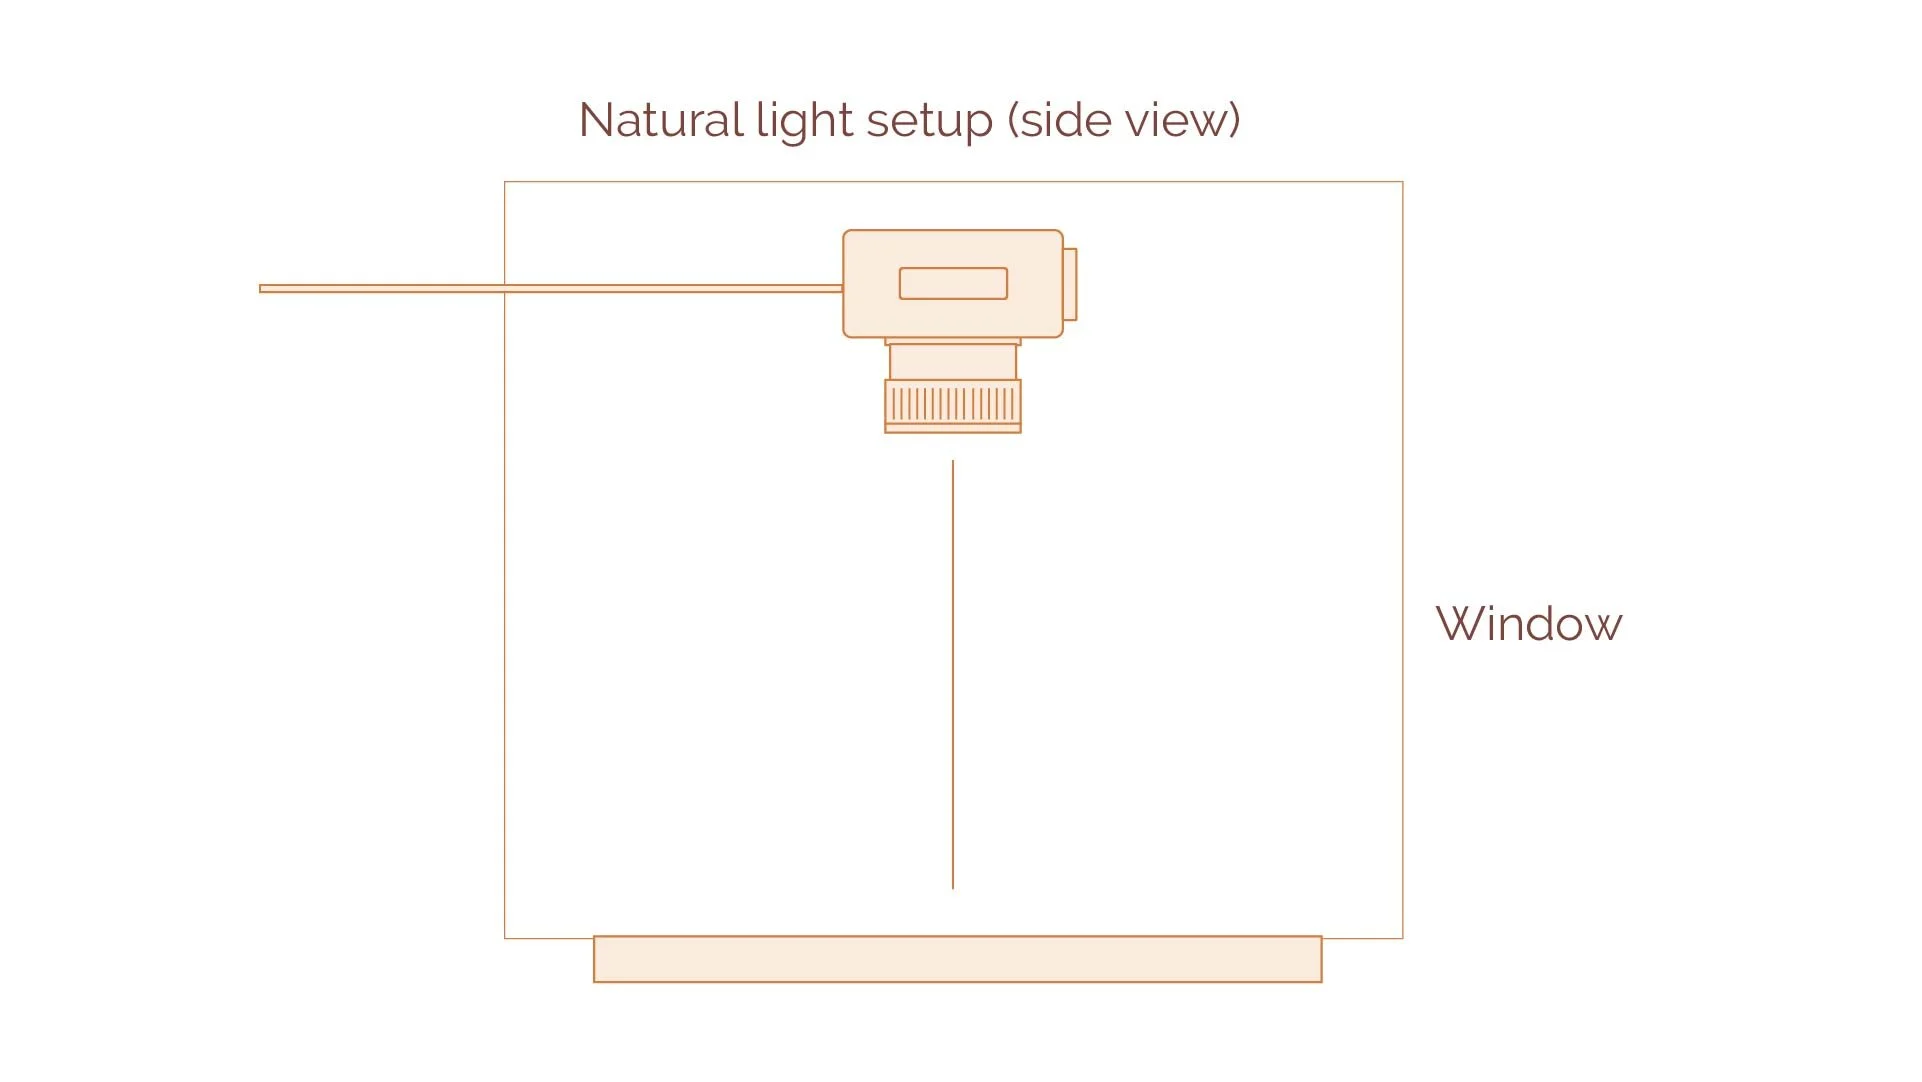
My preferred lighting method for flat lay photographs is to use soft natural night. Choose a location with soft, bright lighting to capture your painting. Try to avoid harsh, direct light as this will create reflections, shadows or even change the colouring of your painting. Preferably, set up underneath a large window.
To ensure the light across your image is even, position a large white piece of foam core on the opposite side of the window beside the painting. This will bounce some light from the window back onto your scene and balance out the darker side of the artwork.
If you want to shoot outdoors, pick a day where the weather is overcast, or set up your shoot area under the shade of a tree or awning to avoid direct sunlight.
TROUBLESHOOTING: DISTORTION
Notice the straight, square edges of your canvas look warped? The culprit is probably lens distortion. Due to the curvature of the lens glass, lines in an image can appear straight at the very centre of the canvas and curve away at the outer edges. So let's talk about how to eliminate lens distortion:
First up you want to avoid using a wide angle lens for this type of photography. Instead stick to a primary middle lens length -such as a 50mm to avoid widening your object.
Lens distortion varies in severity depending on your distance from your canvas. So try physically moving your camera further back from the canvas and see if this corrects the problem.
If you cannot avoid lens distortion at the time of shooting, you correct lens barrel distortion in editing apps / software such as lightroom.
ACCURATE COLOUR REPRESENTATION
Our eyes are great at perceiving colours in different types of light, but cameras need to adjust their settings for different types of light in order to accurately represent colour. If your camera isn’t set to the correct temperature of the light of your room where you are shooting, it will usually result in an image which contains a colour cast (either a blue or orange tint).
For artwork, colours cast can be a big problem as it’s essential that we are able to accurately represent the colours and tones of the artwork in our photographs. Most cameras (both phones and DSLRs) have a white balance control in the camera. So at the beginning of any art photoshoot it's essential to use this white balance tool to customise the colour settings for your environment.
If you’d like to go a step further, you could use a colour checker and grey card. To do this, set up your scene and lighting ready for the shoot. Then place the grey card in front of your artwork and take a photo. Then remove the grey card from the scene and continue with your photoshoot. When editing your images later you can use the image of the grey card as a reference point for your light colour. Use the eyedropper tool to read the light temperture from your gray card (in apps and software such as lightroom) it will adjust the colour values for all other colours in your scene based on this reading.

EDITING YOUR IMAGES
To elevate your images even more, use an image editing program such as lightroom to crop, remove distortion, add brightness and contrast and colour correct your images.
If you have a solid understanding of how to use photoshop you can take your artwork images to the next level by taking them into photoshop and removing the background, then inserting the cropped artwork image into styled stock images of art frames.
Well, there you have it! I hope this has helped you to take beautiful images of your artwork. If you take any images using this advice please come on over and join us in the photography for makers facebook group, I’d love to see your images!