
Types of display props
When working with a collection of products which are all the same size adding levels is going to be key in creating a pleasing composition.
For example: If I was to place all the products on the surface of the scene, it's going to be quite a flat image. All the action will be happening on the surface and there will be a lot of empty space at the top of the frame - it's going to be a bit boring. By introducing levels, I’m able to arrange products and start using the space not only horizontally, but also vertically. So I can start to build up my scene and utilise more of the frame.
There are lots of things that you can use as display props. You can buy display props online, you can build things, you can find objects in nature. So you can really get creative with what you use here, and find interesting ways to create levels in your scene. Here are some of my favourite types of display props…
WOODEN BLOCKS
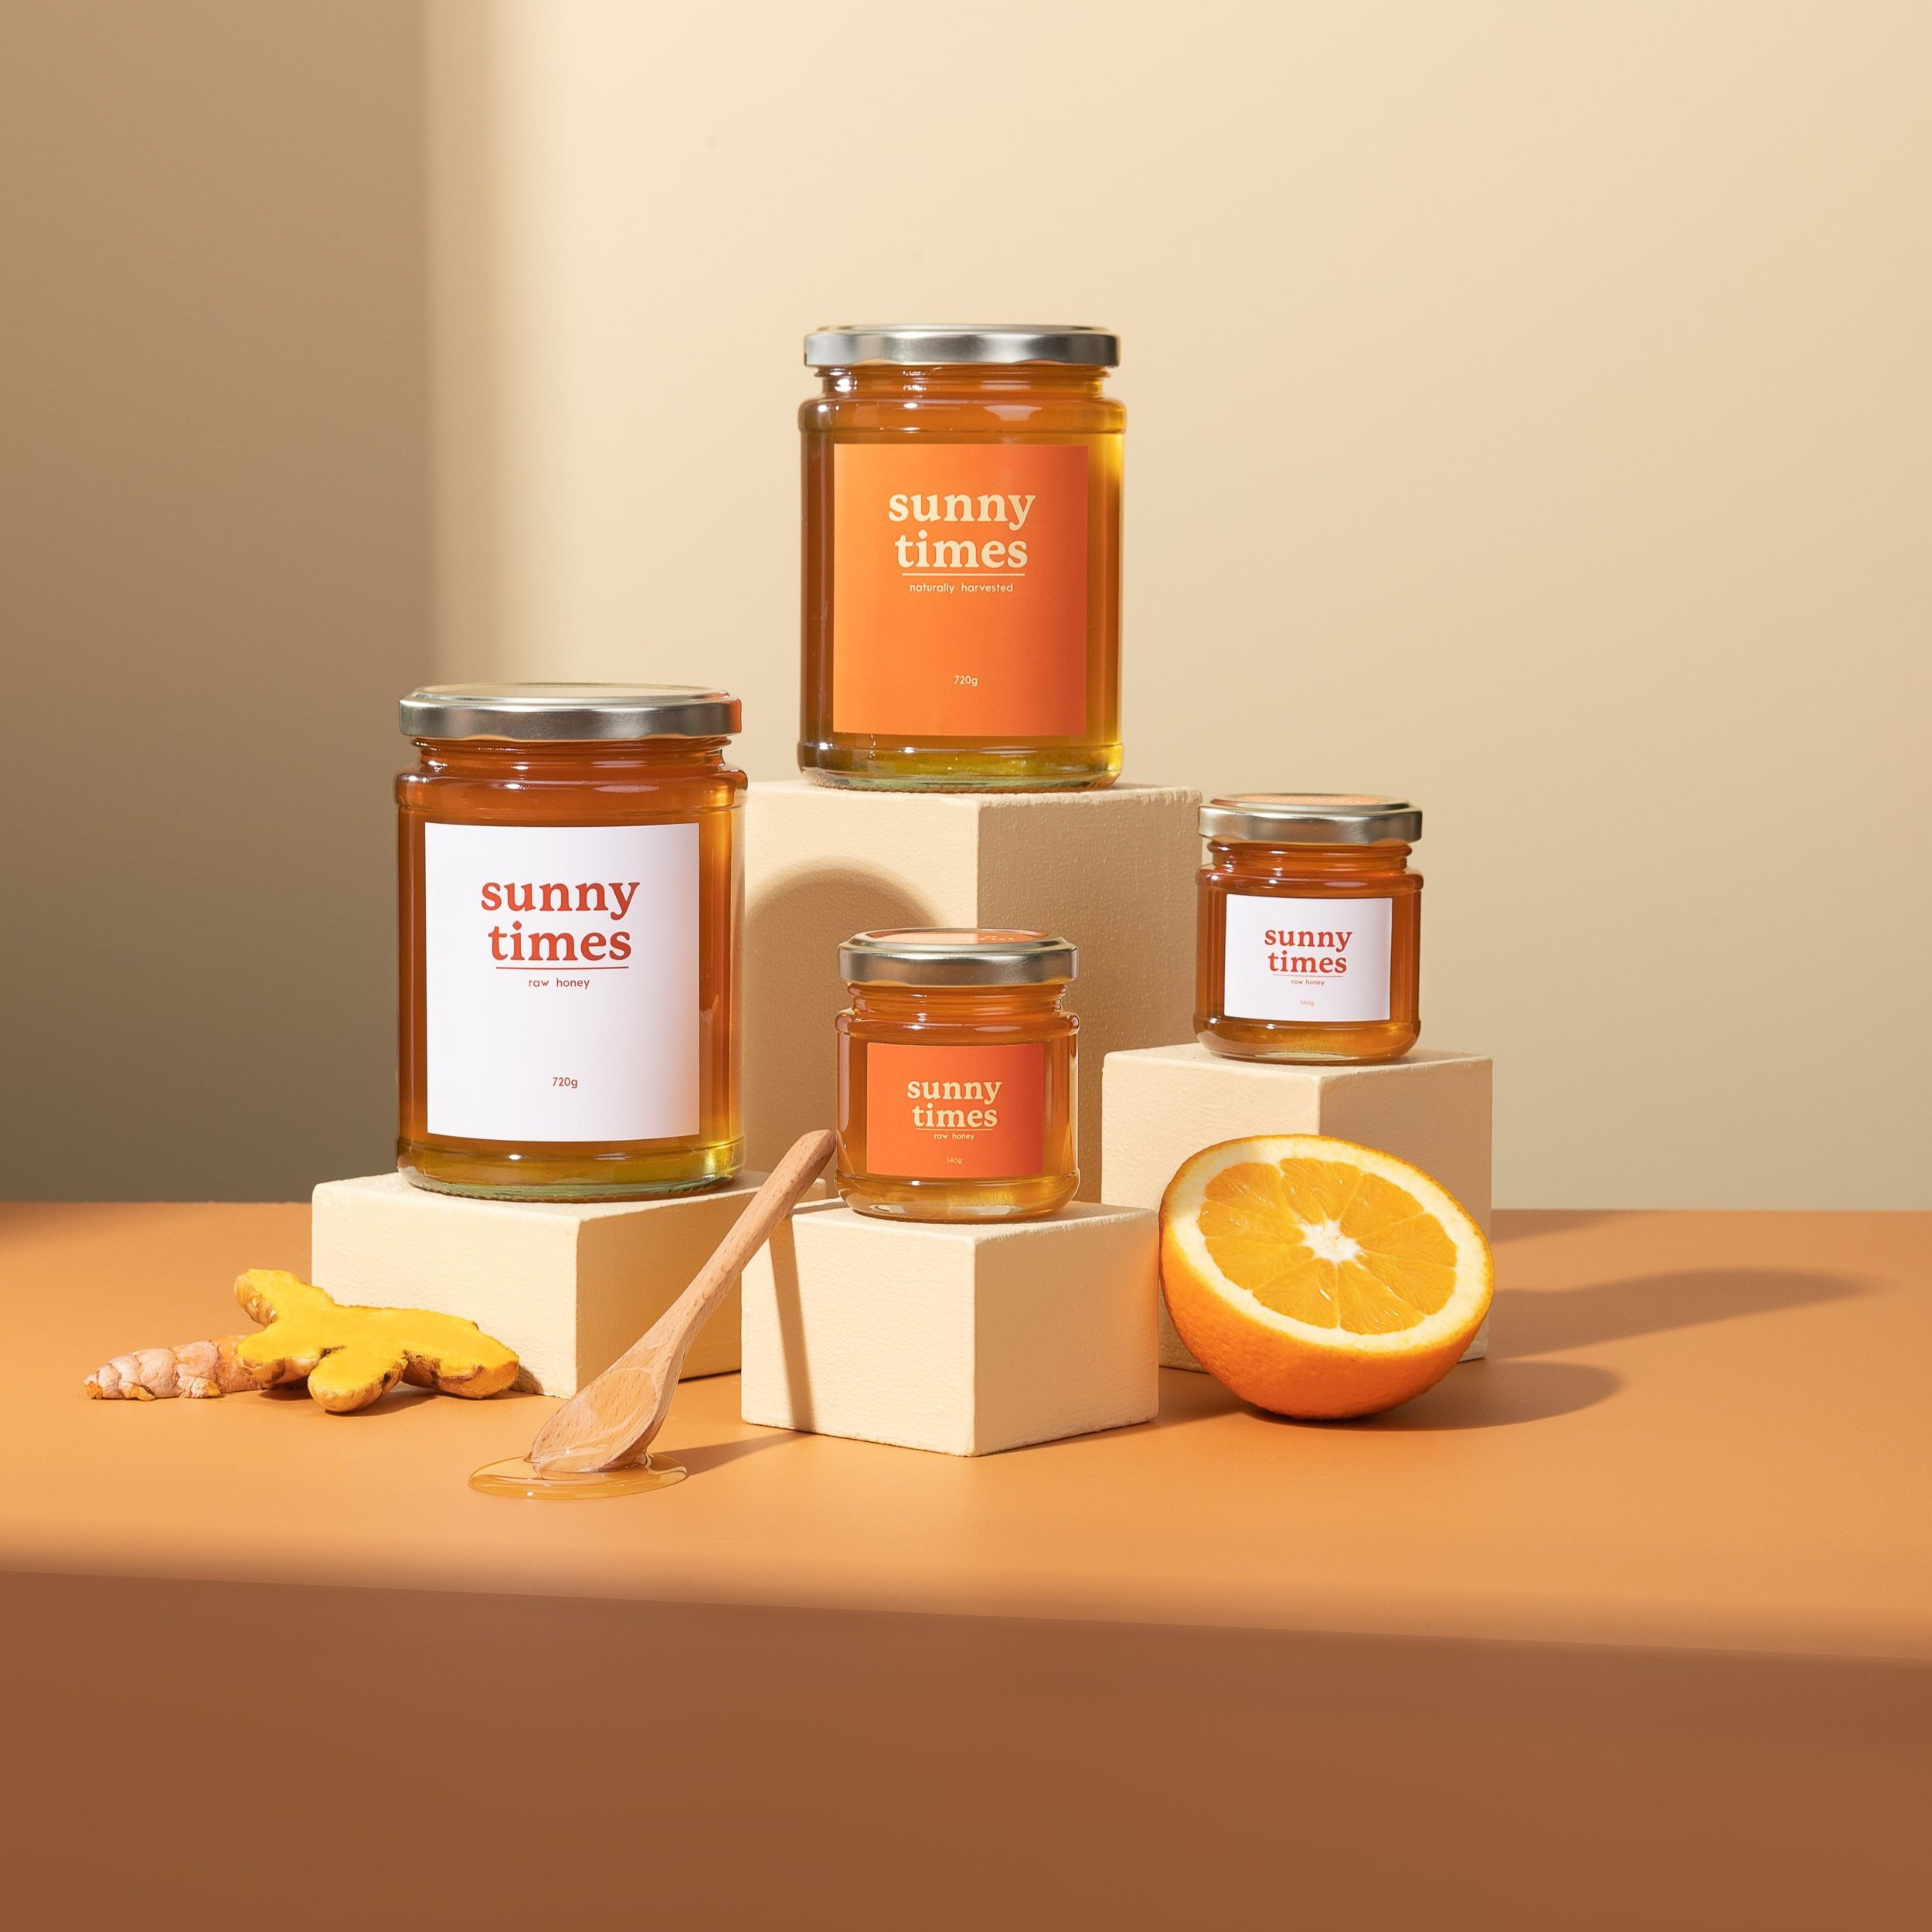
If you’ve seen much of my work you will notice that I commonly use wooden blocks which have varying heights. I love the dimension and shading that these blocks add to my images and the best part about them is that it's easy to change their colour to match the palette I am working with.
CLEAR ACRYLIC
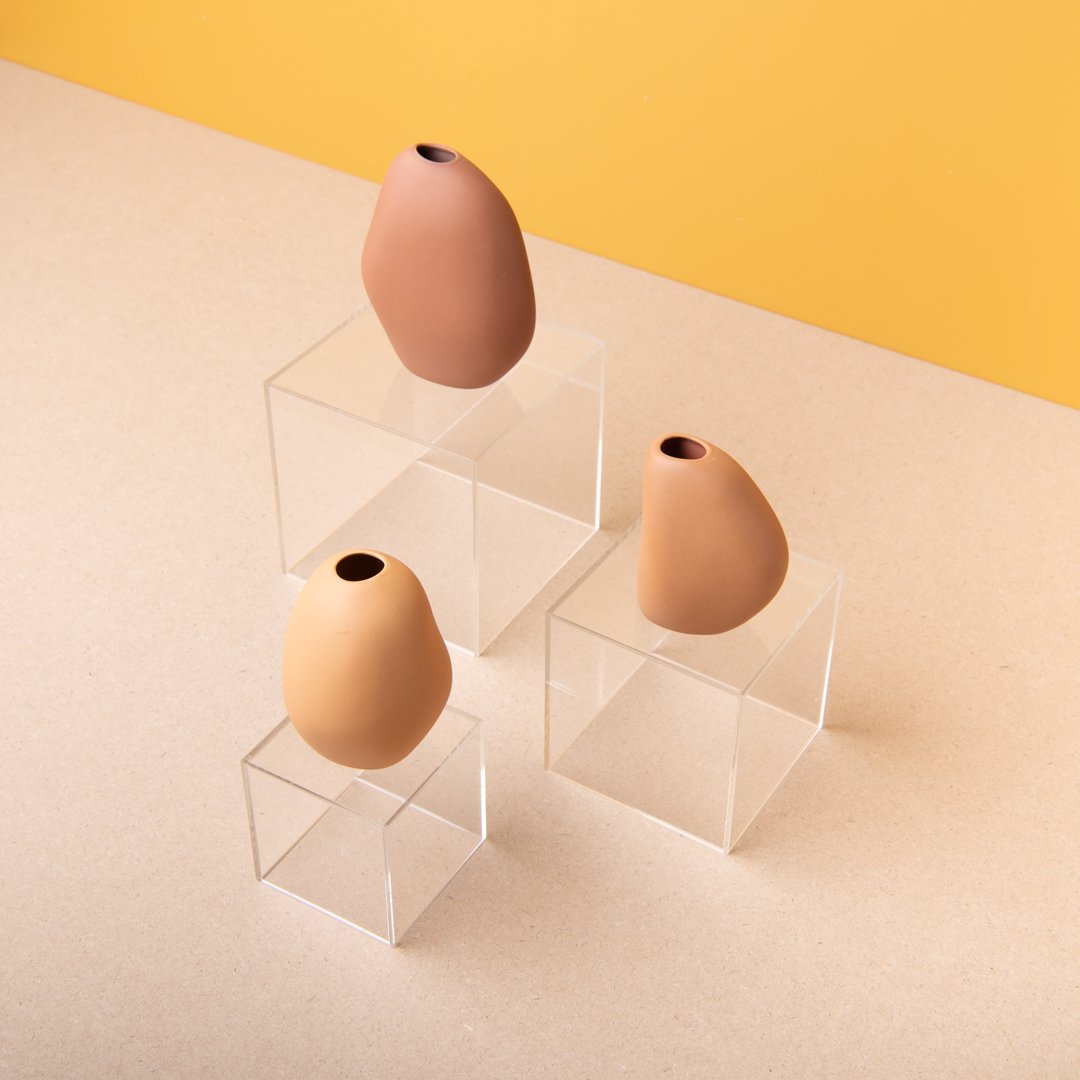
If you want to add levels into your scene but you want to keep your display props minimal and inconspicuous - try using acrylic blocks or glass. These create subtle transparent levels in your images for a minimalist look.
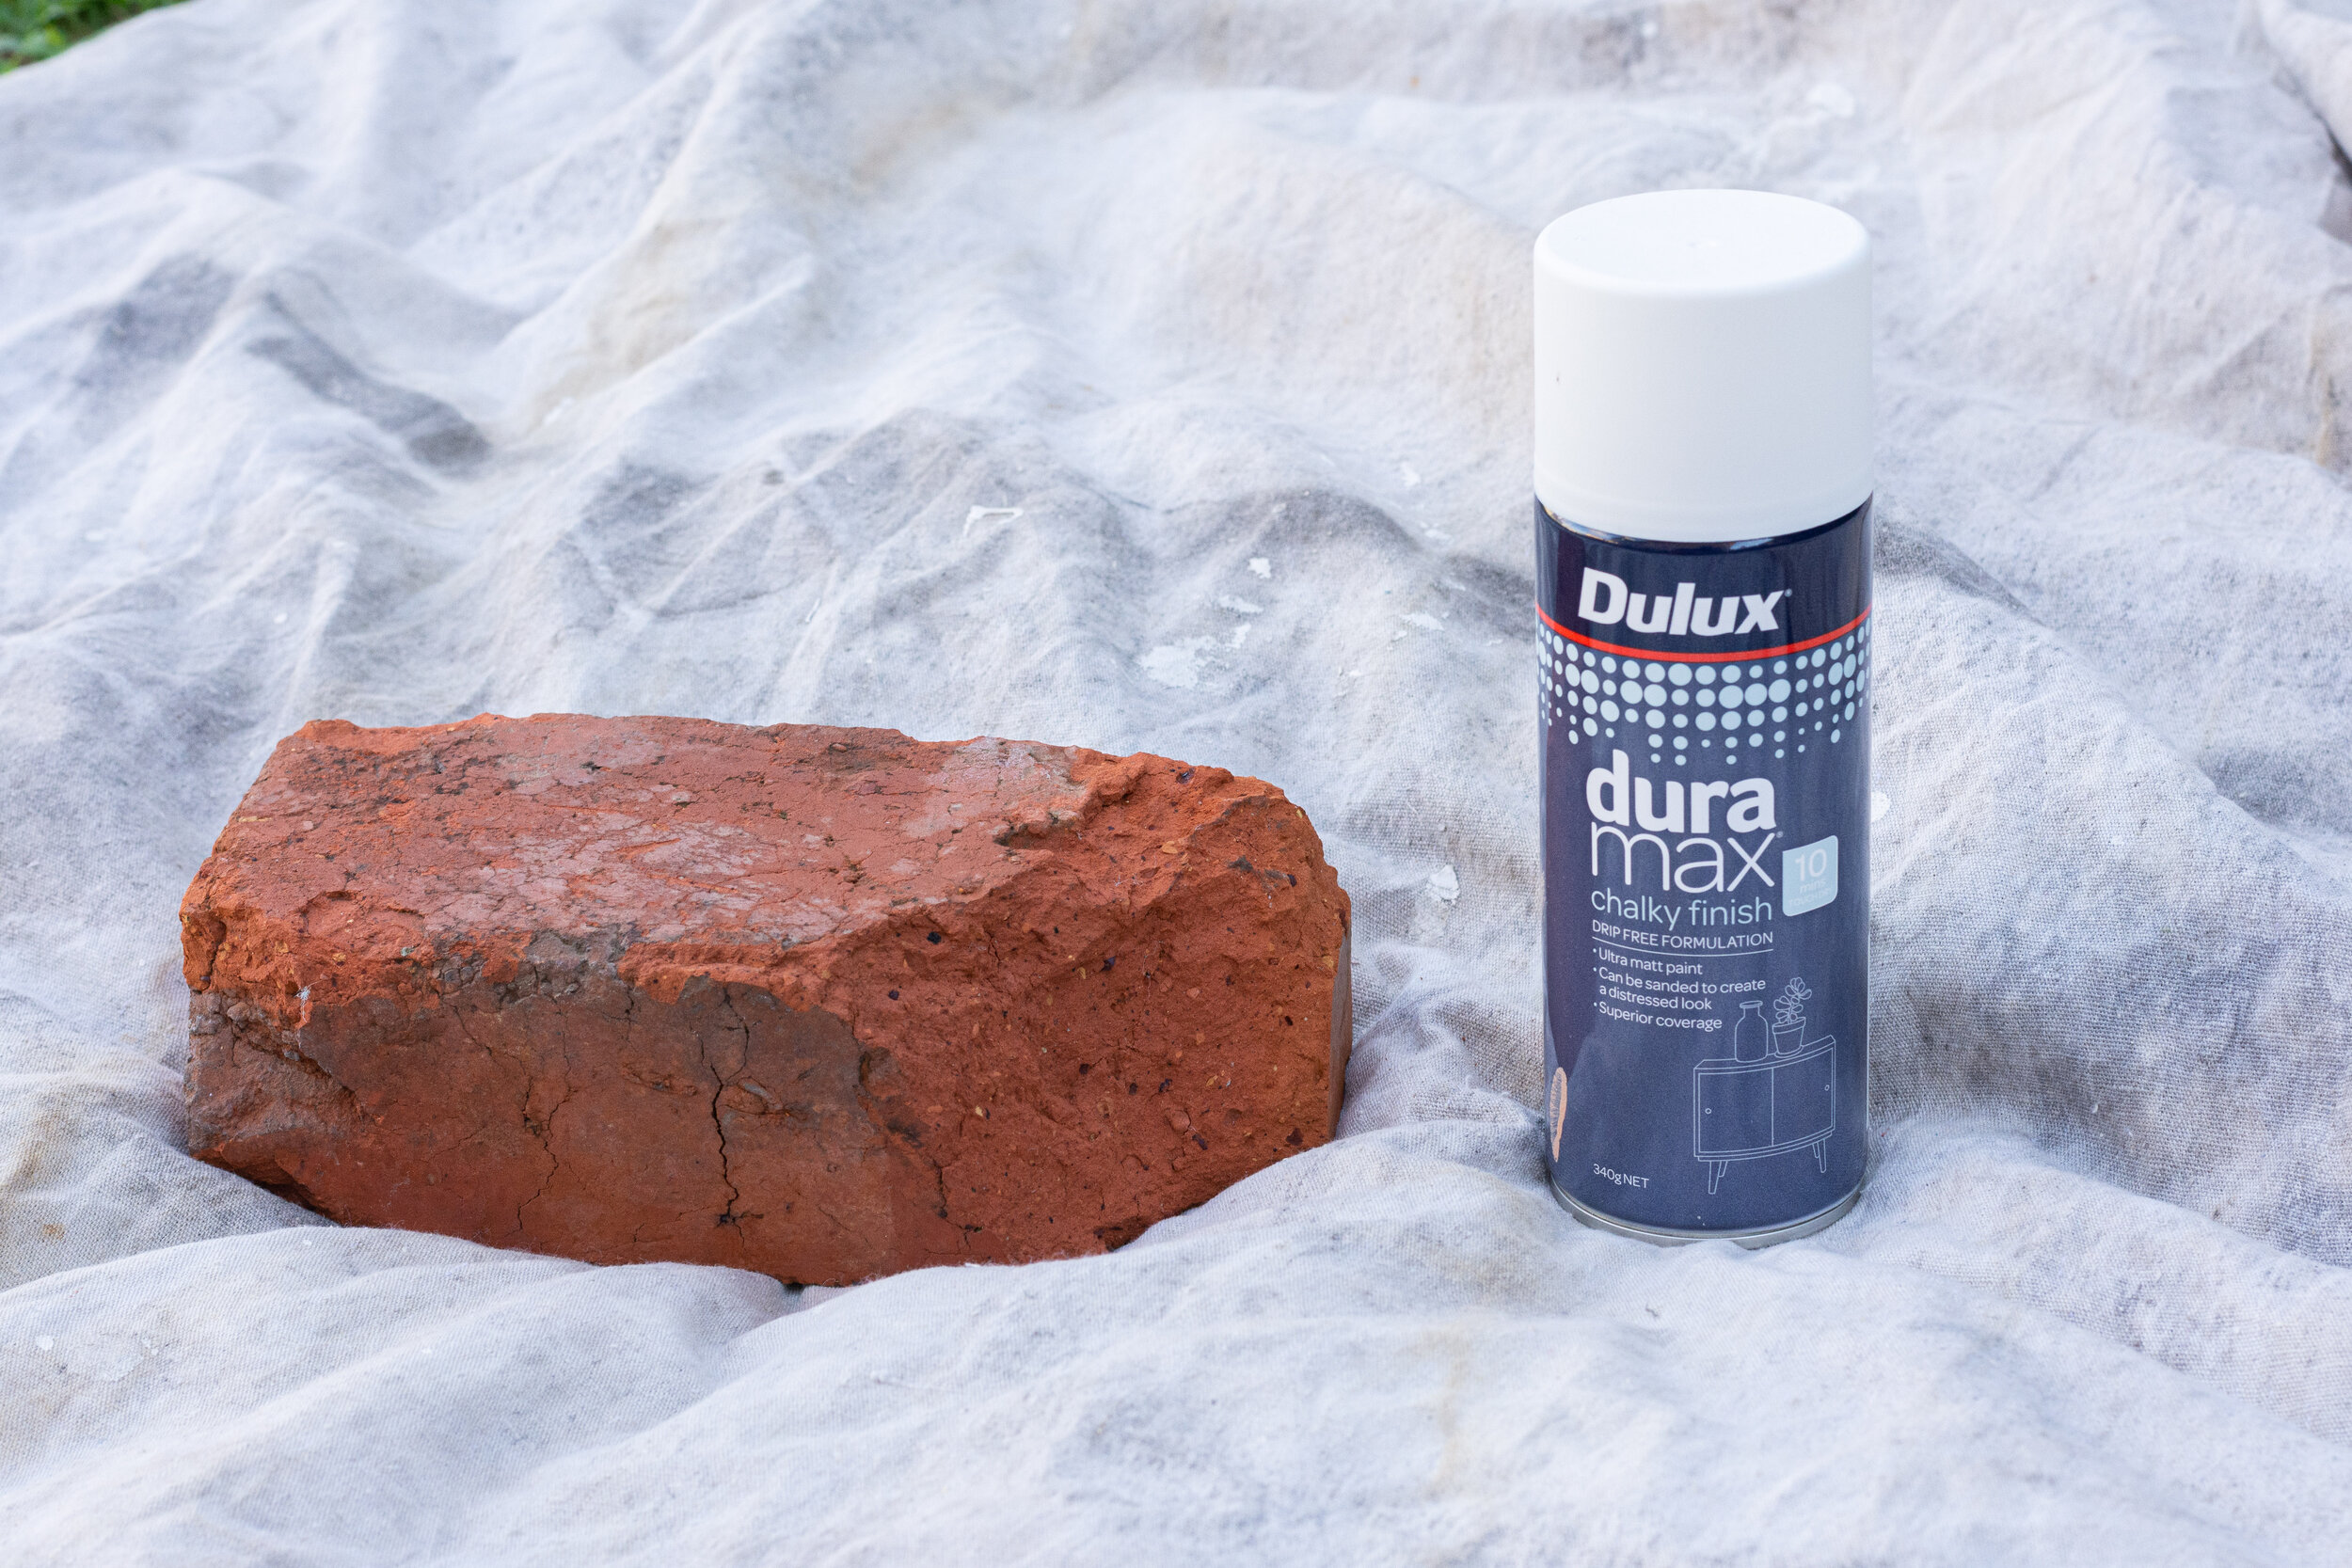
TEXTURED OR NATURAL ITEMS
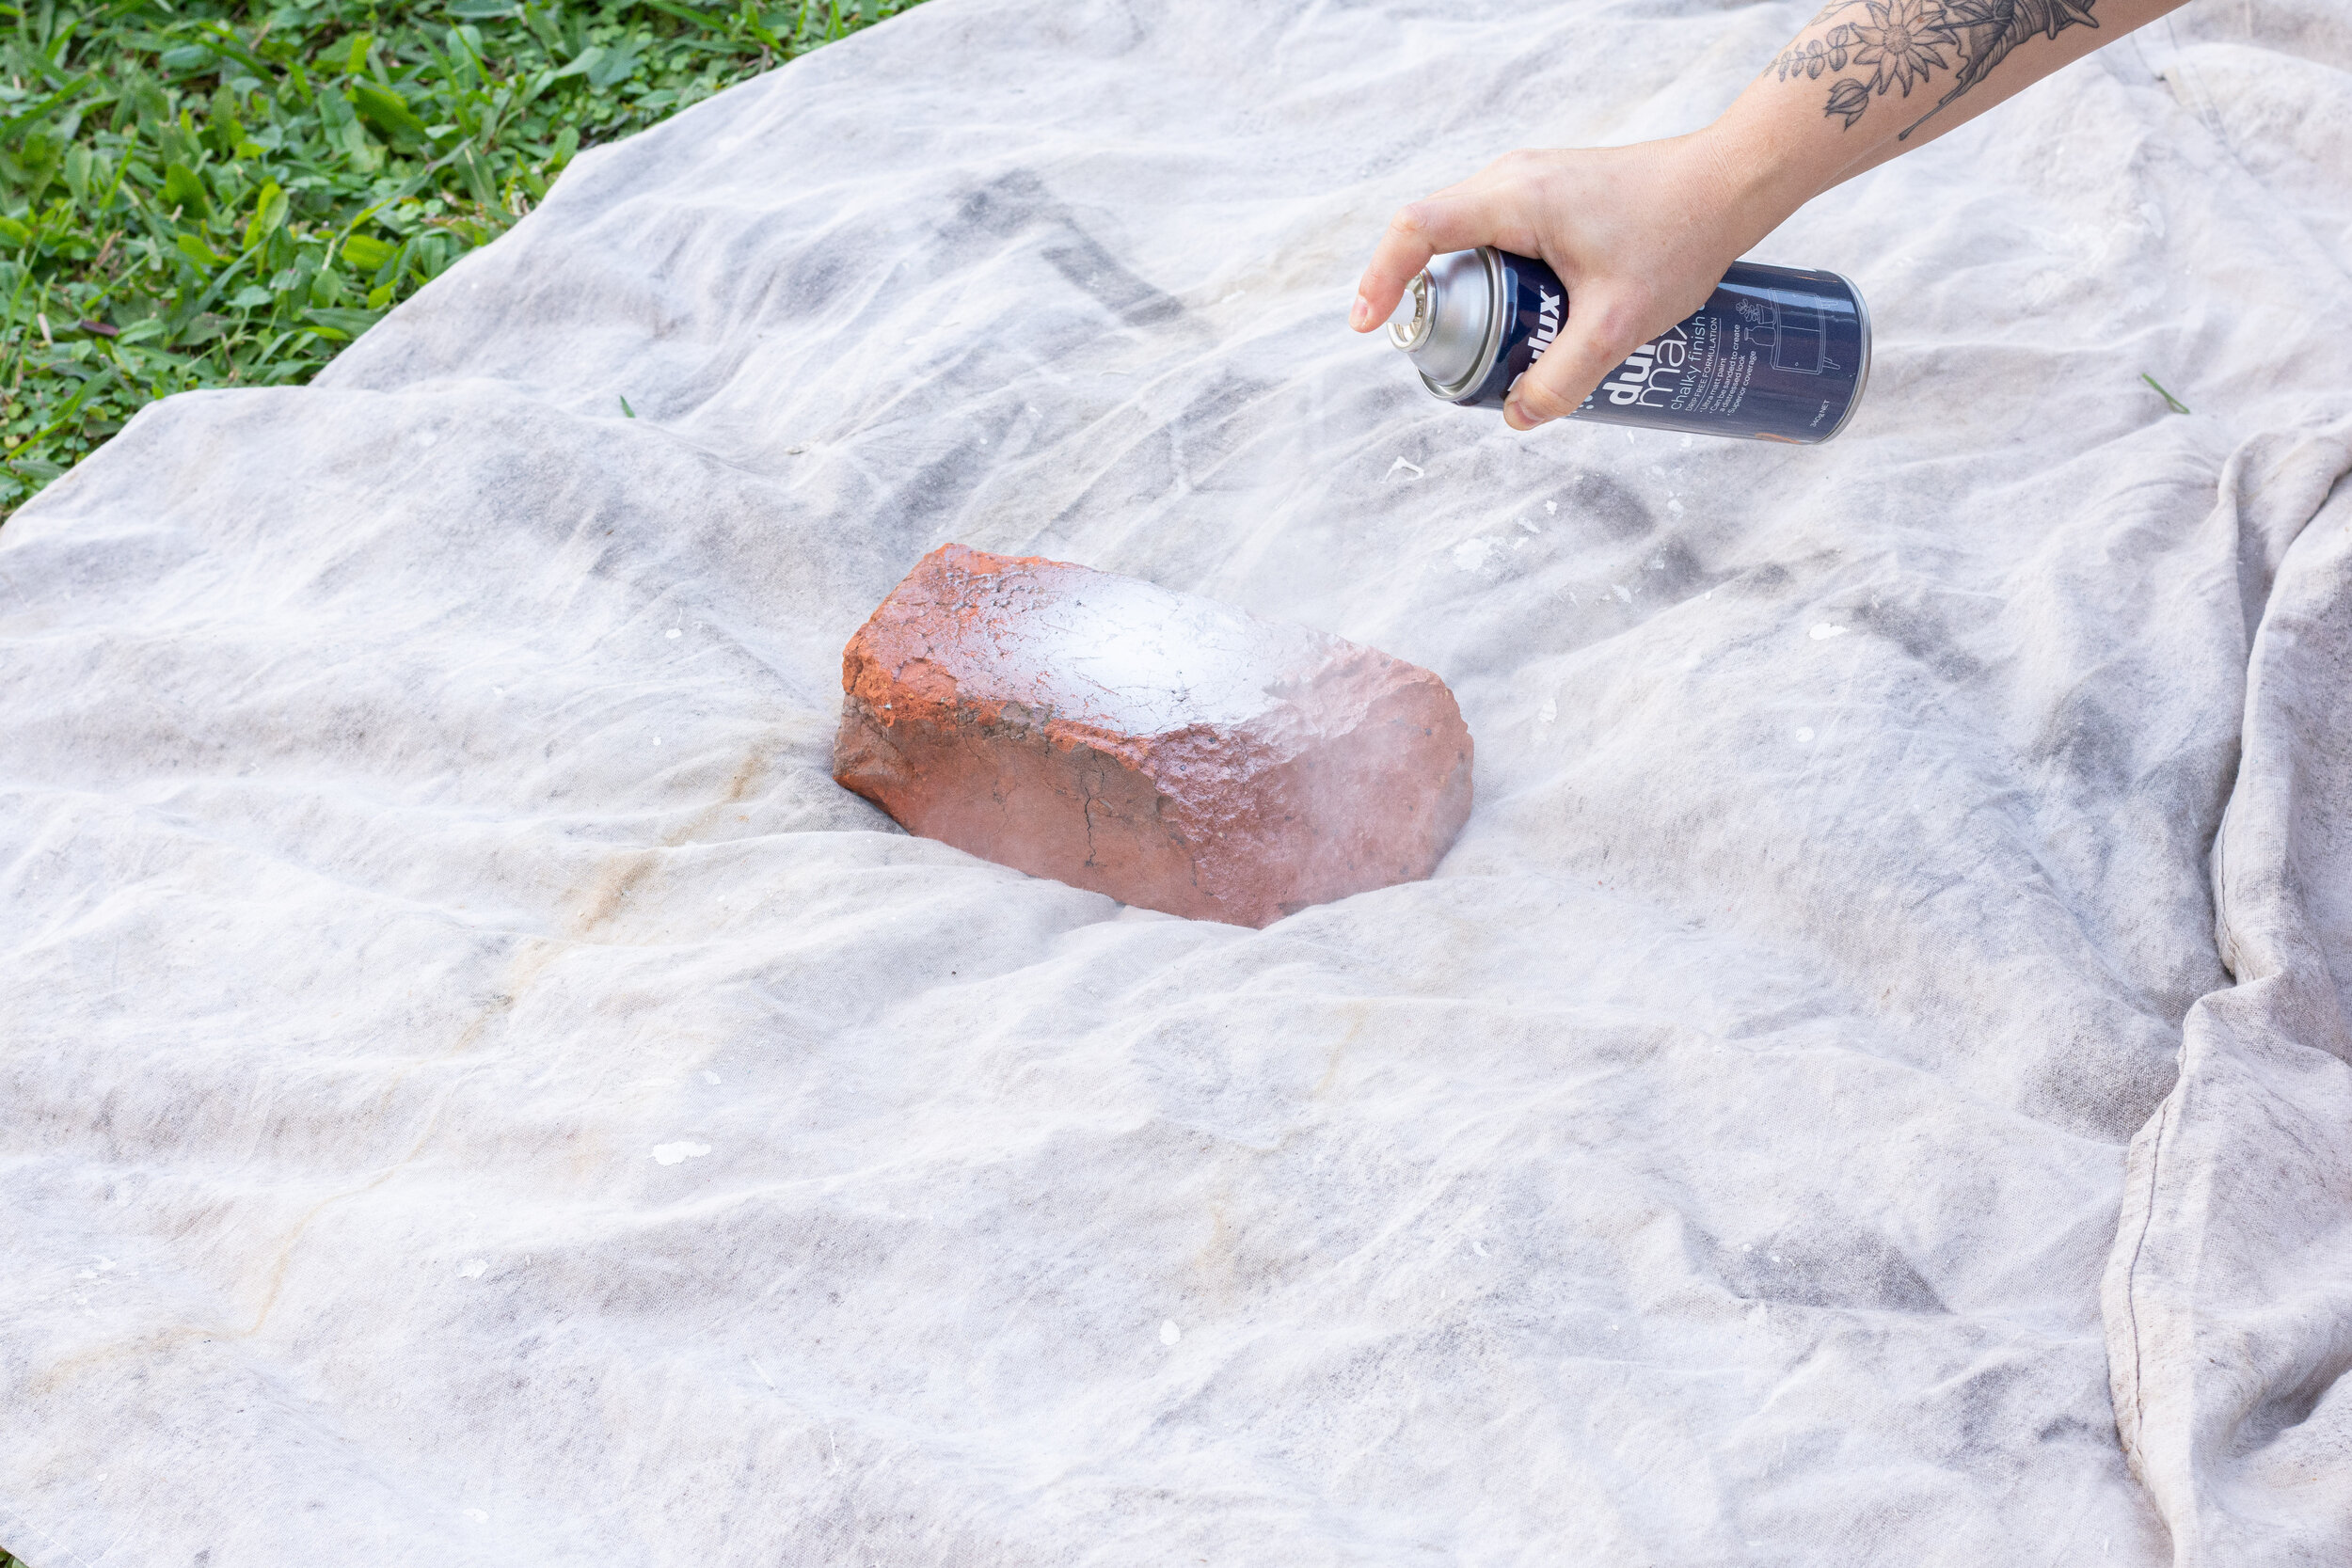
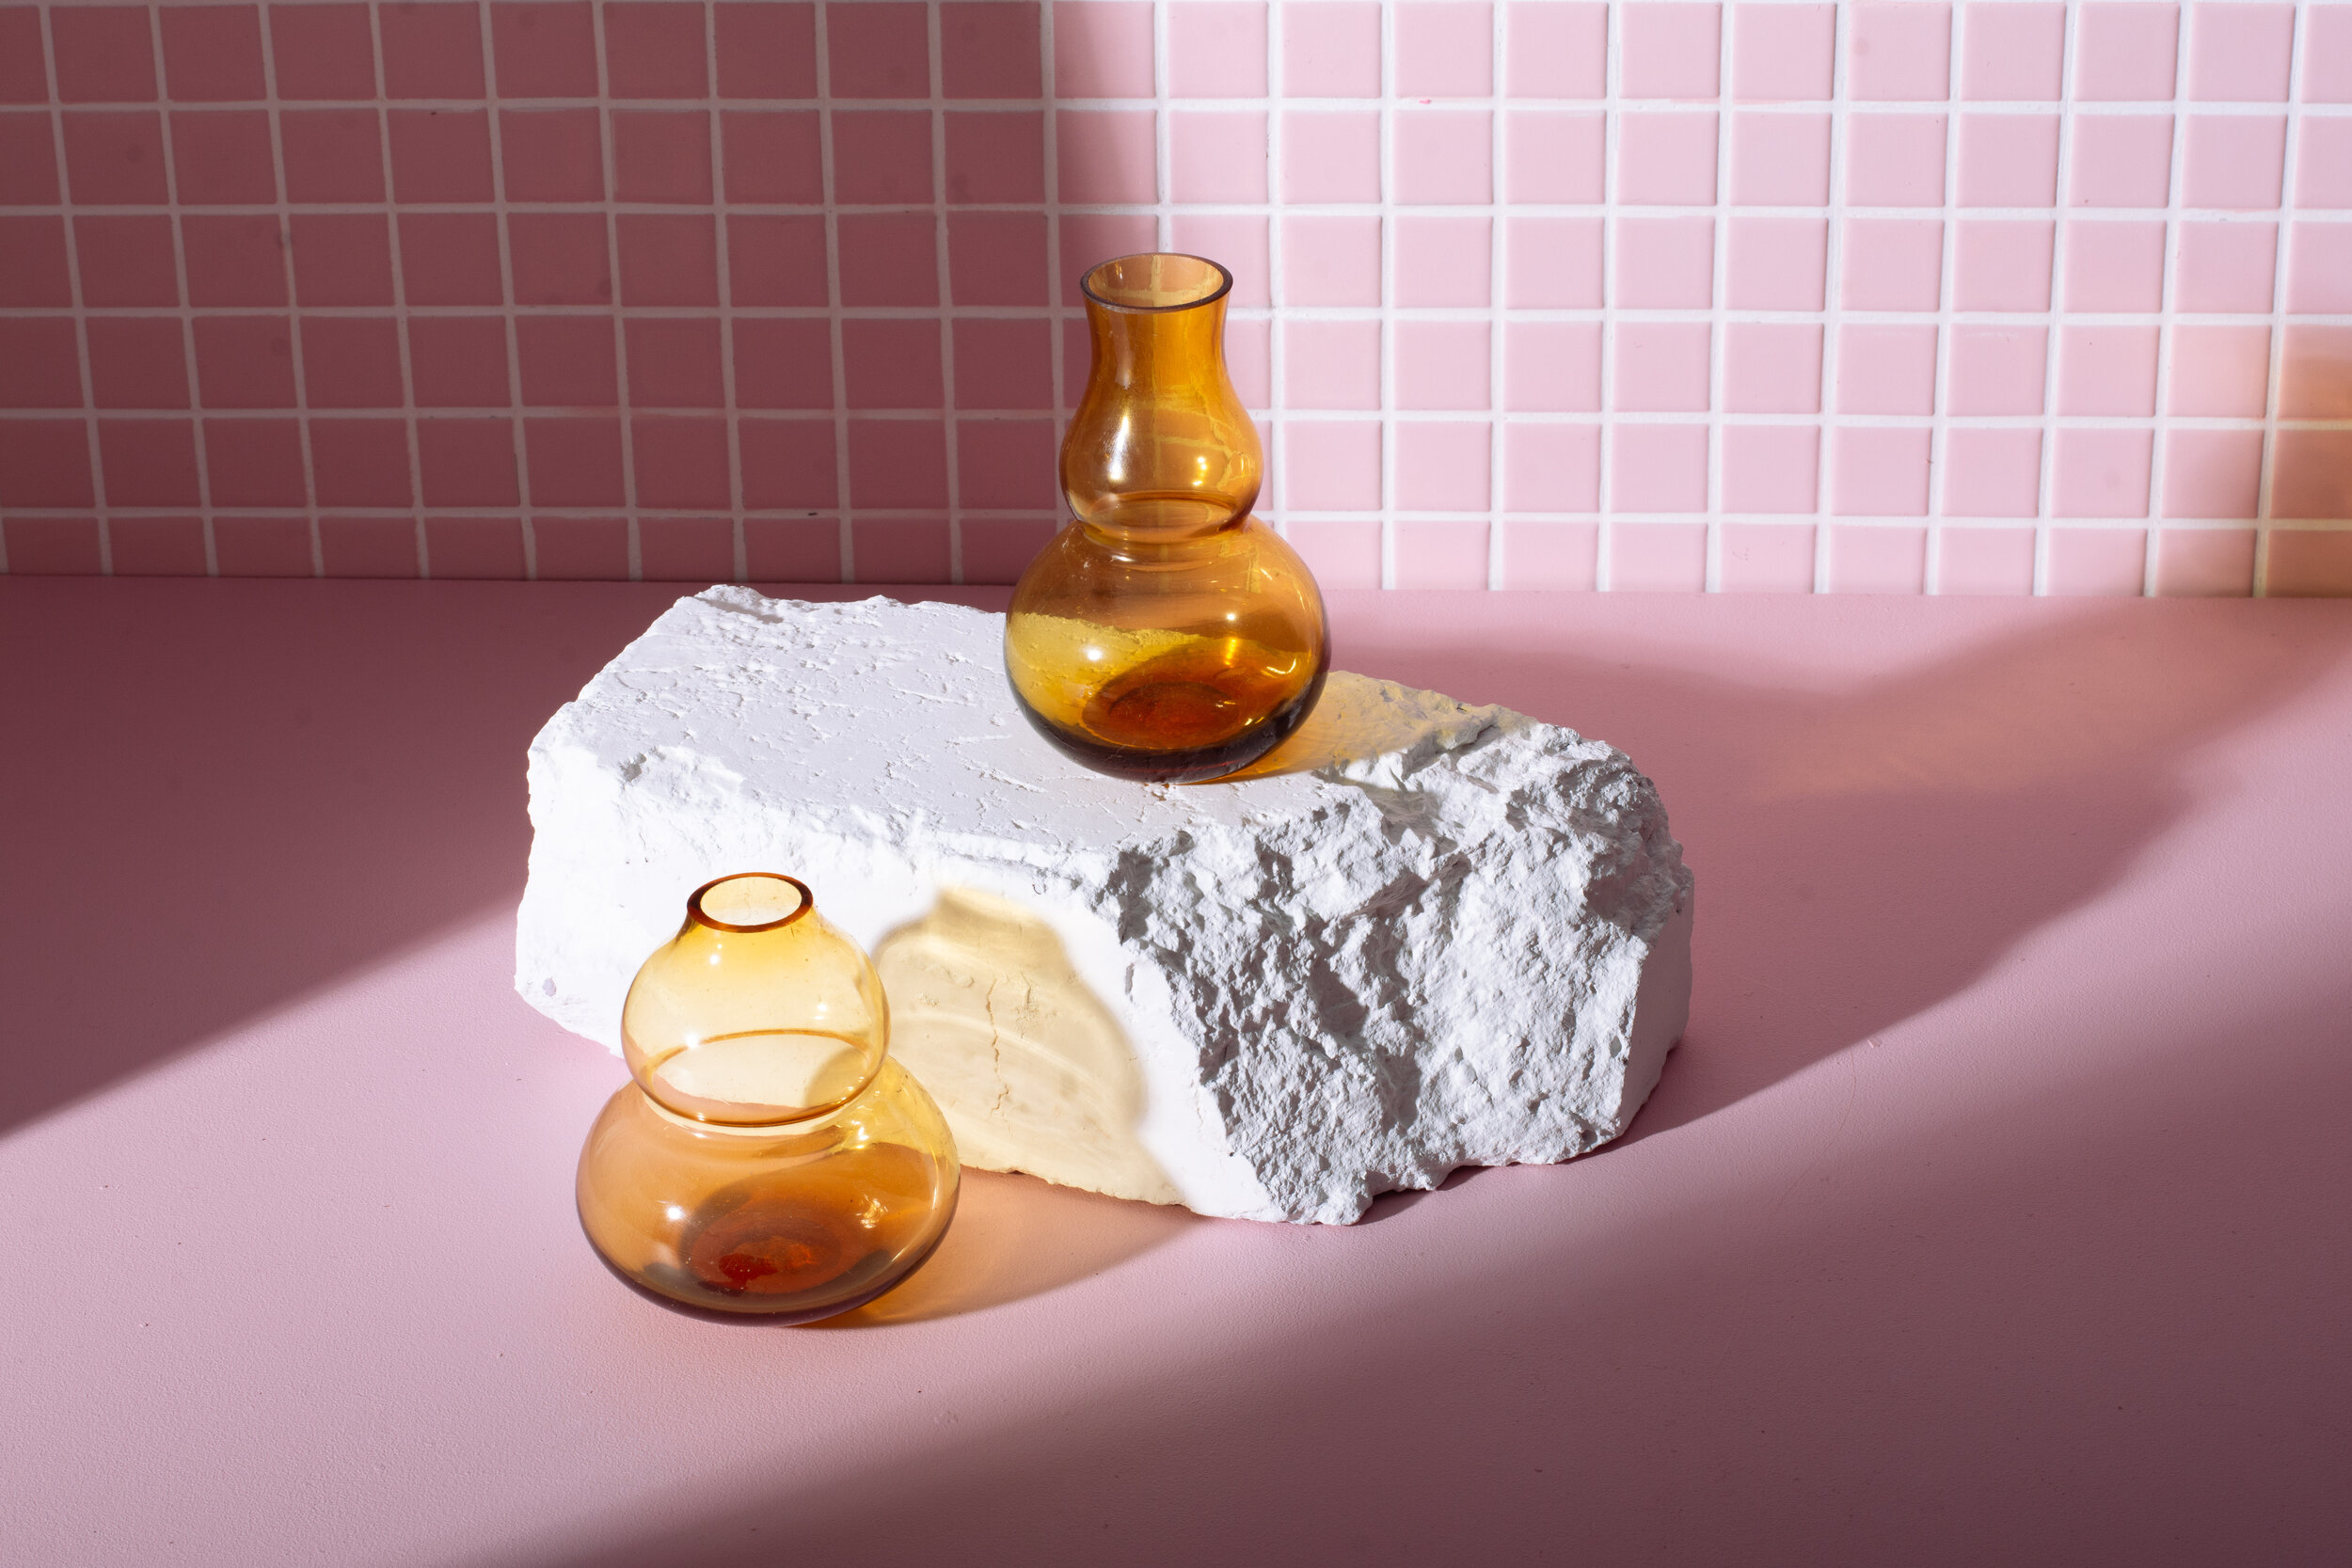
You could also go in the opposite direction and accentuate your display props with texture. There are endless types of textured items you could use but one of my favorites is rock or stone.

CUSTOM BUILT
You can also build your own custom display props which work into the theme of the shoot or product range. For example, for this shoot with @honeysplantclimbers I created custom honeycomb shaped boxes for the plant climbers to sit on and in. It's a little extra effort but the unique and custom look in your images is well worth the effort.

RE-COLOURING
Keep in mind that if found objects are not the right colour, you can grab some spray paint from bunnings and paint them up so that they work really nicely in your scene. For example below I spray painted a broken brick white to create this textured display prop.
OK, so there you have it. I hope this blog has been helpful and gave you some ideas for adding levels to your images. As always, if you create anything awesome please share your pics in the Facebook Group Photography for Makers - I’d love to see your work!